Network Share 123
User Guide v 2.0 — March 2023 System Setup
NOTE: The SSID, Authentication method, and Signal strength for all available WiFi
networks are shown. They listed in order by their signal strength.
4. Select an SSID from the list.
The SSID shows in the Network SSID field.
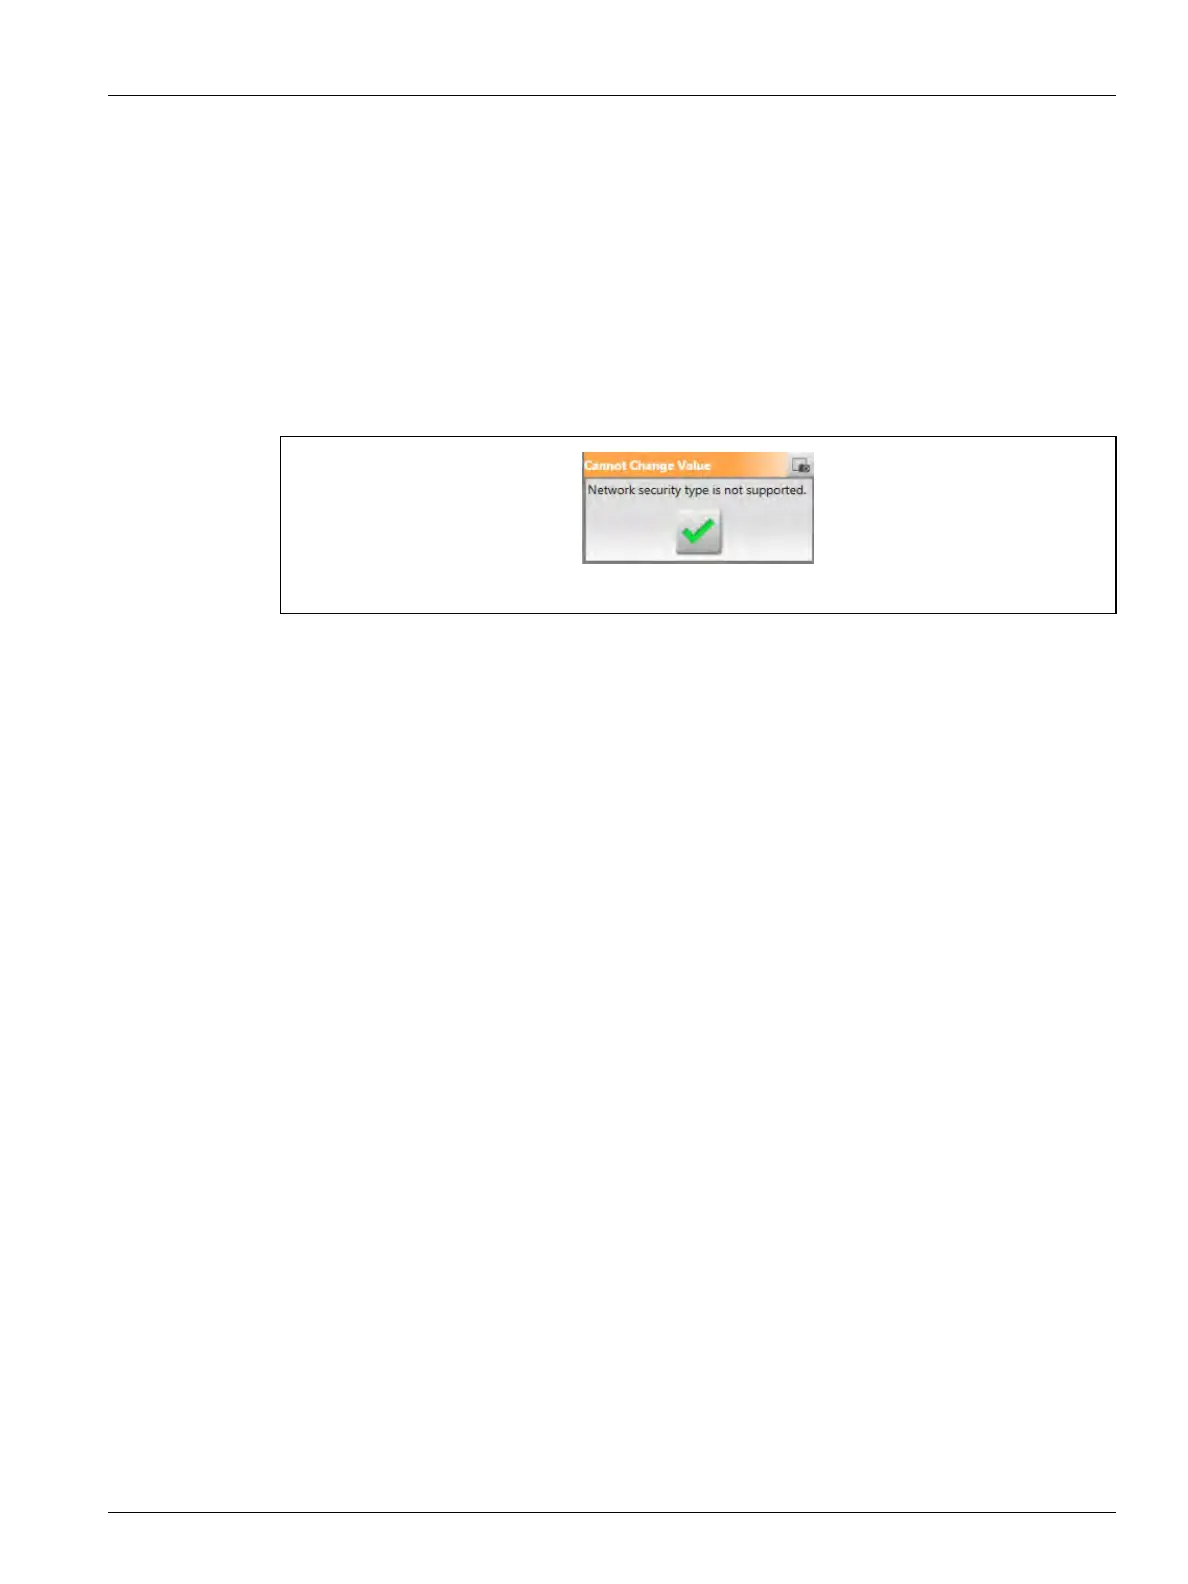
NOTE: The HMI application supports specific types of the authentication modes (Open,
and WPA-Personal) for wireless network configuration. If an unsupported
network is selected, the value of the Network SSID field does not change and the
“Network security type is not supported” message shows (refer to Figure 10-7). If
you selected a Network SSID that is not supported, a different one must be
selected.
5. Enter the password for the Network SSID in the Password field.
6. Touch the Connect button.
The Connected indicator will show when the network connection has been made.
NOTE: If the password is not correct the Connections Status shows an “Unable to
connect” message for a few seconds and then it changes back to “Ready to
connect”.
10.2.3 Network Share
The Network tab on the System Setup screen lets you enter the information necessary to
connect to a network shared storage folder (network share).
To get access to network selections, touch the Setup button on the Network Share panel of
the screen.
The Network Share Configuration dialog shows. Refer to Figure 10-8.
Figure 10-7 Unsupported Network Security Message