v 2.0 — March 2023 Altanium Delta5
284 Remove and Replace the MCU
16.4.2 Remove and Replace the MCU
To remove and replace the MCU, do the steps that follow:
1. De-energize the system at the Altanium main power switch. Refer to Figure 16-2.
2. Lock out and tag the main power switch in accordance with local codes.
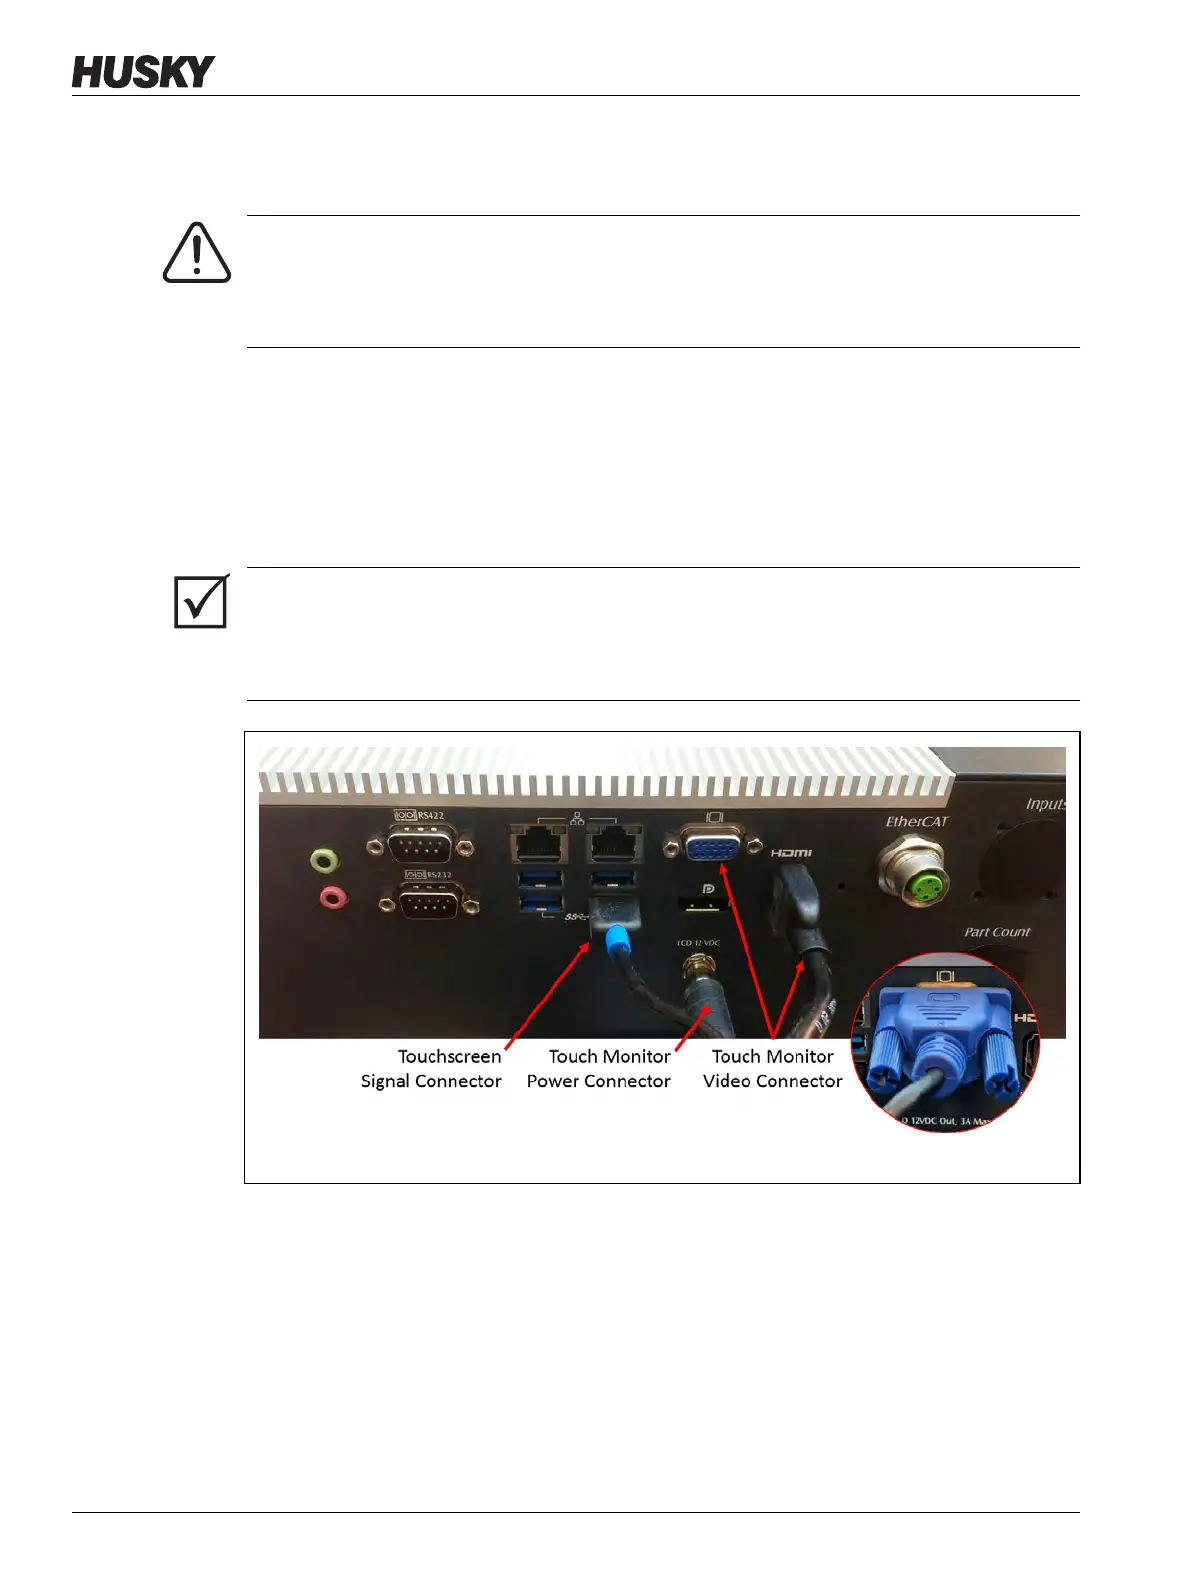
3. Find and disconnect the Touch Screen Signal, Touch Monitor Power, and VGA or LCD1
(HDMI) connectors at the bottom of the MCU enclosure. Refer to Figure 16-17.
4. Disconnect all other cables from the bottom of the MCU enclosure if your system has
other options.
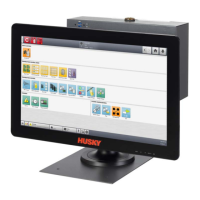
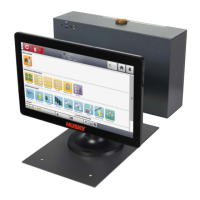
5. Rotate the touch monitor to the full back position. Refer to Figure 16-18.
WARNING!
Electrical and mechanical hazard- risk of death, serious injury and/or damage to the
equipment. Turn off all power to the system and disconnect it completely from the
main input power.
IMPORTANT!
Because of the options purchased and the configuration of your controller there may be
more connectors to disconnect. Refer to the cable connections in Table 14-10 for a full list of
possible connectors.
Figure 16-17 MCU Cable Connections


 To Next Page