6. Loosen the two thumbscrews on the PDM ejector levers and pull down the ejector bar.
7. Pull the two ejector levers away from the PDM until they stop and remove the PDM from the router
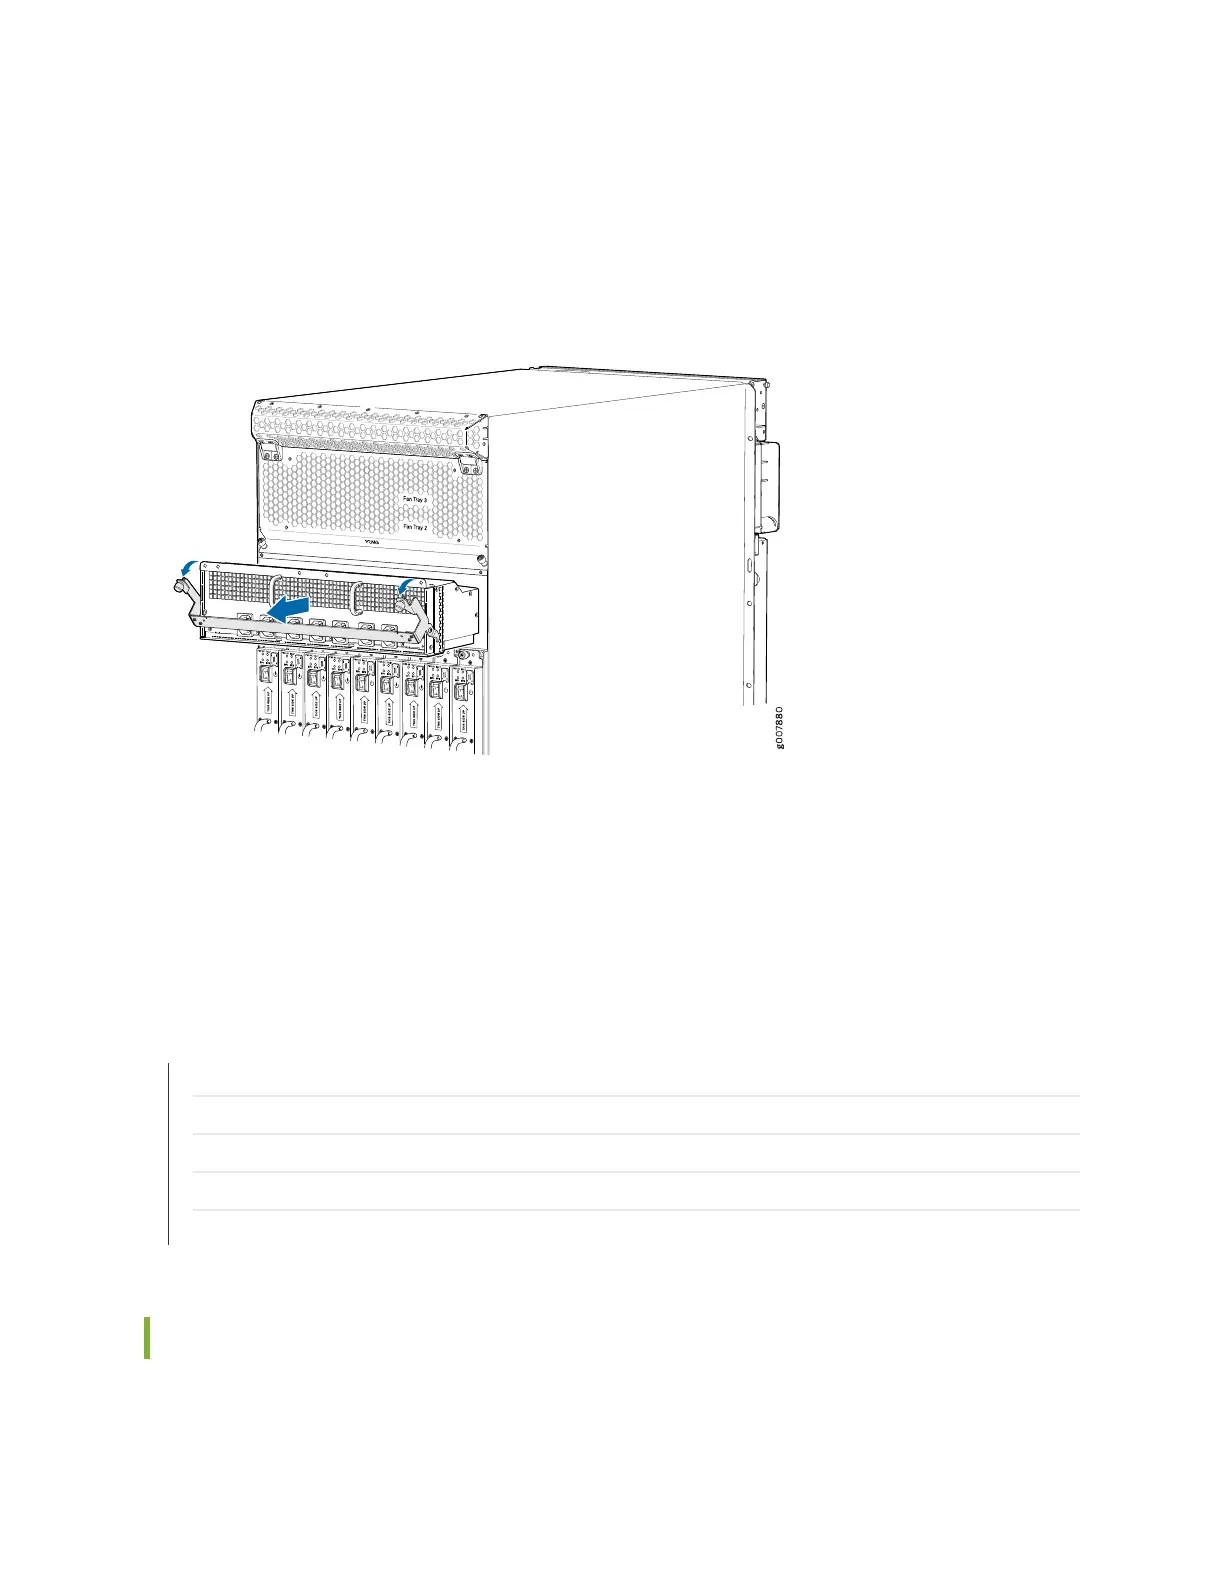
chassis. Refer to Figure 181 on page 385.
Figure 181: Removing an AC PDM from the MX2000 Router Chassis
8. Place the PDM on an antistatic flat surface.
9. Cover the empty slot with a blank panel or install a new PDM into the slot. Refer to “Installing an
MX2000 Single-Phase AC Power Distribution Module” on page 385.
RELATED DOCUMENTATION
MX2000 Seven-Feed Single-Phase AC Power Distribution Module Description | 101
MX2000 Nine-Feed Single-Phase AC Power Distribution Module Description | 102
Connecting Power to an MX2000 Single-Phase AC Power Distribution Module | 293
Installing an MX2000 Single-Phase AC Power Distribution Module | 385
MX2000 Single-Phase AC Power Distribution Module Electrical Specifications | 186
Installing an MX2000 Single-Phase AC Power Distribution Module
Before you install a single-phase AC power distribution module (PDM), be aware of the following:
385