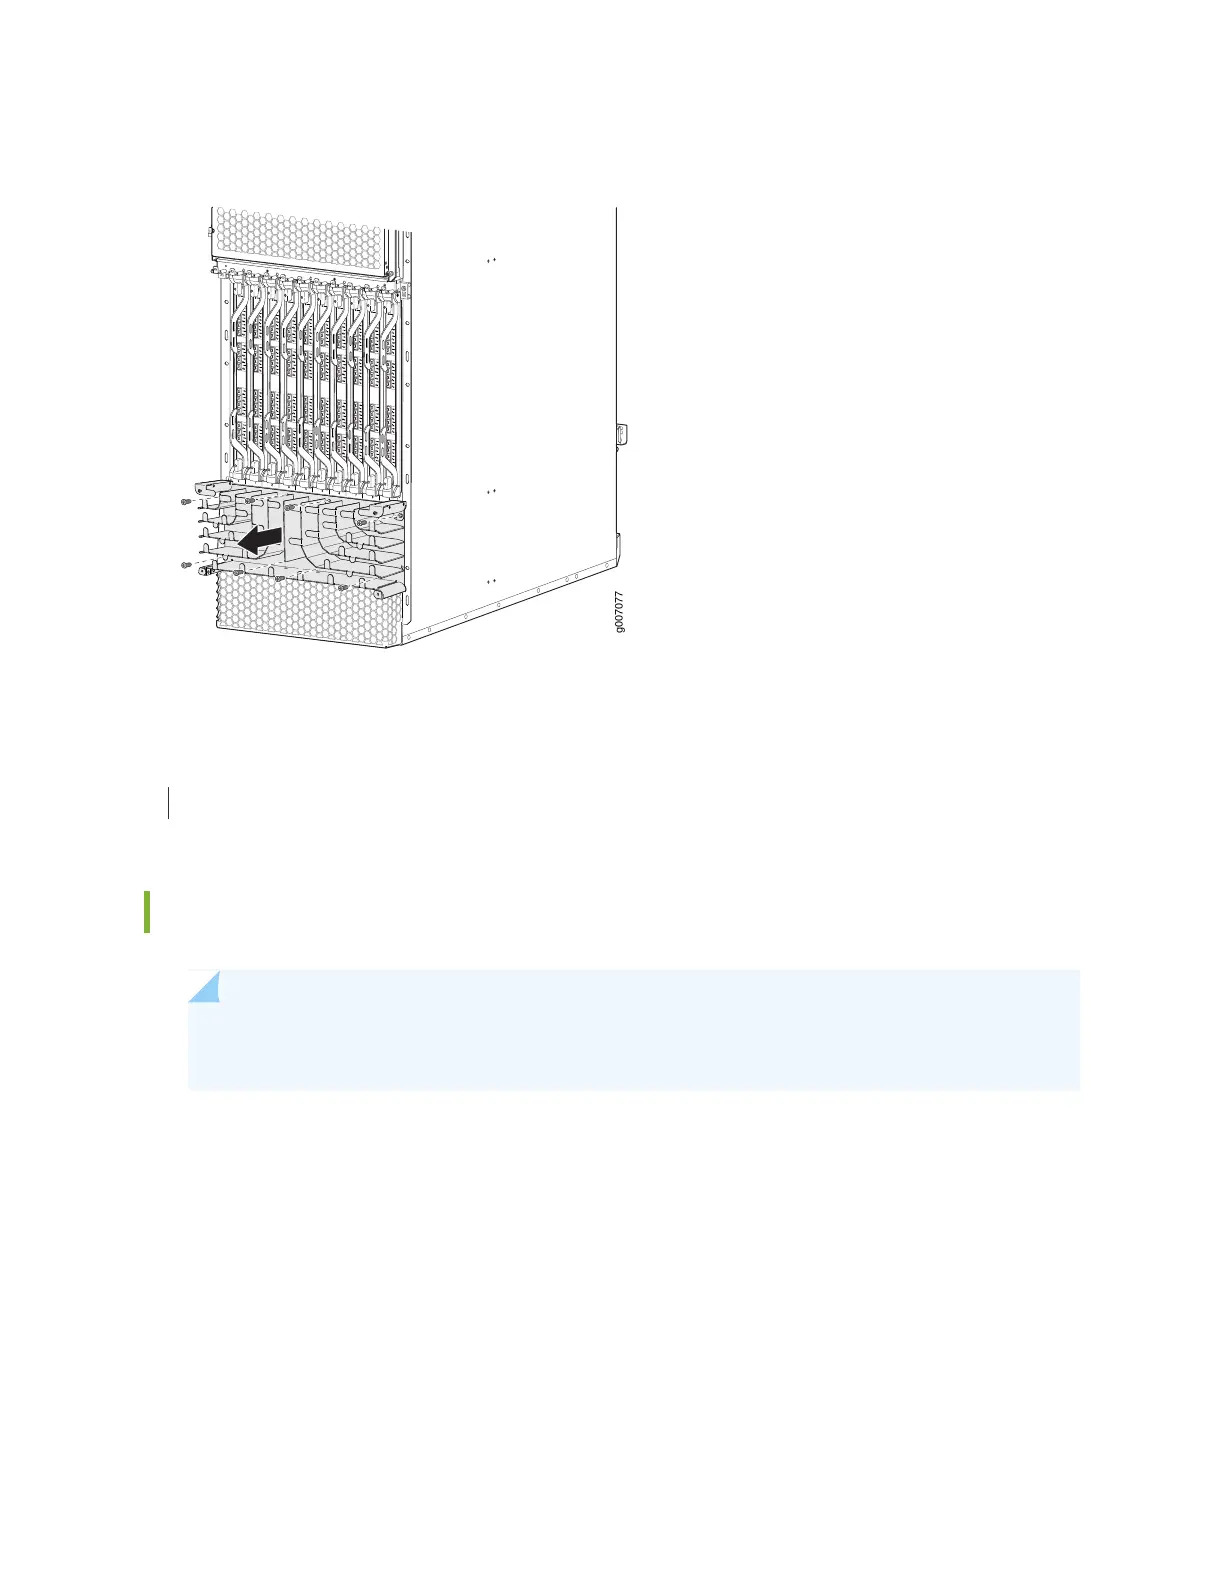
Figure 281: Removing the Standard Lower Cable Manager
RELATED DOCUMENTATION
Installing the MX2020 Lower Cable Manager | 620
Installing the MX2020 Lower Cable Manager
NOTE: To accommodate additional clearance, you may order an extended lower cable manager
from Juniper Networks.
To install the lower cable manager (see Figure 272 on page 621):
1. Position the lower cable manager on the studs on the lower front of the chassis, just below the MPCs.
2. Insert the screws into the corners in the lower cable manager onto the studs on the chassis.
3. Using a Phillips (+) screwdriver (number 1 or 2), tighten the mounting screws securely.
4. Replace the cable manager cover, and secure it with the two captive screws.
630