Gocator Line Profile Sensors: User Manual
Getting Started • 40
Older revision
3. Attach the two DINrail mount clips to the back of the Master using two M4x8 flat socket cap screws for each
one.
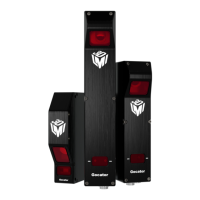
The following illustration shows the installation of clips on a Master 810 (current revision)for horizontal
mounting:
Ensure that there is enough clearance around the Master for cabling.
Configuring Master 810
If you are using Master 810 with an encoder that runs at a quadrature frequency higher than 300 kHz,
you must use the device's divider DIP switches to limit the incoming frequency to 300 kHz.
Master 810 supports up to a maximum incoming encoder quadrature frequency of 6.5 MHz.
The DIP switches are located on the rear of the device.
Switches 5 to 8 are reserved for future use.
This section describes how to set the DIP switches on Master 810 to do the following:
 Loading...