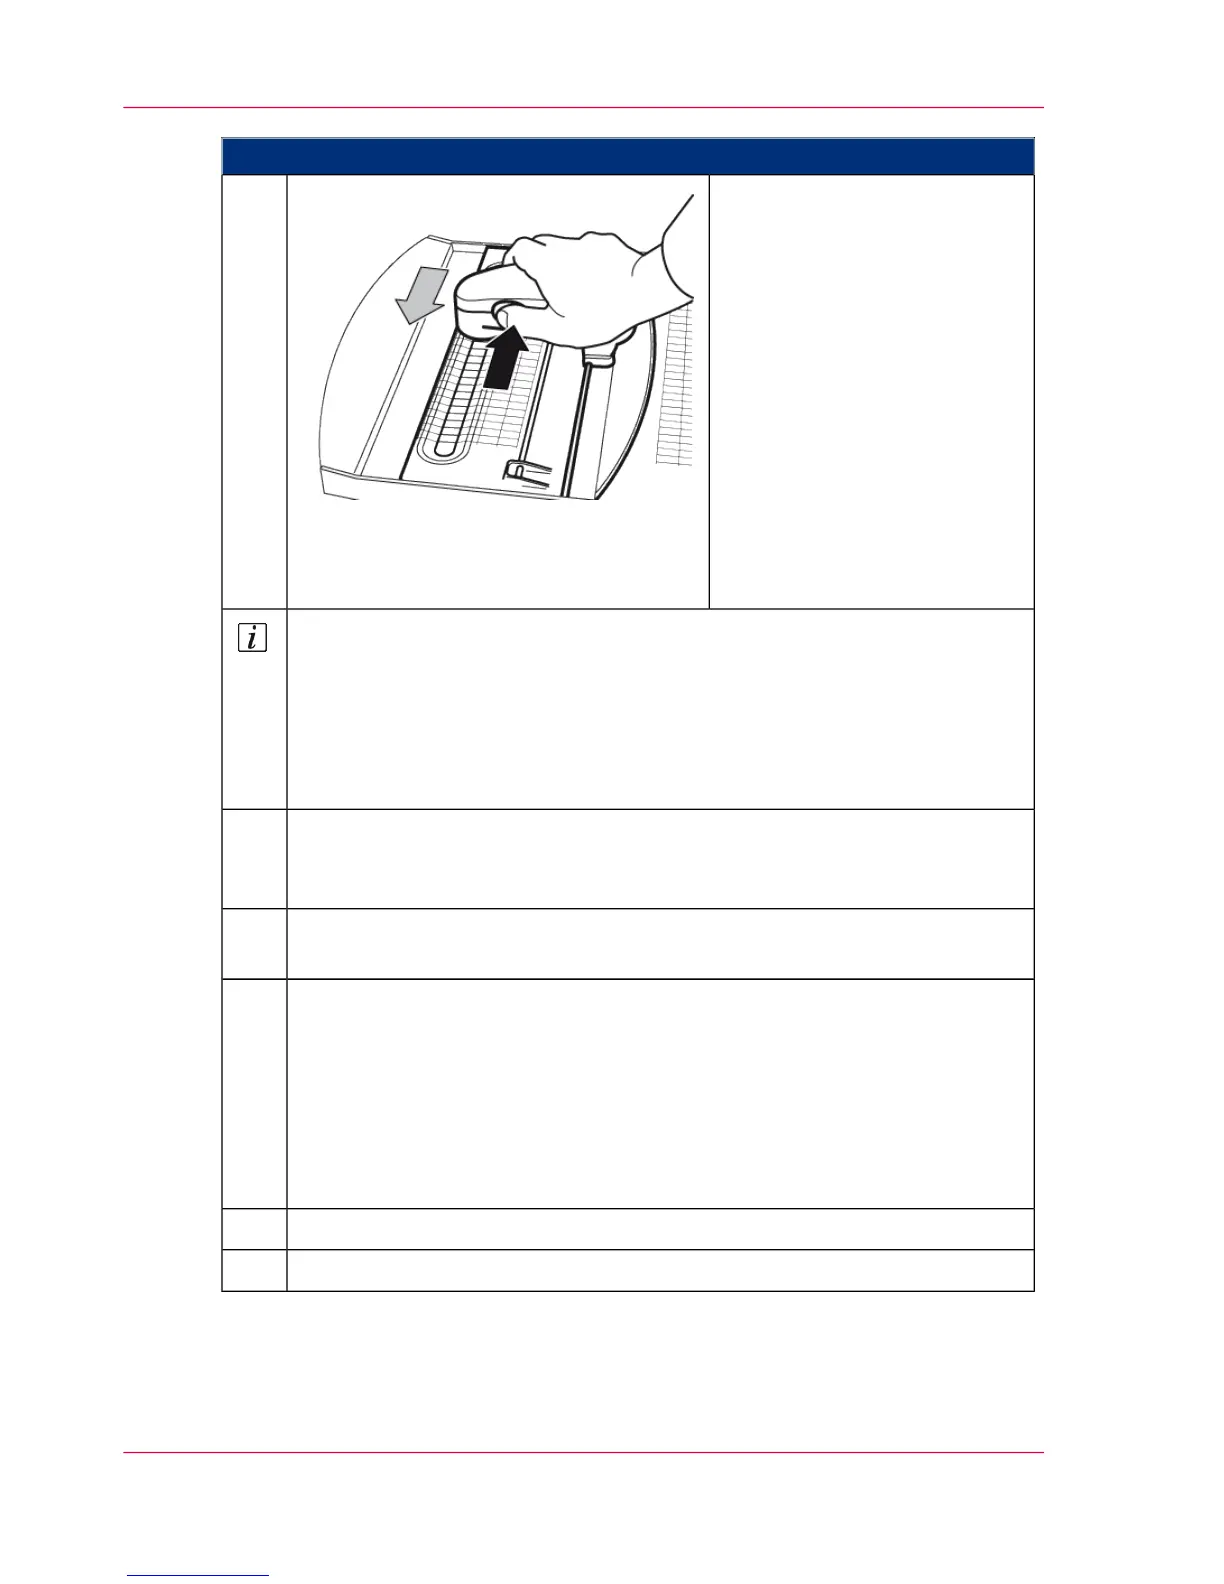
Proceed as follows:
Scan the test strips:
■
Place the measuring device in
the guide rails as shown and
move it next to the first test
strip.
■
Depress the button on the
left of the measuring device
until you hear a beep.
■
Draw the measuring device
across the entire test strip
with a slow and smooth
movement. You can scan
from left to right or right to
left.
9.
Note
The individual test strips of the blocks are displayed on the operator panel.
■
When a test strip has been fully scanned, the display above the relevant test
strip changes to green and a confirmation sound is emitted.
■
If not all fields of the test strip were scanned, an error message is displayed.
The scanning of this test strip must then be repeated.
Once the test strips of all blocks for the upper print unit have been scanned,
press the 'Record next page' button and repeat steps 8 and 9 for the test print
of the lower print unit.
10.
When you have successfully completed the scanning process, press the 'Cancel
recording' button.
11.
Select where the scanned data is to be transferred:
■
'Data storage on file system'
The data can be transferred to a USB removable storage device (Memory
Stick) for later evaluation.
■
'Transmission of data to printer'
The data is transferred to the transfer area (a directory on the drive of the
controller hard disk).
12.
Depending on the selection click the 'Save' or 'Transfer and close' button.13.
‘Analyzing Test Pages for Color Calibration’ on page 25314.
Chapter 6 - Operating the Printing System252
Scanning Test Pages for Color Calibration