Section 6: ELECTRICAL
PA1553
60
4. Replace the rear dashboard housing.
13.2 DRIVER’S AREA LIGHTS
Two halogen ceiling lights are installed over the
stepwell and the driver’s area. These lights are
frequently used for night-time operation when
passengers board or leave coach.
13.2.1 Bulb Removal and Replacement
1. Unsnap the lamp with a flat head
screwdriver and remove it.
2. Pull the defective bulb out of the socket.
3. Install the new bulb by pushing it in position.
4. Replace the lamp by snapping it back in
place.
CAUTION
Do not touch halogen bulbs with bare hands as
natural oils on skin will shorten bulb life span.
13.2.2 Removal and Replacement of In-Station
Fluorescent Tubes
1. Start by pulling out the corner of the lens
then delicately peeling it out of its seat.
CAUTION
The lens is fragile. Be very careful when
removing and handling.
2. Rotate and pull the fluorescent tube from its
sockets.
3. Install a new fluorescent tube, rotating the
tube to secure it in the sockets.
4. Replace the screen lens by first inserting
one side in the seat, then push the other
side in and snap it in place by running it in
from one corner to the next.
13.2.3 Removal and Replacement of Reading
Lamp Bulb
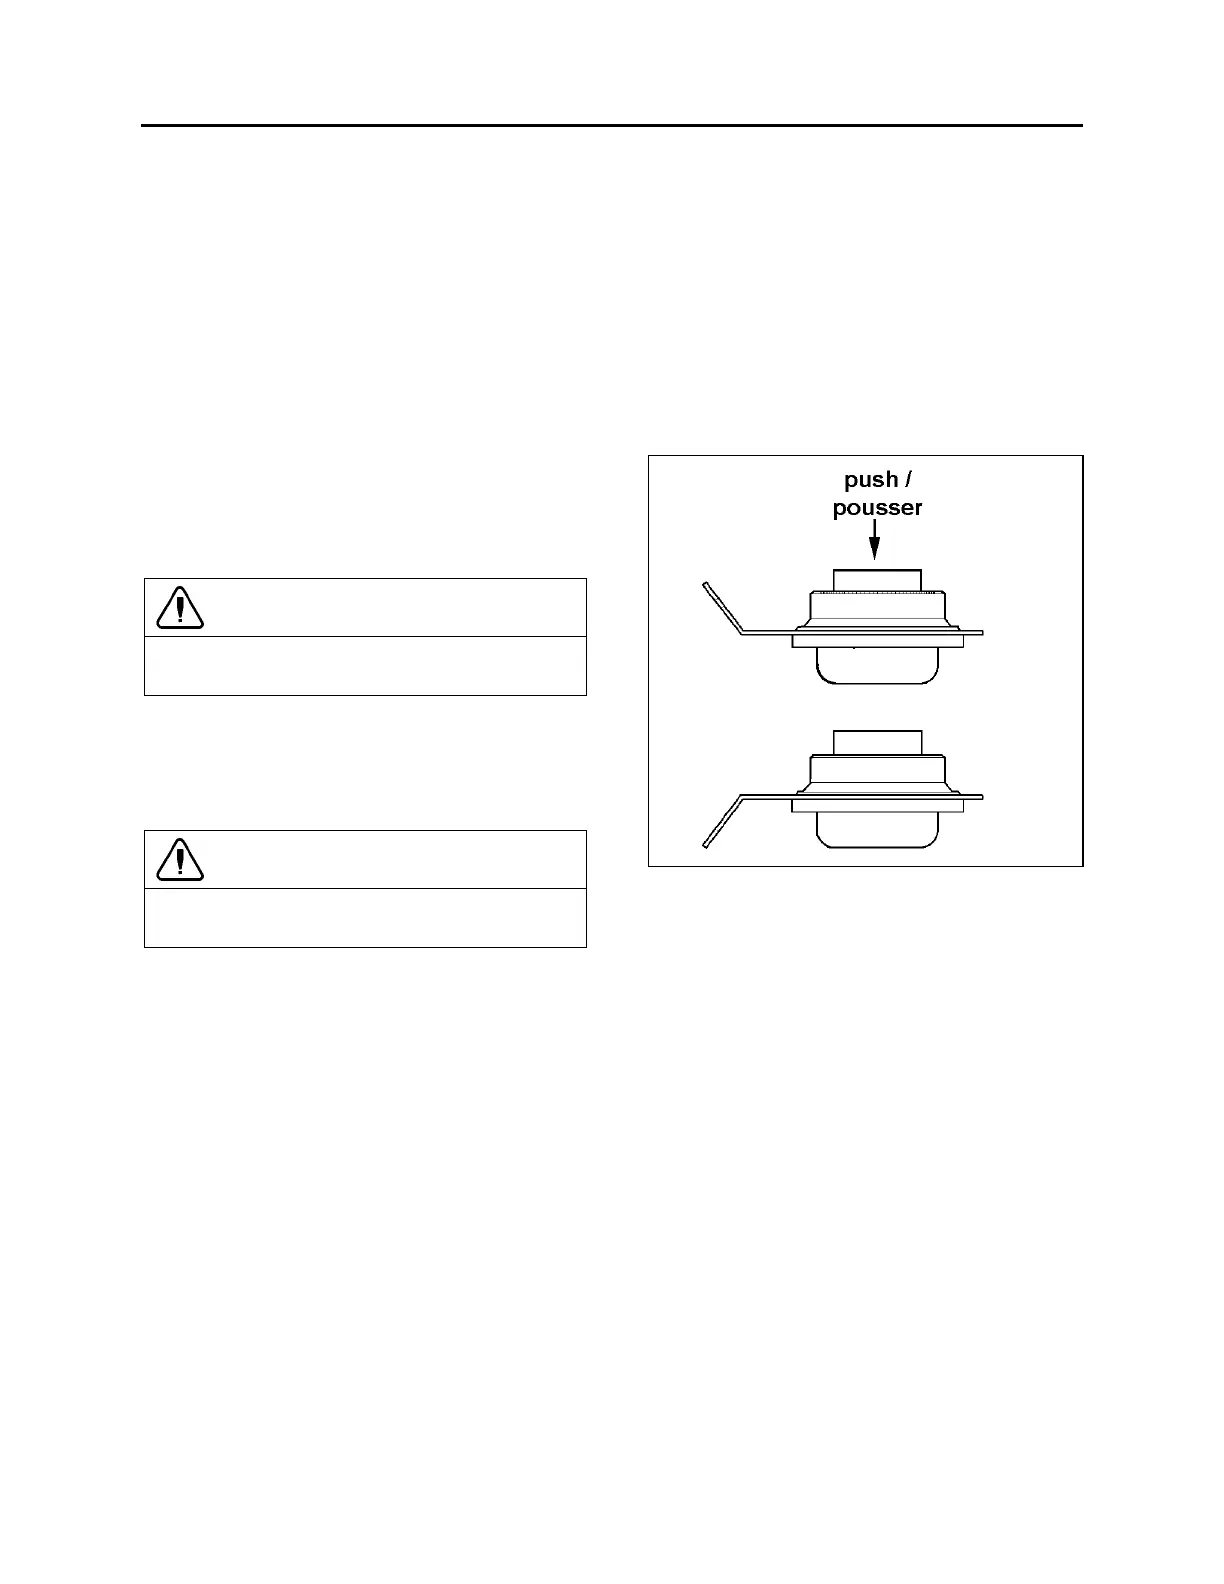
1. Engage the tool (#830164) over the lamp
and turn one quarter turn counterclockwise.
Then, remove the tool slowly.
2. Pull the bulb socket off the reading lamp
unit.
3. Push and turn bulb counterclockwise, then
pull it out of the socket.
4. Install new bulb in the socket, then push and
turn clockwise to lock bulb in position.
5. Push the bulb socket in the reading lamp
unit.
6. Position the reading lamp with the tool
(#830164), turn one quarter turn clockwise.
13.3 ENGINE COMPARTMENT LIGHTING
A switch located in engine compartment on rear
start panel, can be used to actuate the two oval
engine compartment lights.
FIGURE 57: ENGINE COMPARTMENT LIGHT
Each light is sealed and can be replaced as
follows:
1. Disconnect the light unit connection.
2. Remove the lamp.
3. Position new lamp.
4. Connect the light unit.
5. Make sure the retaining ring is installed
properly.
14. LIGHT BULB DATA
When replacing a light bulb, special attention
must be paid to the voltage rating (refer to light
bulb data hereafter).
 Loading...


