Section 26: XLII SLIDE-OUT
PA1553
33
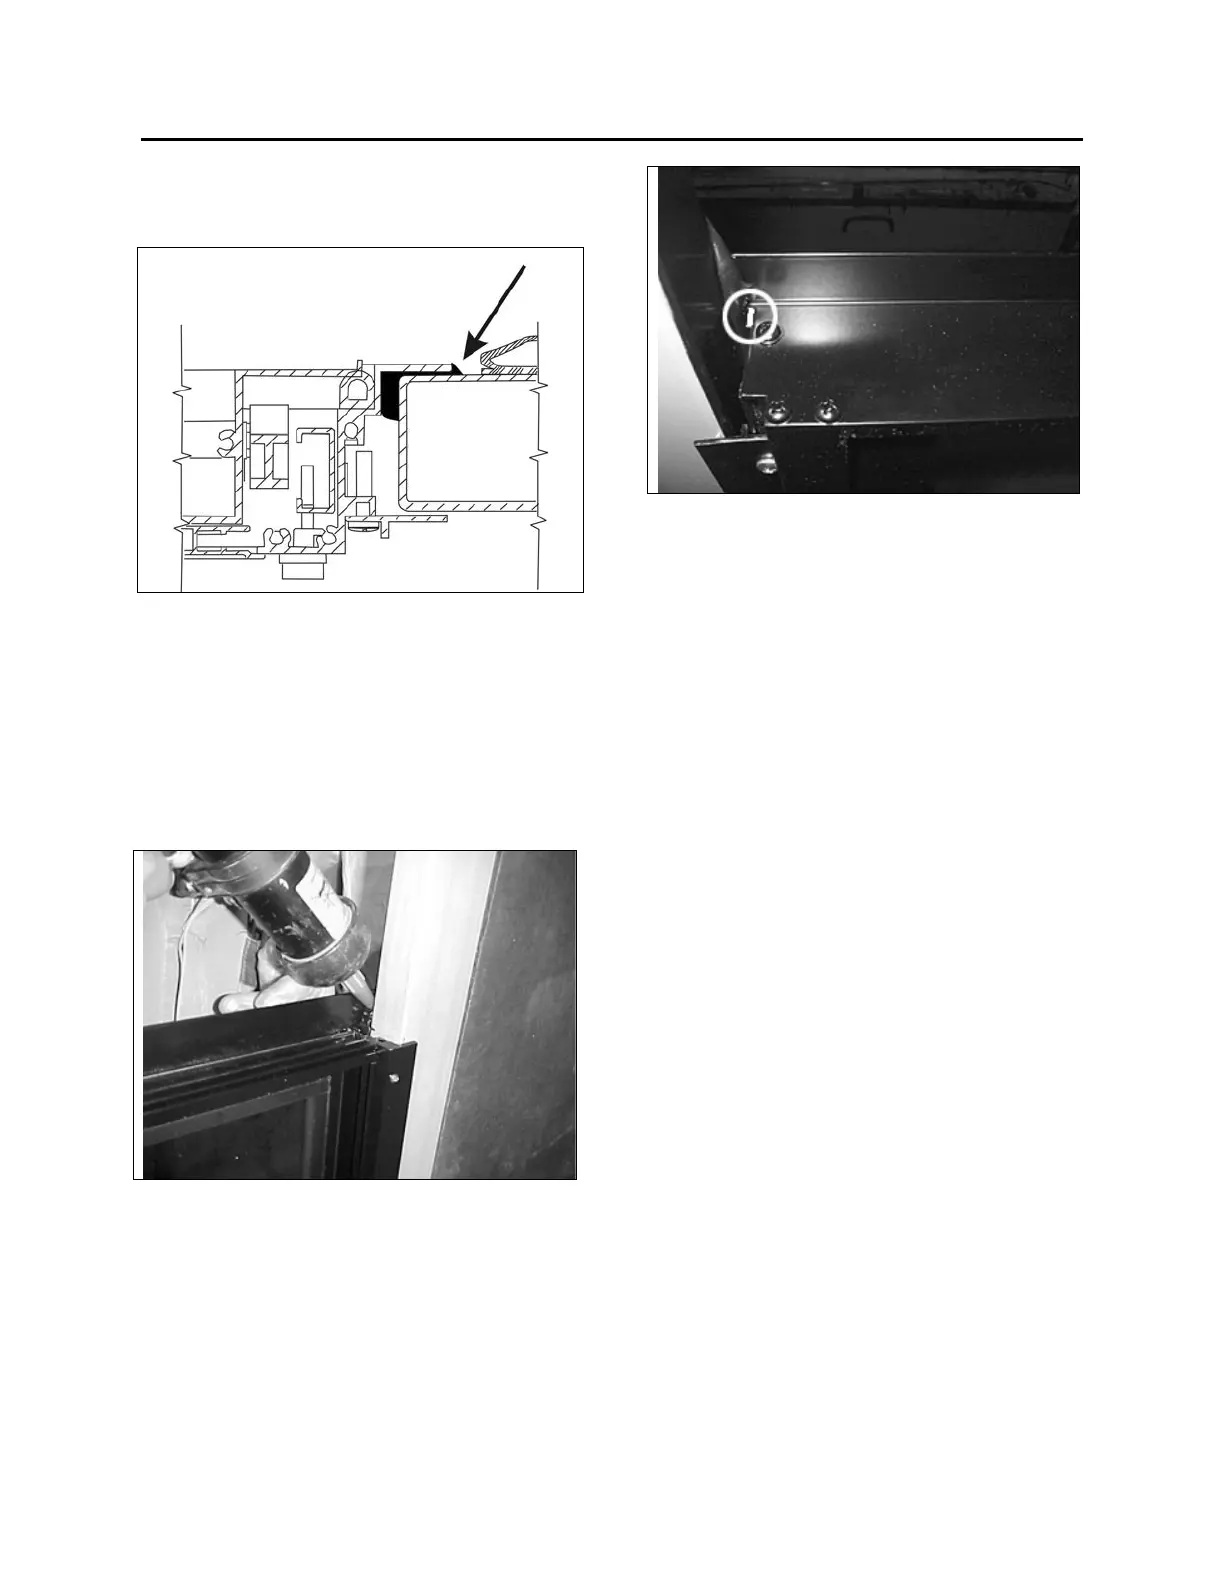
10. Open the awning window manually and
smooth down the joint (FIGURE 68) and
remove glue in excess with Sika 208.
FIGURE 68 : SMOOTH DOWN THE JOINT
11. Using Sika 252 or 255, seal the upper
corner of the awning window, both side
(FIGURE 69).
12. Using Sika 252 or 255, seal the chink
between the structure vertical member and
the awning window, both side (FIGURE 70).
FIGURE 69 : AWNING WINDOW – SEAL THE UPPER
CORNERS
FIGURE 70 : AWNING WINDOW – SEAL THE CHINK
16.10 SLIDING WINDOW
INSTALLATION
1. Clean and prepare the windows and the
slide-out structure surfaces with appropriate
cleaner, abrasives and primers. Clean
surfaces with anti-silicone.
2. Apply Sika Aktivator on sliding window as
per FIGURE 71.
3. Apply Sika Aktivator on the structure as per
FIGURE 72.
4. Apply Sika 252 as per FIGURE 73
(triangular bead: 20mm width X 10mm high).
5. Install the sliding window centered in the
opening. Press the window slightly. The
window must be kept closed.
6. While a helper is pressing on the window
from outside, install the awning window
clamping frame and tighten screws
according to the sequence shown in
FIGURE 74.
7. Remove glue in excess with Sika 208.
8. Using Sika 252 or 255, seal the inside upper
corner of the sliding window, both side
(FIGURE 75).
9. Using Sika 252 or 255, seal the chink
between the structure vertical rubber seal
and the sliding window, both side (FIGURE
76).
 Loading...


