Section 12: BRAKE AND AIR SYSTEM
PA1553
17
NOTE
Do not attempt to use thinner or alcohol to
clean the pin without removing it as it may
damage the rubber bushing.
FIGURE 31: CALIPER GUIDANCE 12114
25.1.8 Checking the Tappet Boots
a) The rubber boots (13, Fig. 32) should show
no damage, check the attachment.
FIGURE 32: RUBBER BOOTS
12115
CAUTION
Any ingress of water and dirt will lead to
corrosion and may affect the function of the
actuation mechanism and adjuster unit.
b) If boots are damaged but show no
corrosion, the boots and tappets should be
replaced (Prévost #611177).
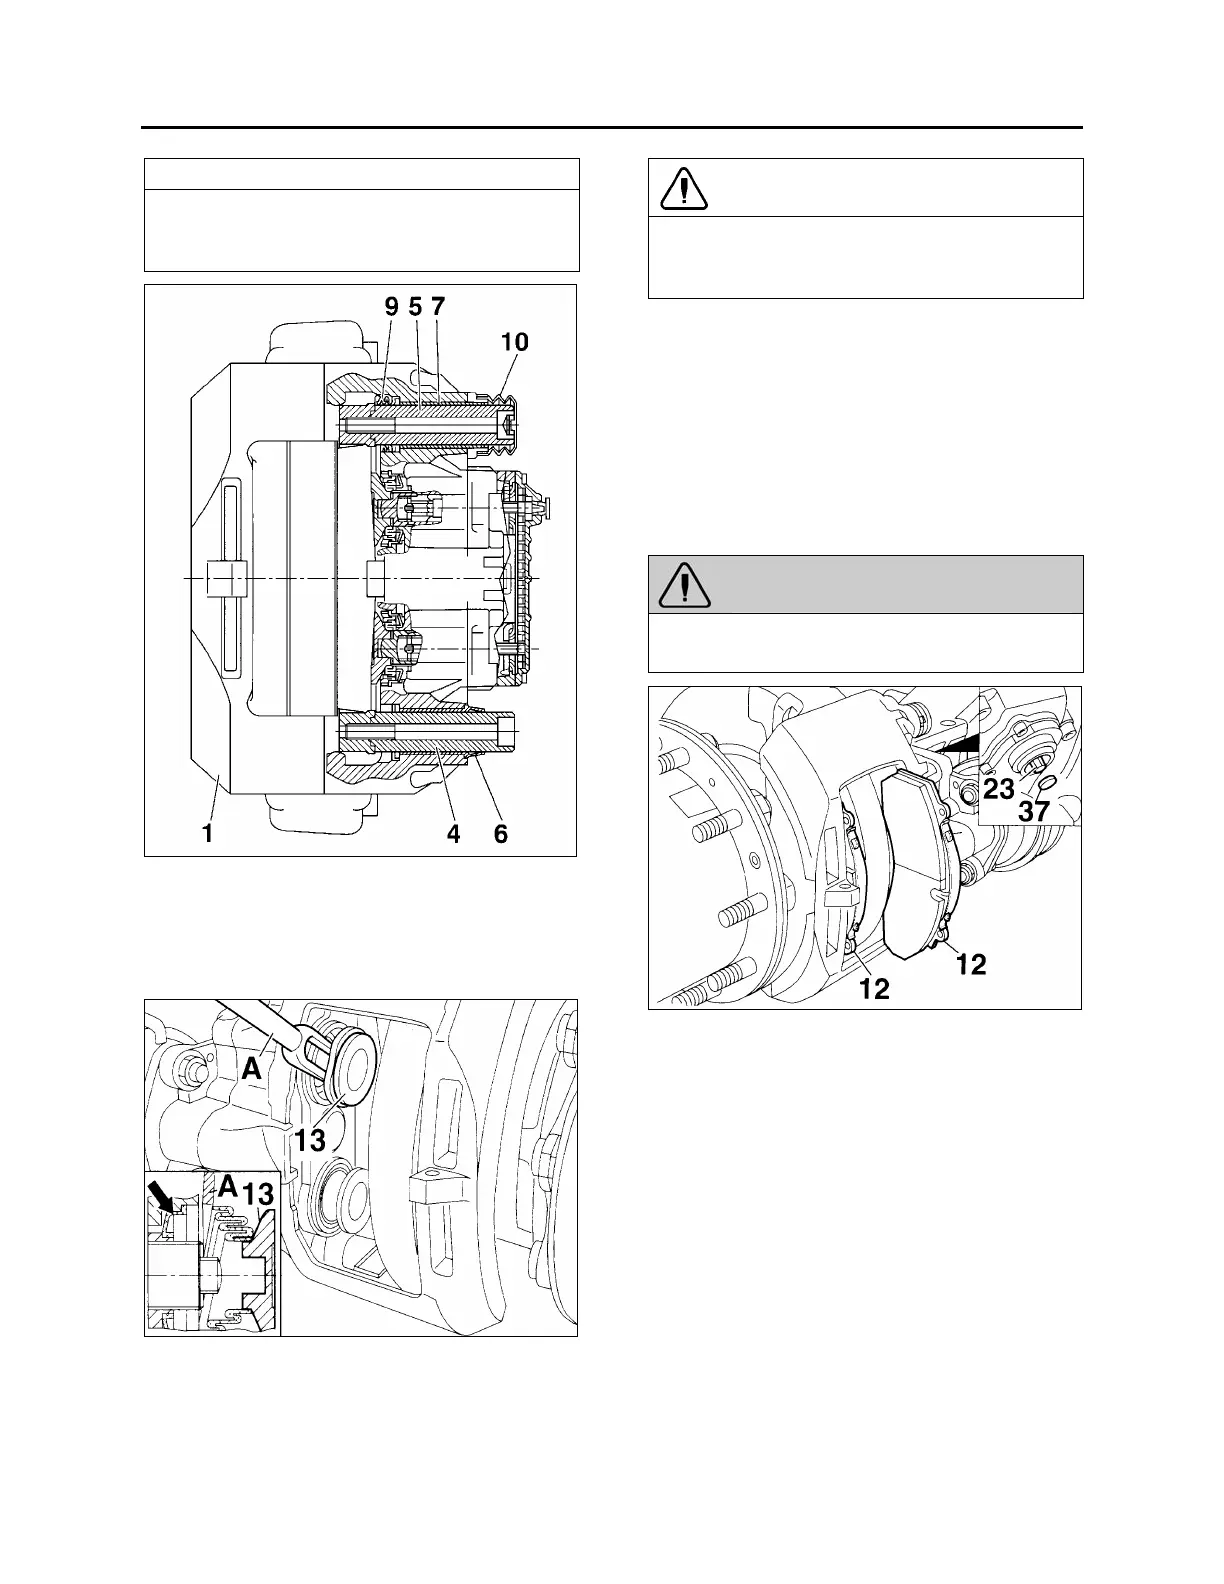
25.1.9 Pad Installation
Turn adjuster pinion (23, Fig. 33) counterclock-
wise until tappets are fully retracted and clean
pad seat area. Slide caliper to full outboard
position and install outside pad. Slide caliper to
full inboard position and install inside pad.
WARNING
It is recommended to change all pads on an
axle at the same time.
FIGURE 33: PAD INSTALLATION 12111
25.1.10 Adjusting the Running Clearance
a) Insert a feeler gauge 0.028 inch (0.7 mm
thickness) between tappet and pad backplate
(Fig. 34). Turn adjuster pinion clockwise until
0.028 inch (0.7 mm) clearance is achieved.
Replace cap (37) (Prévost # 641313).
b) To ensure a constant running clearance
between the rotor and pads, the brake is
equipped with an automatic adjuster unit.
When the pads and rotor wear, the running
clearance between the pads and rotor
increases. The adjuster (23, Fig. 34) and
turning device turn the threaded tubes by the
amount necessary to compensate the wear.
 Loading...


