Section 18: BODY
PA1553
21
CAUTION
Do not exceed the crest dedicated surface.
o Peel the back from the self adhesive crest
side pieces.
o Peel the back from the self adhesive crest
center piece. Center crest and apply.
o Compress the crest three pieces using your
hands.
6.1.3 Headlights
Refer to Paragraph 12.1 Headlights, included in
Section 06: Electrical of the Maintenance
Manual for complete information on headlights.
6.1.4 Rear View Mirrors
Your vehicle is equipped with two exterior
mirrors.
The mirrors may be equipped with an optional
electric heating system which serves to
minimize ice and condensation on the mirror
glass in extreme weather conditions. Integral
thermostats are installed in both mirrors to avoid
continuous heating. Use the appropriate switch
on the dashboard to activate the defroster
system on both mirrors simultaneously. The
mirrors can easily be adjusted by using the
remote controls located on the L.H. side control
panel. The mirrors have easy to replace glass in
case of breakage. Remote control motors can
also be replaced.
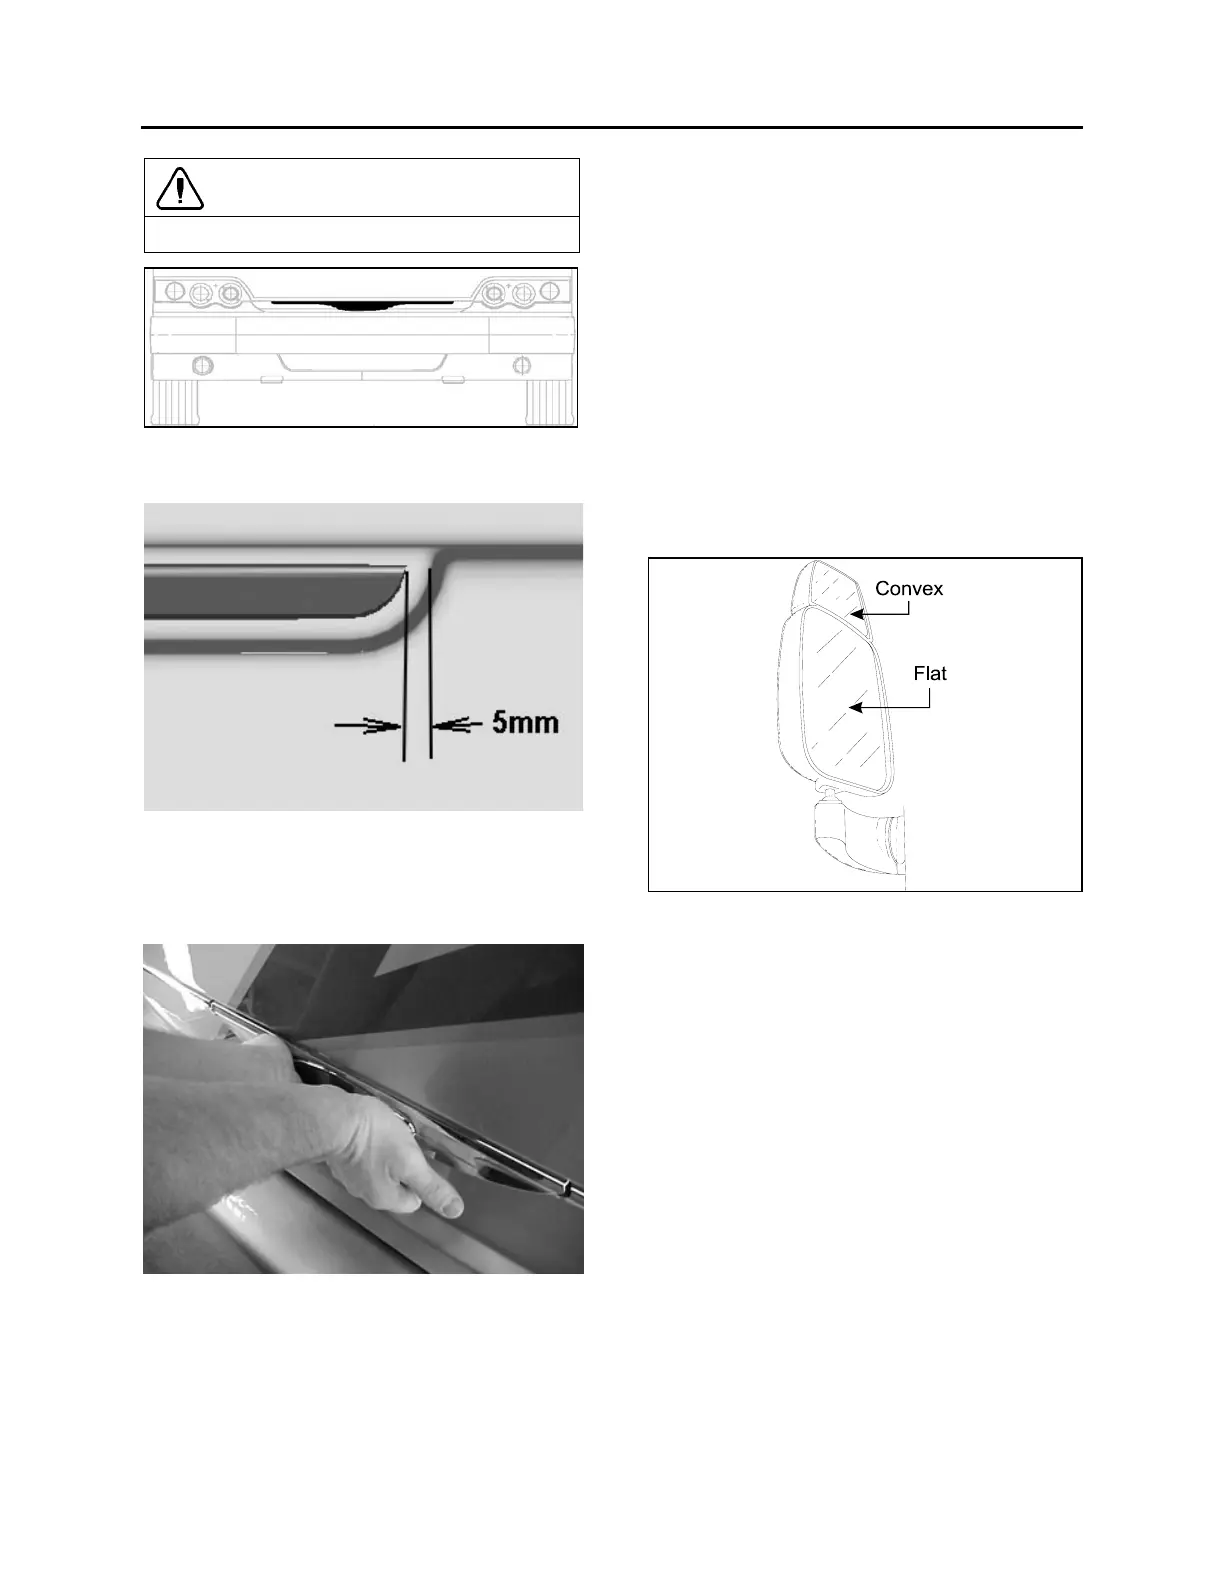
FIGURE 14: REAR VIEW MIRROR (RAMCO) 18398A
Adjustment
At the base of the mirror arm, loosen the
mounting bolt to swing arm in or out.
To pivot the mirror head, loosen the setscrews
on each side of the ball stub at the base of the
mirror head to facilitate the adjustment.
Disassembly
At end of mirror arm, loosen the setscrews to
relieve tension on the ball stem. Remove the ball
stem from the arm.
Remove the four screws fastening the mirror
arm base to the coach.
Assembly
Mount the mirror arm base to the coach. Insert
the ball stem into the mirror arm and tighten the
socket setscrews.
 Loading...


