280 Rockwell Automation Publication 2198-UM002L-EN-P - October 2021
Chapter 8 Remove and Replace Drive Modules
Start and Configure the
Drive Module
Follow these steps to configure the replacement module.
1. Reapply power to the drive system.
Refer to Apply Power to the Kinetix 5700 Drive System
on page 249 for
the procedure.
2. Configure the network settings for the drive module.
For example, if your old module was configured as Static IP, you must set
the IP address, gateway, and subnet mask in the new module identical to
the old module.
Refer to Configure the Drive
on page 188 to access those settings.
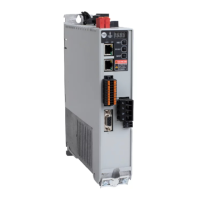
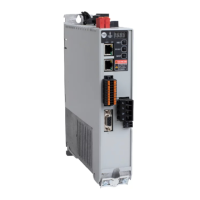
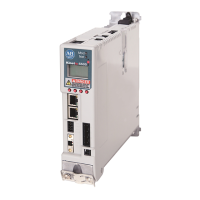
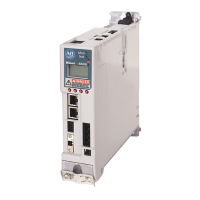
3. If you are replacing a 2198-xxxx-ERS3 (series A) drive with a
2198-xxxx-ERS3 (series B) drive, see Replace 2198-
xxxx-ERS3 (series A)
Drives with Series B Drives for more information.
4. Download the Logix Designer application to the controller.
5. Verify that the drive system is working properly.
Replace 2198-xxxx-ERS3 (series A) Drives with Series B Drives
When replacing a 2198-xxxx-ERS3 (series A) drive with a 2198-xxxx-ERS3
(series B) drive, the procedure depends on how Electronic Keying is configured
in the Module Definition.
IMPORTANT
If you intend to use the same Logix Designer application after replacing
your drive module, the new module must be the same catalog number
as the old module.
IMPORTANT
If a servo drive was previously configured by a safety controller, reset
the drive to the Out of Box state. Refer to Out of Box State on page 286.
IMPORTANT
If Electronic Keying in the Module Definition is configured for Exact
Match, the following guidelines apply:
• The Module Definition Revision level must match the 2198-xxxx-ERS3
(series B) drive firmware (revision 9 or later)
• For backwards compatibility with series A drives, Motion Safety in the
Module Definition of the 2198-xxxx-ERS3 (series B) drive must be
configured for STO Only
 Loading...
