Section 13 ELECTRICAL CONNECTORS AND WIRING DIAGRAMS
Subsection 01 (ELECTRICAL CONNECTORS)
1
F18Z07A
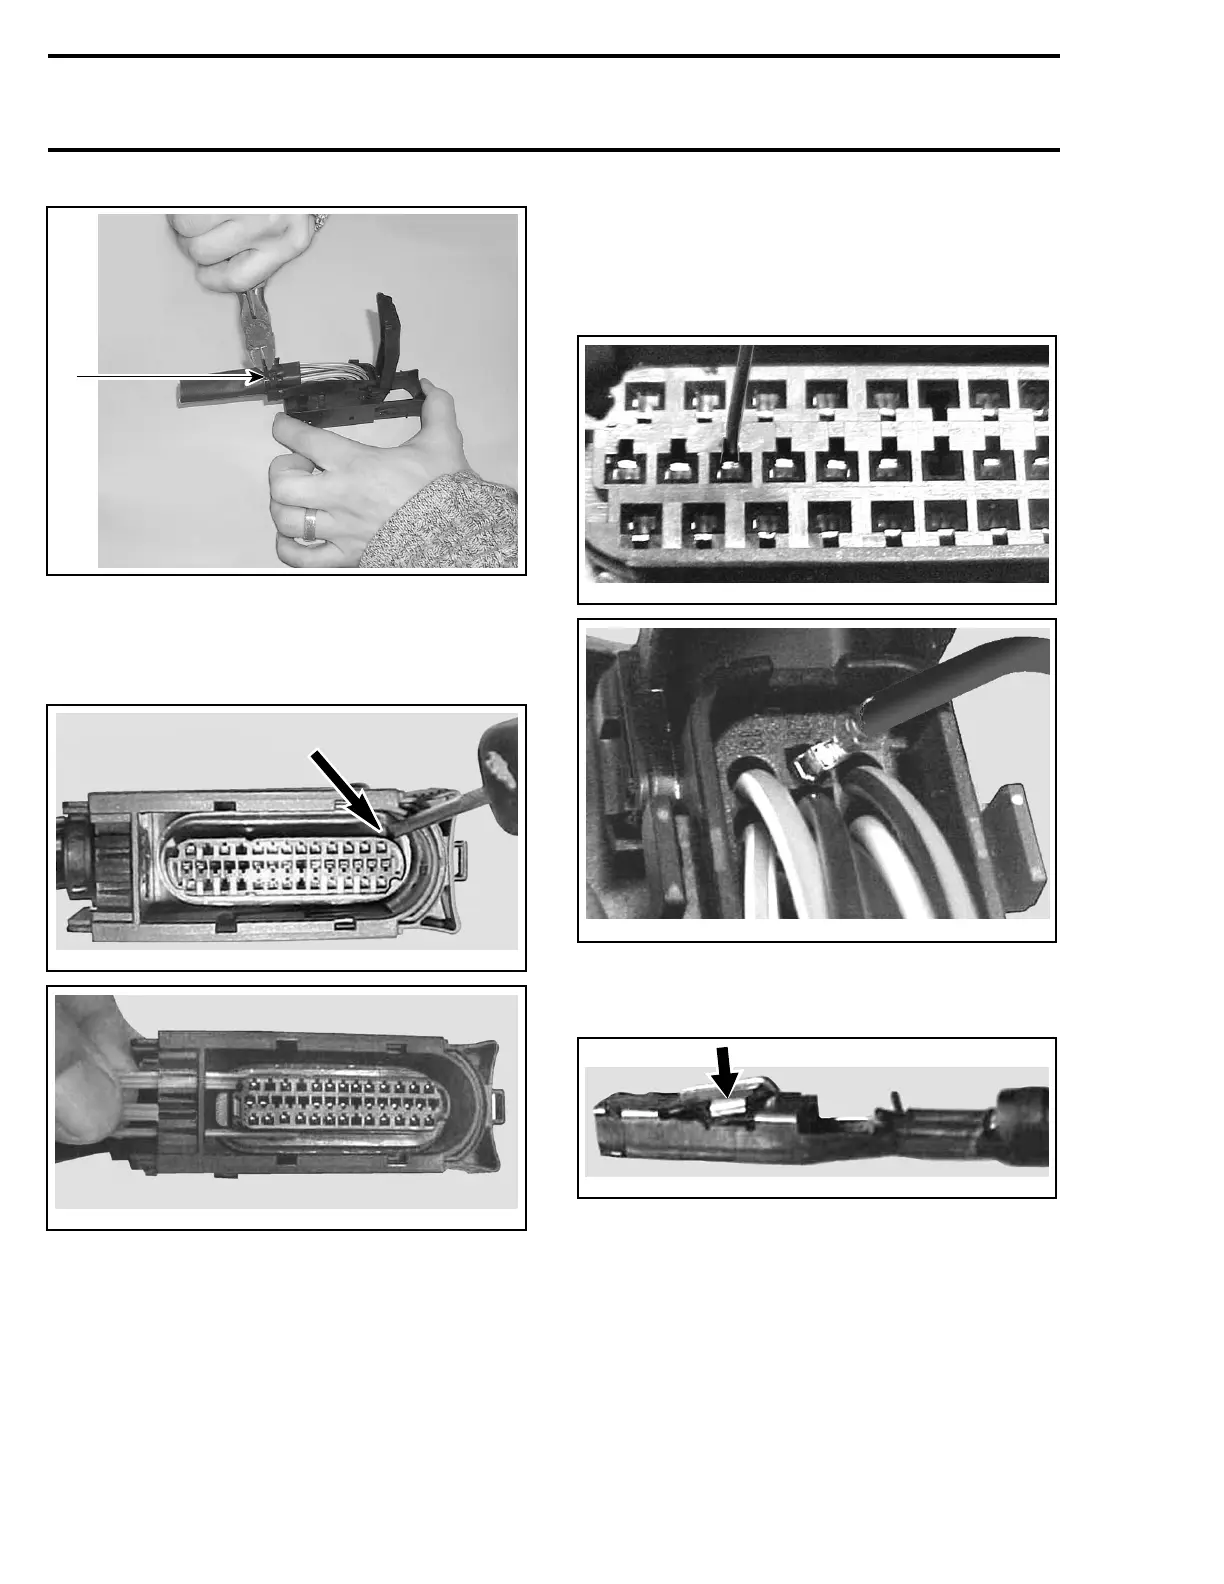
1. Tie raps
Turn the connector over and remove the orange
locking tab by pushing and then pulling toward the
wire harness.
F18Z0SA
F18Z0TA
A terminal remover such as Snap-On TT600-1 (or
a 0.76 mm (.030 in) oxyacetylene torch tip cleaner
or a #68 drill bit) must be inserted into the terminal
cavity to release the locking tab from the connec-
tor.
CAUTION: Using a tool tip larger than 0.76 mm
(.030in)maydamagetheterminal.
Insert the tool tip into the terminal cavity as
shown, and locate its wire in the back of the con-
nector. You may have to pry the tool tip against
the locking tab to release it, then remove the
terminal from the connector.
F18Z0UA
F18Z0VA
Check the locking tab on the terminal, it may have
to be bent out a little so it will lock in its cavity
when it is re-inserted.
F18Z0WA
Ifthewireisingoodconditionbuttheterminal
is rusted or corroded, remove defective terminal
and crimp a new one. If wire and terminal are de-
fective, replace with a new genuine wire and new
terminal and crimp them together as explained be-
low.
IMPORTANT: Use genuine wires only. Otherwise
wires will not fit properly.
368 smr2005-073