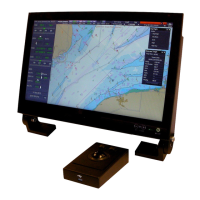
ECDIS-E User Guide Navigation Tools
65934012 5-15
4. To change the start or end point of a clearing line move the cursor
over the line, right click and select Set Clearing Line Start/End Pt
Here. The nearest start or end point of the line is trimmed to the
defined position on the display.
To change the NMT or NLT value click the respective radio button, the
abbreviation below the line will change to reflect the selection.
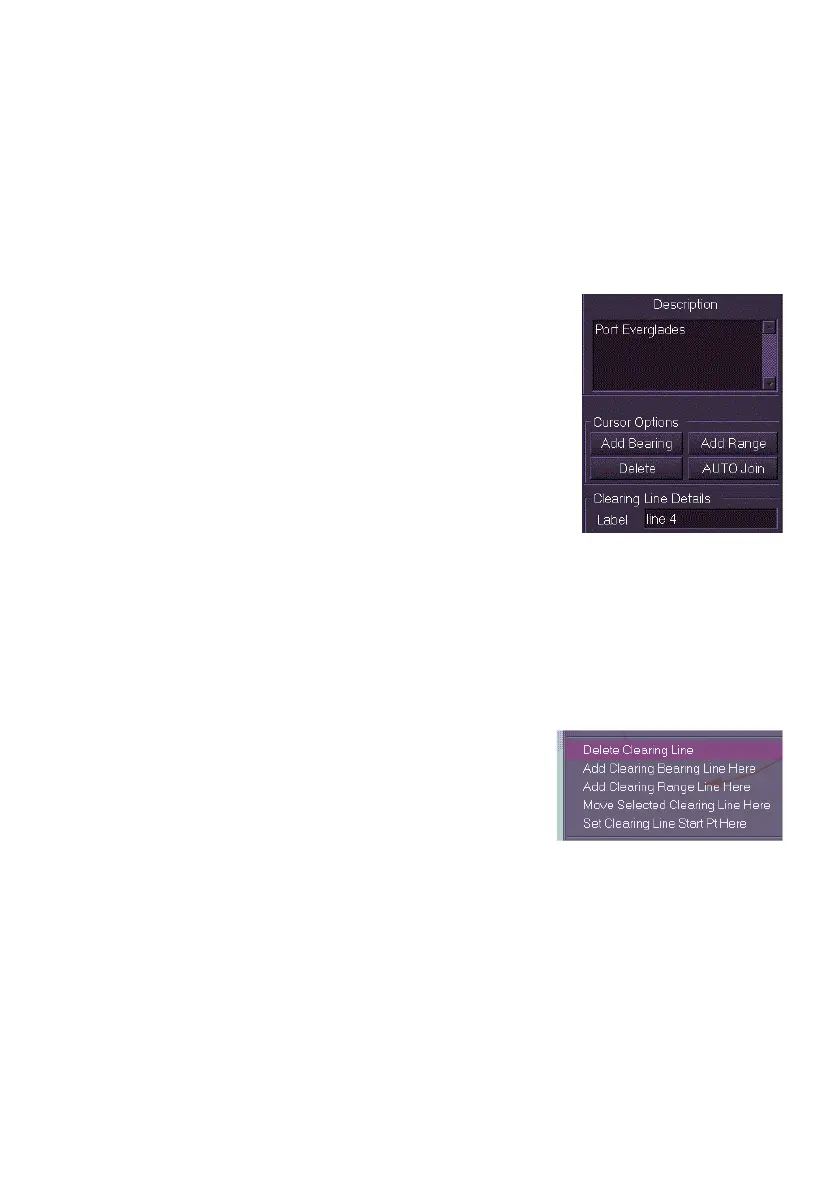
A description of a Clearing Line set and a label for each clearing line may
be entered:
1. To enter a description of a clearing line set
click in the Description field and enter
required text using the on-screen keypad.
2. To enter a label for each clearing line click
in the Label field and enter required text
using the on-screen keypad. The label
given will be displayed below the clearing
line.
To delete clearing lines, do the following:
From the Clearing Lines Menu:
1. To delete a clearing line click the Delete button, in delete mode the
button is highlighted and the letters DEL are added to the cursor.
2. Move the cursor over the line's origin point. When the cursor is in
the correct location the cross lines change to diagonal lines.
3. Click the left key on the trackball. The clearing line is deleted.
From the Context window:
1. Right click on the clearing line to be
deleted and select Delete Clearing Line
from the context popup window.
2. The clearing line is deleted from the
display.
 Loading...