Targets ECDIS-E User Guide
9-32 65934012
3. Move the cursor and left click again, a second
zone point is created and the two circles are
joined with a straight purple line. To create the
polygonal shape continue the process, the last
zone point (maximum of 10) must be entered
at the first point.
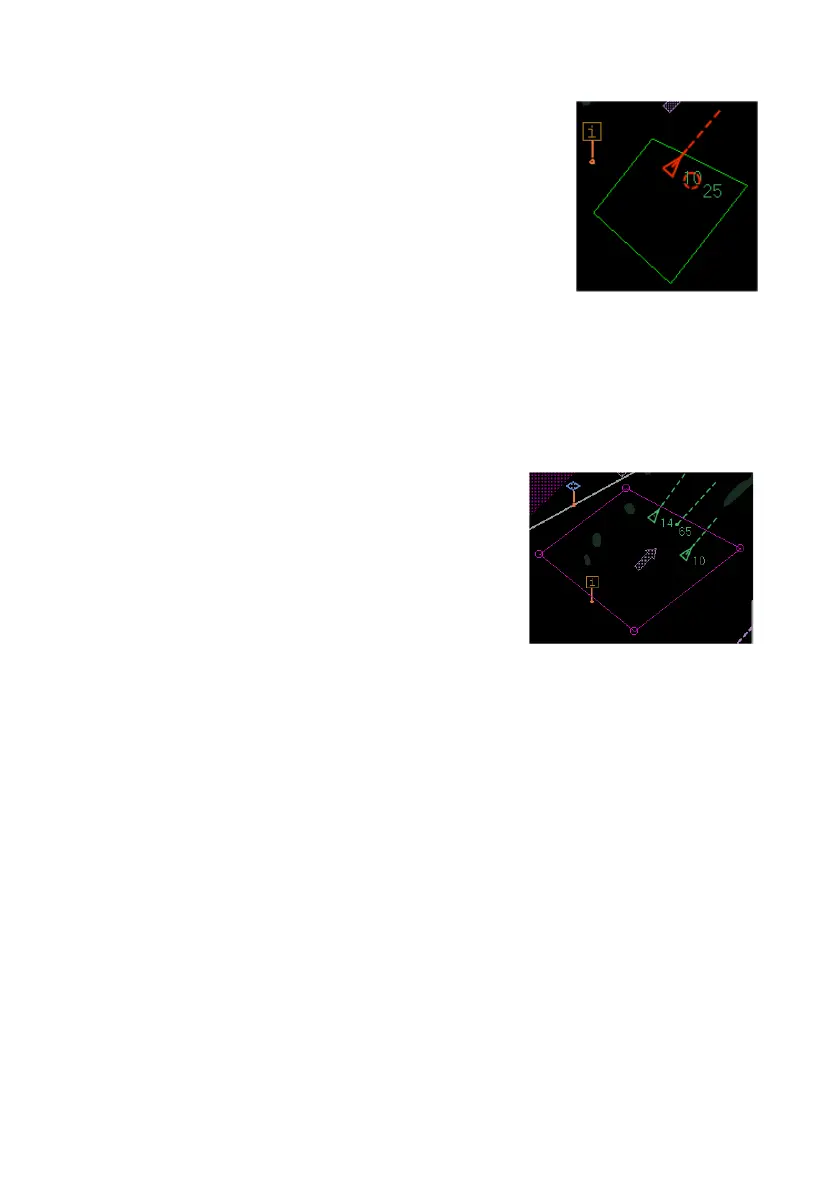
When the last zone point has been entered the
polygonal shape is created. The zone point
circles are removed, the zone line changes to
green and the zone is auto activated.
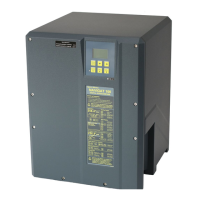
To edit a polygonal zone:
1. Click the Edit Off button of the polygonal zone to be edited, the
button changes to Submit. In edit mode all activation zones are
displayed on the screen, with the zone to be edited shown in purple
(edit mode) with all zone points displayed.
2. Move the cursor to the first point, the
cursor changes to a bidirectional arrow
indicator. Left click on the point, hold
down the left button and use the trackball
to drag the point to the required location
on the screen. Repeat the process for all
other zone points. Note that targets in an
edited zone are not activated.
3. When the zone is changed to the required shape and position click
the Submit button. The zone is activated (green line) and the Edit
is switched off.


 To Next Page