01/02
4-89
8825/8830 Printer
REP 10.1
Repairs and Adjustments
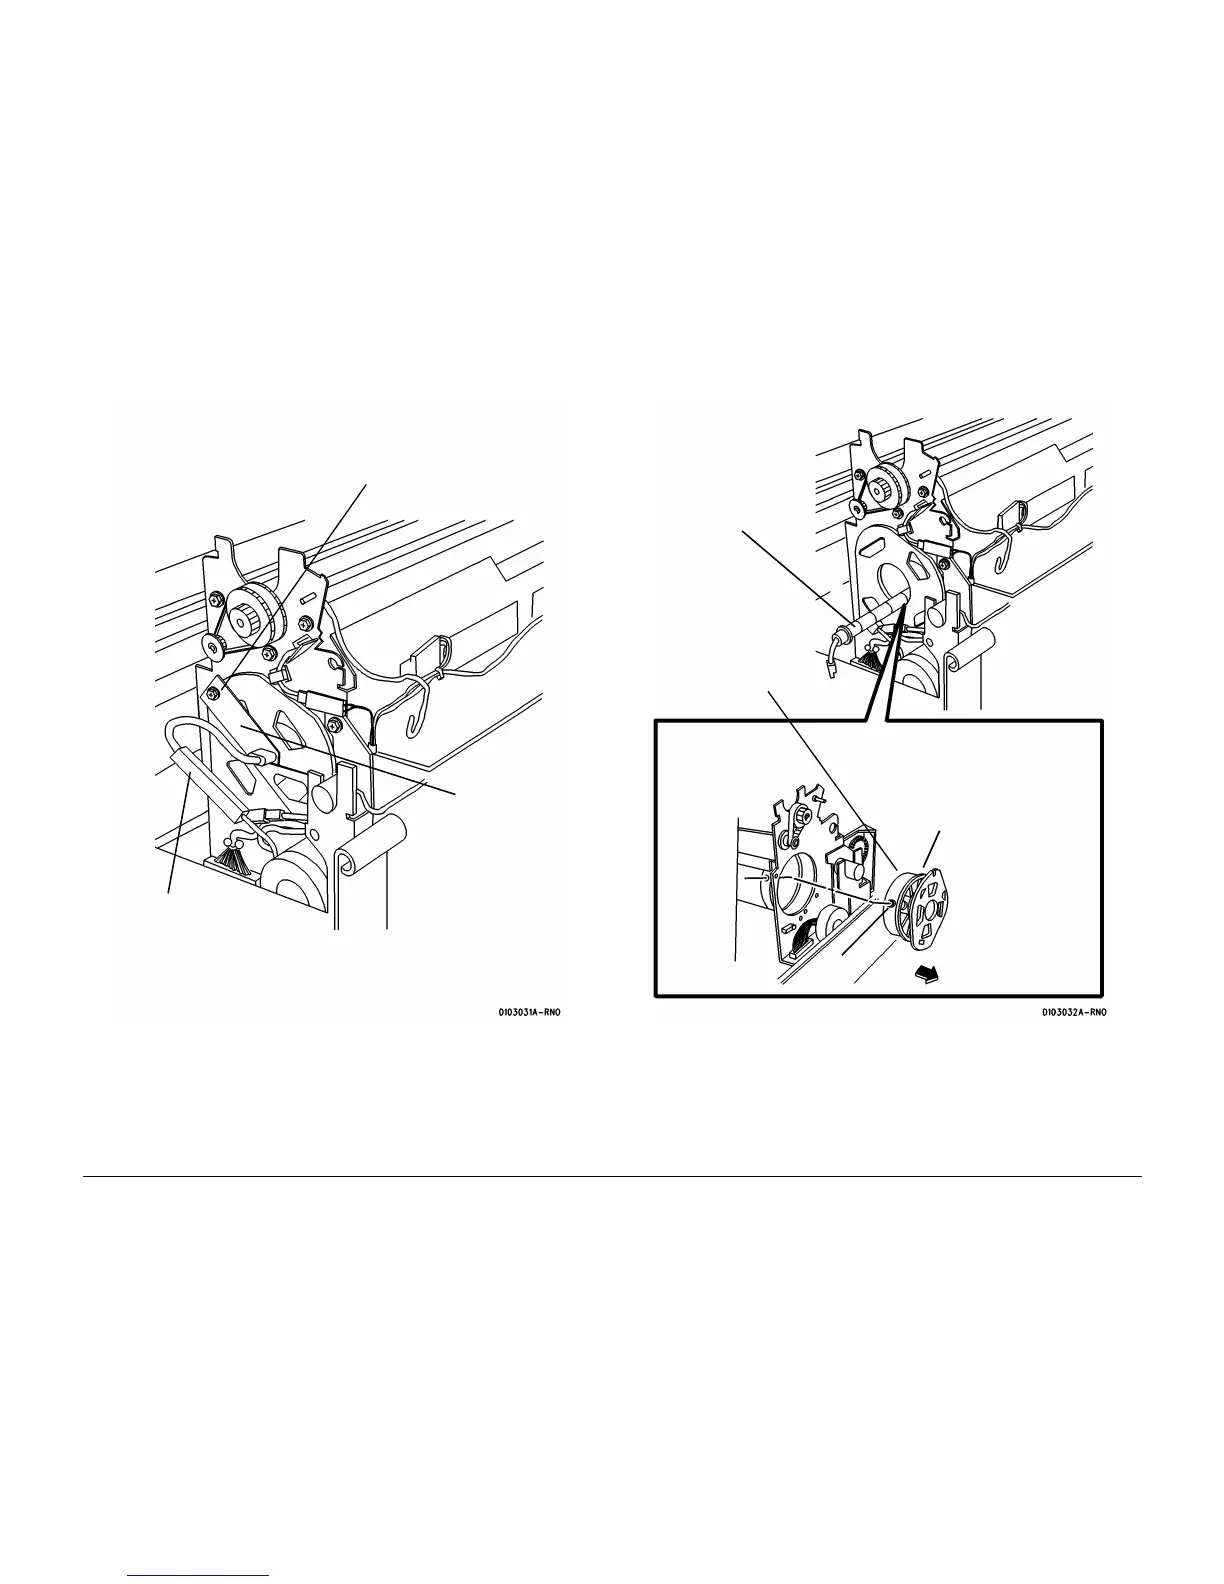
4. (Figure 2): Disconnect the Heat Rod and remove the bracket (Left side).
Figure 2 Removing the Bracket (Left side)
CAUTION
Wear gloves or wrap a sheet of paper around the Heat Rod when handling the Heat Rod. Do
not touch the glass section of the Heat Rod. Oil from fingers can cause damage to the Heat
Rod.
5. (Figure 3): Remove the Heat Rod.
Figure 3 Removing the Heat Rod and Fuser Hub Assembly
Replacement
CAUTION
Wear gloves or wrap a sheet of paper around the Heat Rod when handling the Heat Rod. Do
not touch the glass section of the Heat Rod. Oil from fingers can cause damage to the Heat
Rod.
Bracket
2
Remove the screws
(2) and the bracket
1
Disconnect the
connector
1
Remove the
Heat Rod
2
Push the pin while
removing the Fuser
Hub Assembly
Fuser Hub Assembly
Pin

 Loading...


