01/02
4-90
8825/8830 Printer
REP 10.1
Repairs and Adjustments
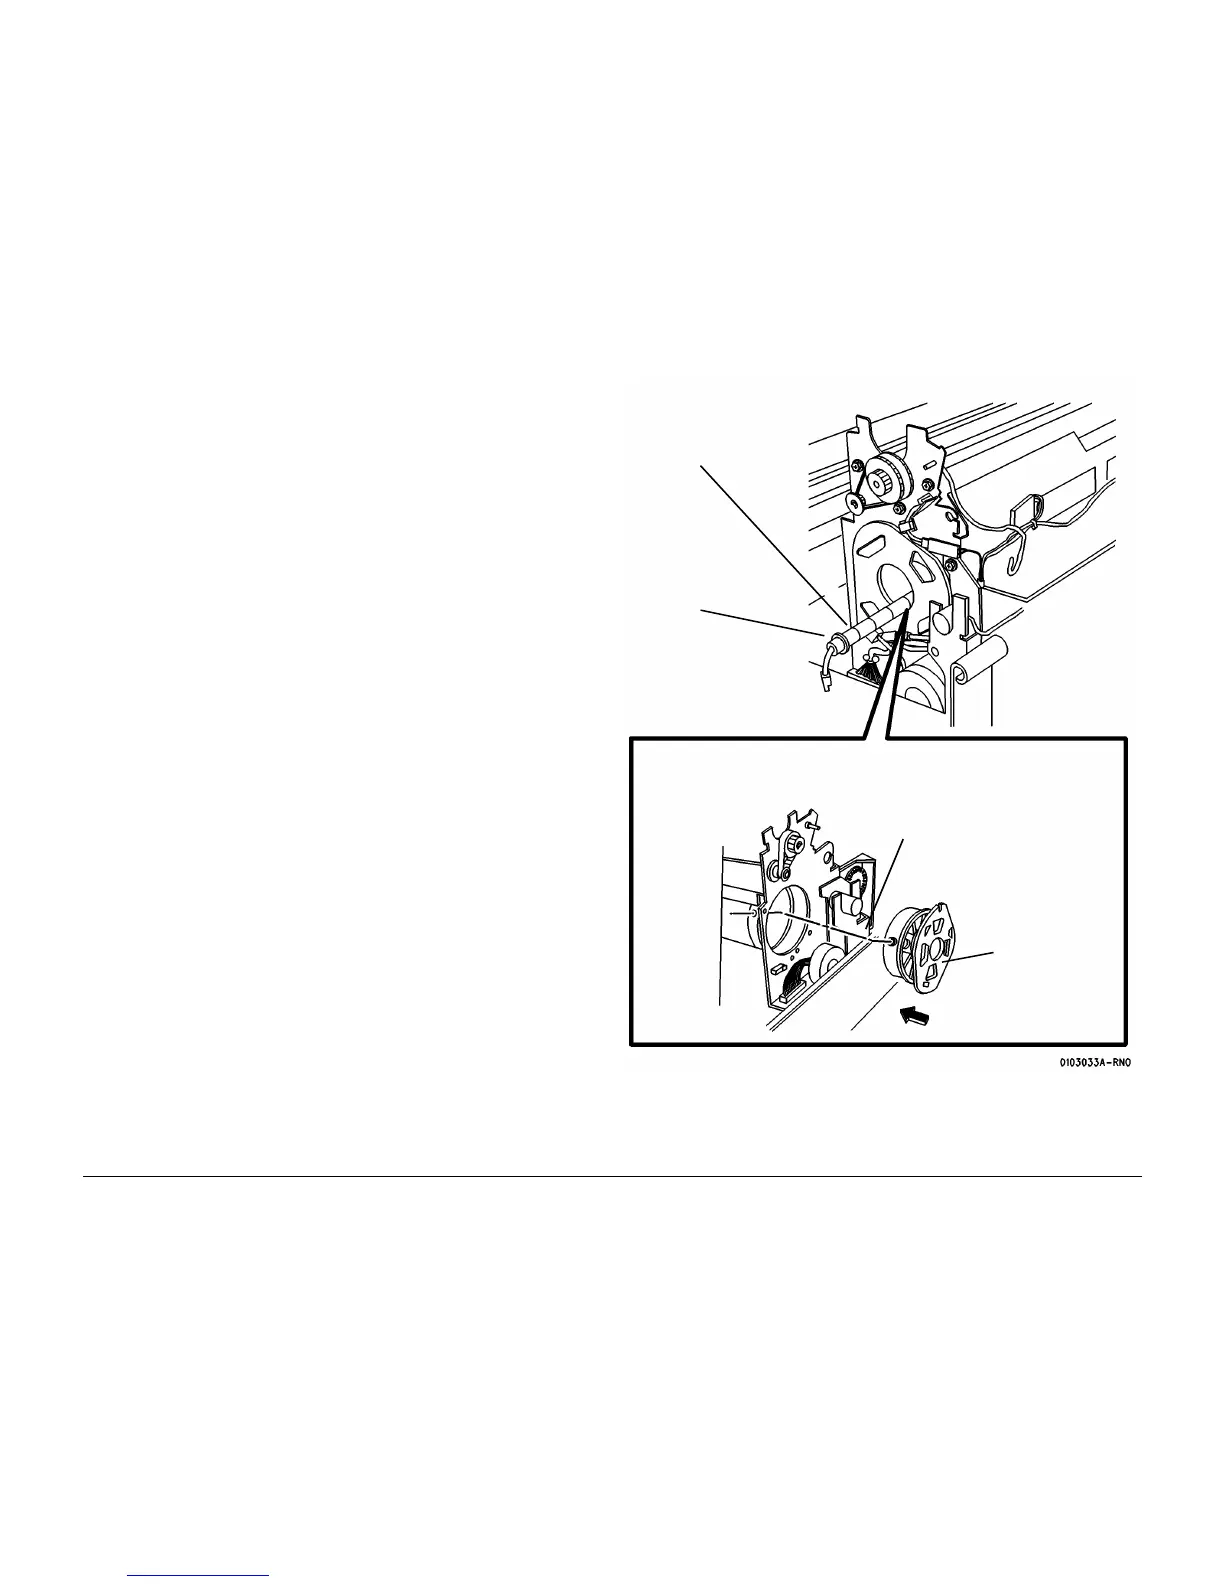
1. (Figure 4): Reinstall the Heat Rod.
NOTE: Do not remove the connectors from the wires on the ends of the Heat Rod.
a. Insert the red connector into the Heat Roll.
b. While looking into the roll, push the red connector through the hole in the Fuser
Drive Gear at the opposite end.
c. If the previous step is too difficult, use the rod that secures the Fabric Guide as a
tool. Insert that rod through the right side of the Heat Roll, secure the red connector
to it, and pull the Heat Rod through the Heat Roll.
Figure 4 Reinstalling the Heat Rod
3
Insert the con-
nector into the
Hub Assembly
2
Reinstall the
Heat Rod
1
Straighten the wire at the
red connector end (as
straight as possible)
4
Reinstall the hub
Assembly with the
flat sides positioned
as shown

 Loading...


