01/02
6-30
8825/8830 Printer
Installation Procedure
General Procedures
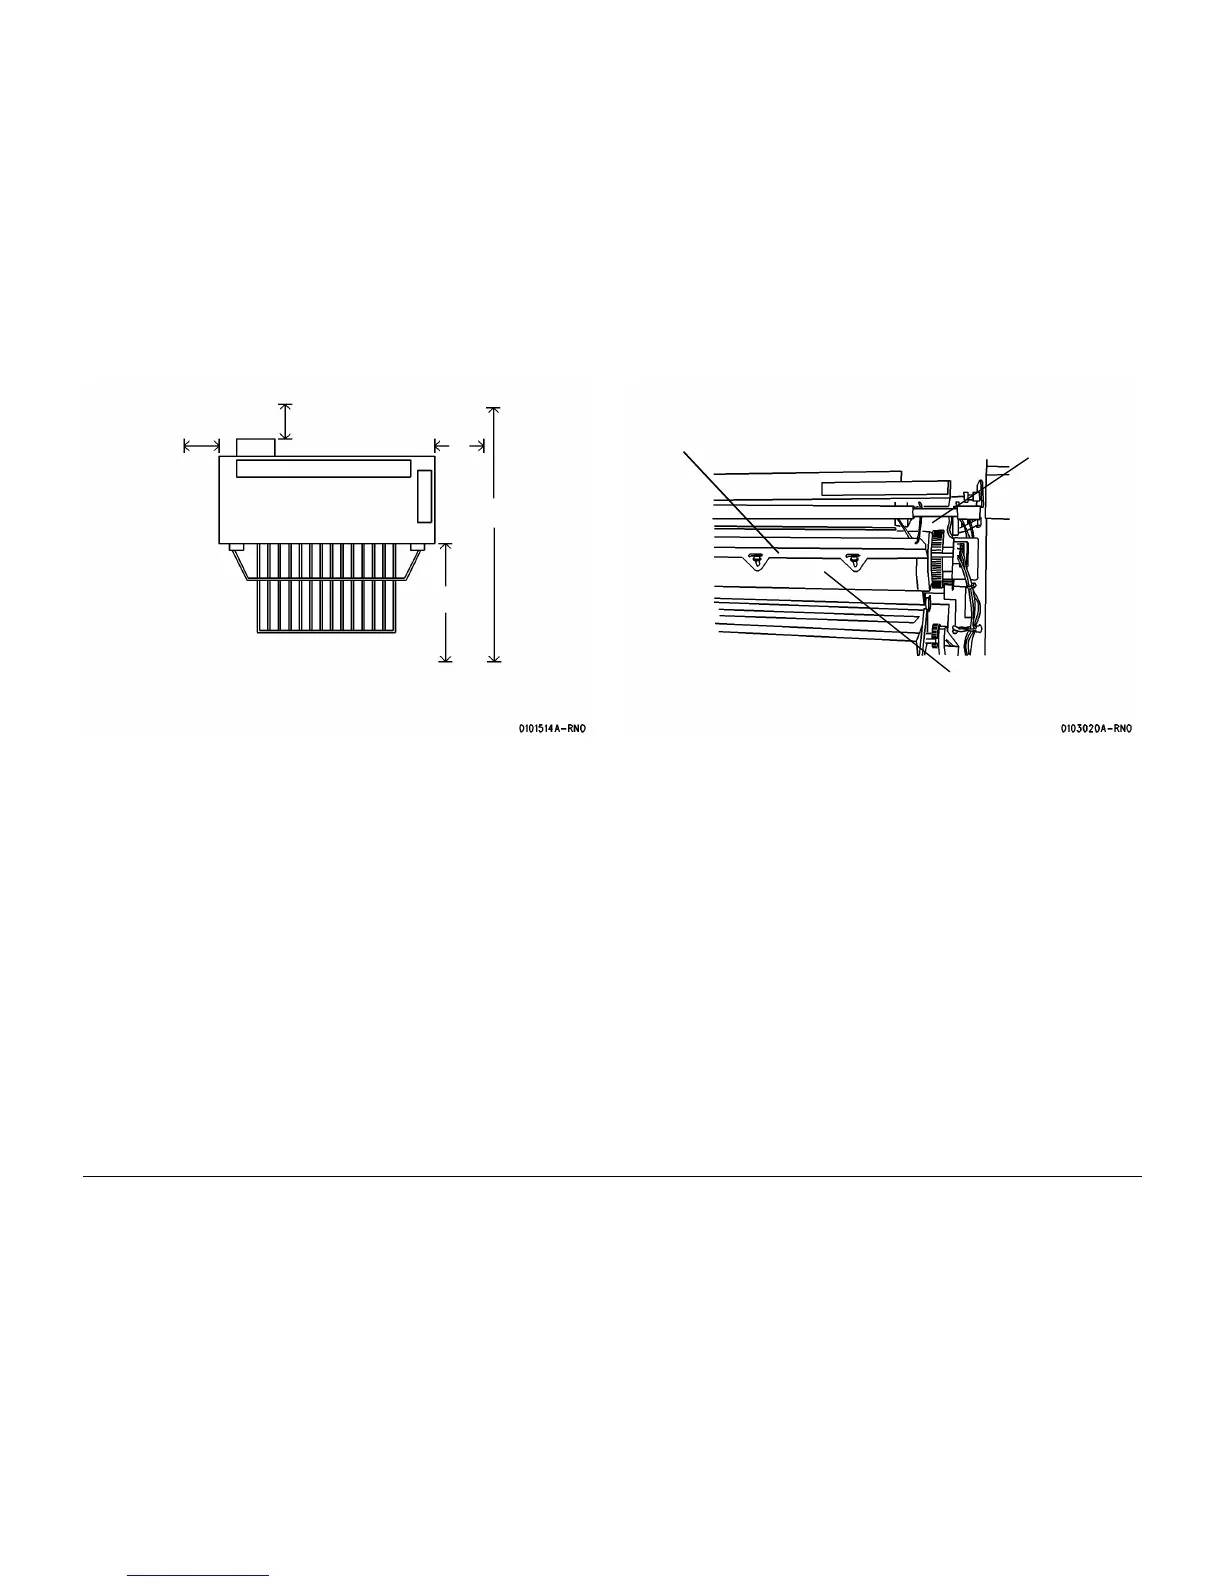
Figure 3 Minimum Space Requirements
Install the Printer
1. Prepare to remove the internal packing material from the Printer.
a. Remove all external shipping tape.
b. Loosen the two locking screws and open the Rear Door.
c. Raise and latch the Top Cover.
d. Lower the Media Transport Cover.
e. Hold open the Developer Module Door while lifting and removing the Developer
Module Side Cover.
2. ( Figure 4): Remove the cable tie from the Stripper Finger Assembly.
Figure 4 Removing the Cable Tie
3. Close the Media Transport Cover.
4. Open the Media Drawers and remove the packaging material from the Media Tubes.
(8830 has 3 Media Drawers; 8825 has either 1 or 2 Media Drawers.)
5. Remove the Scorotron from the Media Drawer and carefully remove the packing material
from the Scorotron.
6. Lift and rotate the Image Module to the Service Position. Install the Scorotron on the
Image Bar, making sure that the connector end of the Scorotron is to the left (machine
rear).
7. Attach the connectors to the Scorotron, taking care to join like-sized connectors.
8. ( Figure 5): Remove the shipping pads located near the ends of the Image Module.
24”
(60 cm)
36”
89”
222.5 cm
36”
(90 cm)
24”
(60 cm)
3
Allow bar to return to
normal position
2
Cut and remove cable tie.
(8825 has two cable ties.)
1
Lift Stripper Bar
slightly
Fuser Heat Roll

 Loading...


