01/02
6-39
8825/8830 Printer
Installation Procedure
General Procedures
33. Lock the printer casters.
34. Close the Top Cover.
35. Close the Rear Door and tighten the locking screw.
36. Install a roll of 36 inch (A0) Bond media in Roll 1 Media Supply. Refer to the User Guide
as required.
37. Install the Second Language EPROM on the Main PWB (if required).
38. Install the Catch Tray or Folder. Go to the particular Installation Procedure of that service
manual.
39. If the printer is being installed as part of the 8825/8830 DDS, proceed to the Functional
Checks. Otherwise, continue on with the next step.
NOTE: The printer comes with either a plain cover to attach to the right side of the printer, or
with the Controller (which covers the same area).
40. If the Printer you are installing does not have the Controller (just a plain cover), perform
the following:
a. Attach the ribbon cable affixed to the Side Cover to A1P3 on the Main PWB.
b. Place the Side Cover into the groove at the bottom of the Printer and secure it with
the two screws provided.
41. If the Printer you are installing has the Controller, perform the following:
a. Connect the Controller ribbon cable to J307B on the Main PWB.
b. Connect A1J3 on the controller panel to A1P3 on the Main PWB.
c. Attach the Controller to the Printer by sliding it into the groove at the bottom of the
Printer and secure it with the two screws provided.
42. Provide following to the Systems Administrator (required for obtaining the software keys
for options):
• Printer serial number
• Controller serial number (if Controller present)
• Hardware address of the Ethernet Advanced Port (if Controller present)
Functional Checks
1. Check to ensure that the latest software is available and compatible for installation on the
8825/8830 Printer. Reference the Configuration Matrix Technical Services Bulletin (TSB)
for the 8825/8830 Printer, or reference the Bulletin Board System (BBS).
2. Connect the Power Cord.
3. Switch on the Controller and the Printer. Then enter the Diagnostic mode.
CAUTION
When starting to operate the Printer, do not run 9-21-6. The Developer Material in this machine
has already been initialized. There is no need to run this program again.
4. Go to the Service Manual and perform the following adjustments.
• Country configuration (ADJ 3.2)
• Initialize the Web Oiler [1030]
• Vertical Magnification (ADJ 8.1)
• Lead Edge Registration (ADJ 8.2)
• Cut Length (ADJ 8.3)
• Electrostatic Series (ADJ 9.2)
NOTE: New developer material requires that it be run for 500 to 1500 linear meters (1524
to 4572 linear feet) in order to break-in the developer material. As the developer material
approaches break-in, the image density will increase. Check the image density. If the
image density is at 1.3 or greater, reduce it to 1.2. If the image density is below 1.0,
increase it to 1.0.
5. Make three test prints using [9-55-5] and [9-55-7].
6. Check the print quality. Go to Print Quality Initialization Procedure in Section 3 of this Ser-
vice Manual.
7. If there is a controller installed, run a test print from the controller (special test).
8. Exit the Diagnostic mode.
9. Inform the operator that the following adjustments are Operator Adjustments and can be
changed to fit individual needs. Refer to the User Guide and demonstrate the following
adjustments.
• Power Saver Mode (EO: Low Power Mode)
• Standby Mode
• Timers
• Audible indicators
• Print density
• Controller (if present): Settings, Menu, Printing a Test Pattern
10. Place a print of the Configuration Sheet inside the Front Door.
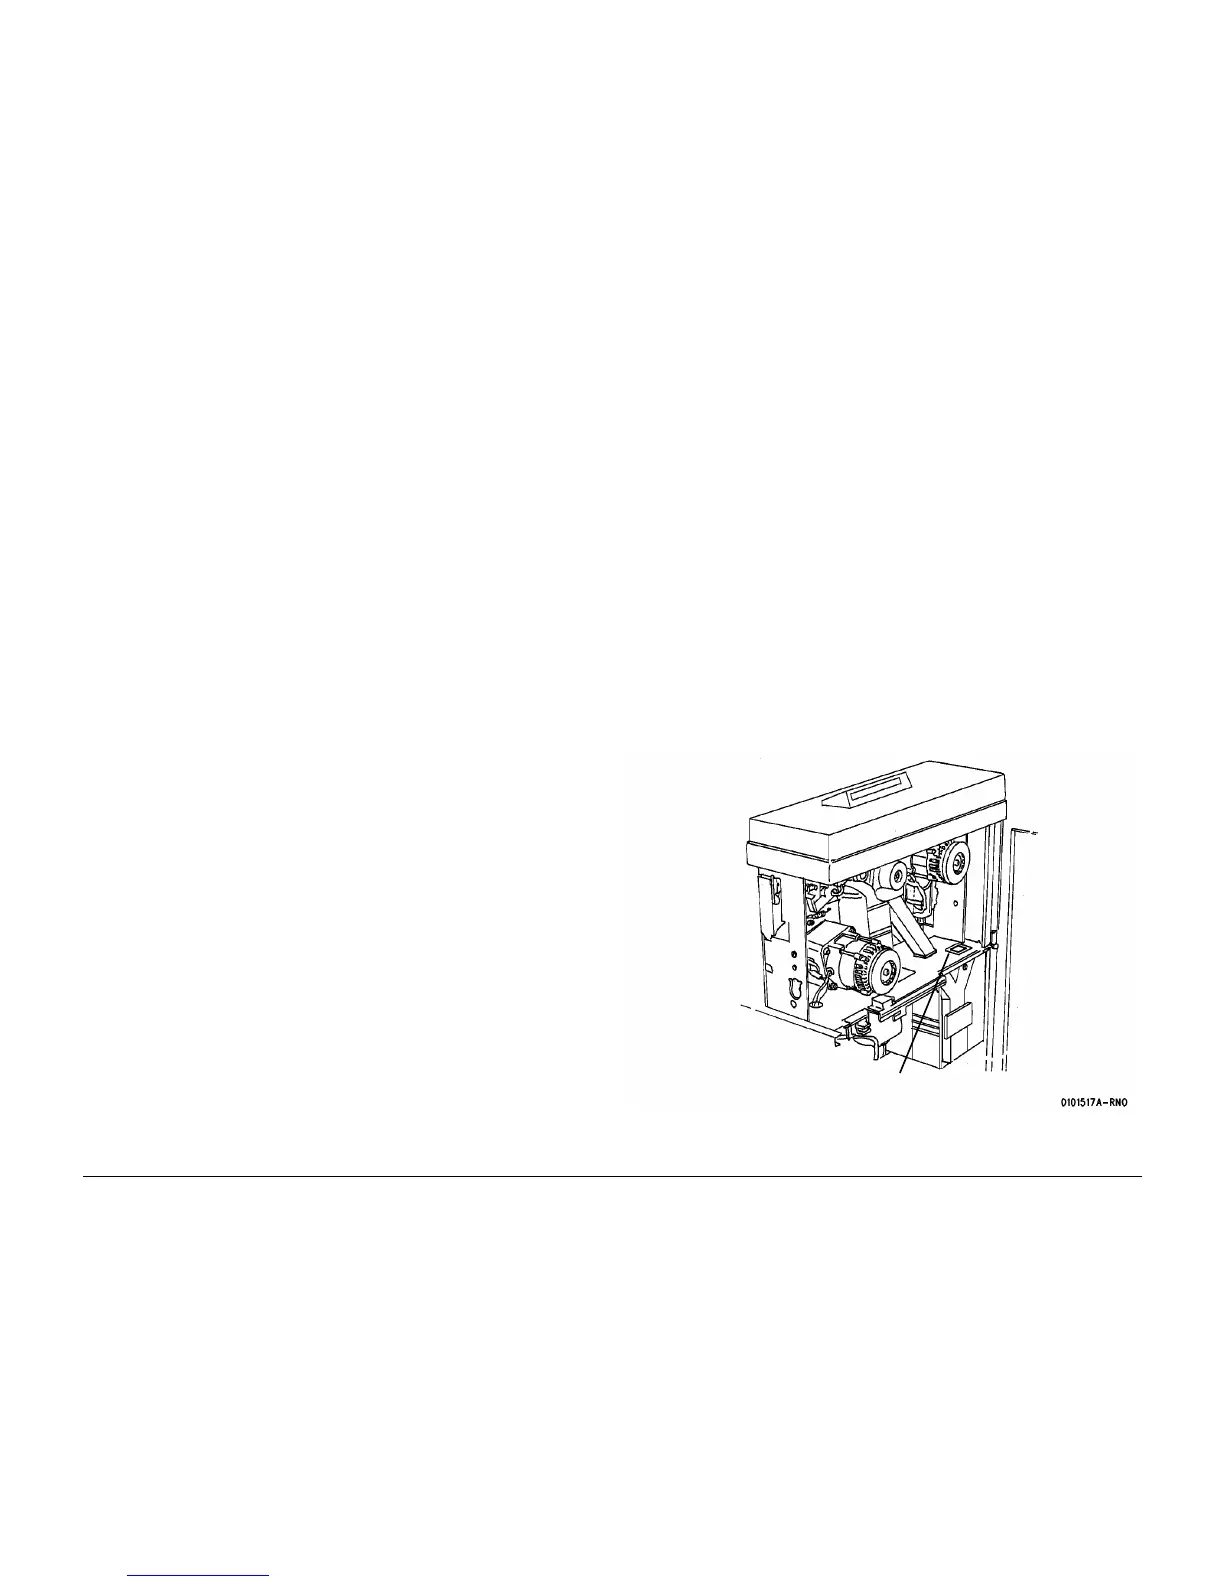
11. (Figure 22): Read the number of prints made on the Media Counter.
Figure 22 Media Counter Location
Media Counter

 Loading...


