195
Corrective Maintenance
Printhead Latch
8/9/07 ZM400/ZM600 Maintenance Manual 14207L-001 A
6.
7.
Remove the shoulder screw and wave washer securing the latch assembly to the platen
housing and remove the latch assembly.
Install the New Latch Kit
1. See Figure 67 on page 194. Install the new latch assembly using the wave washer and
shoulder screw from the kit.
2. Ensure the latch assembly is locked in the vertical position.
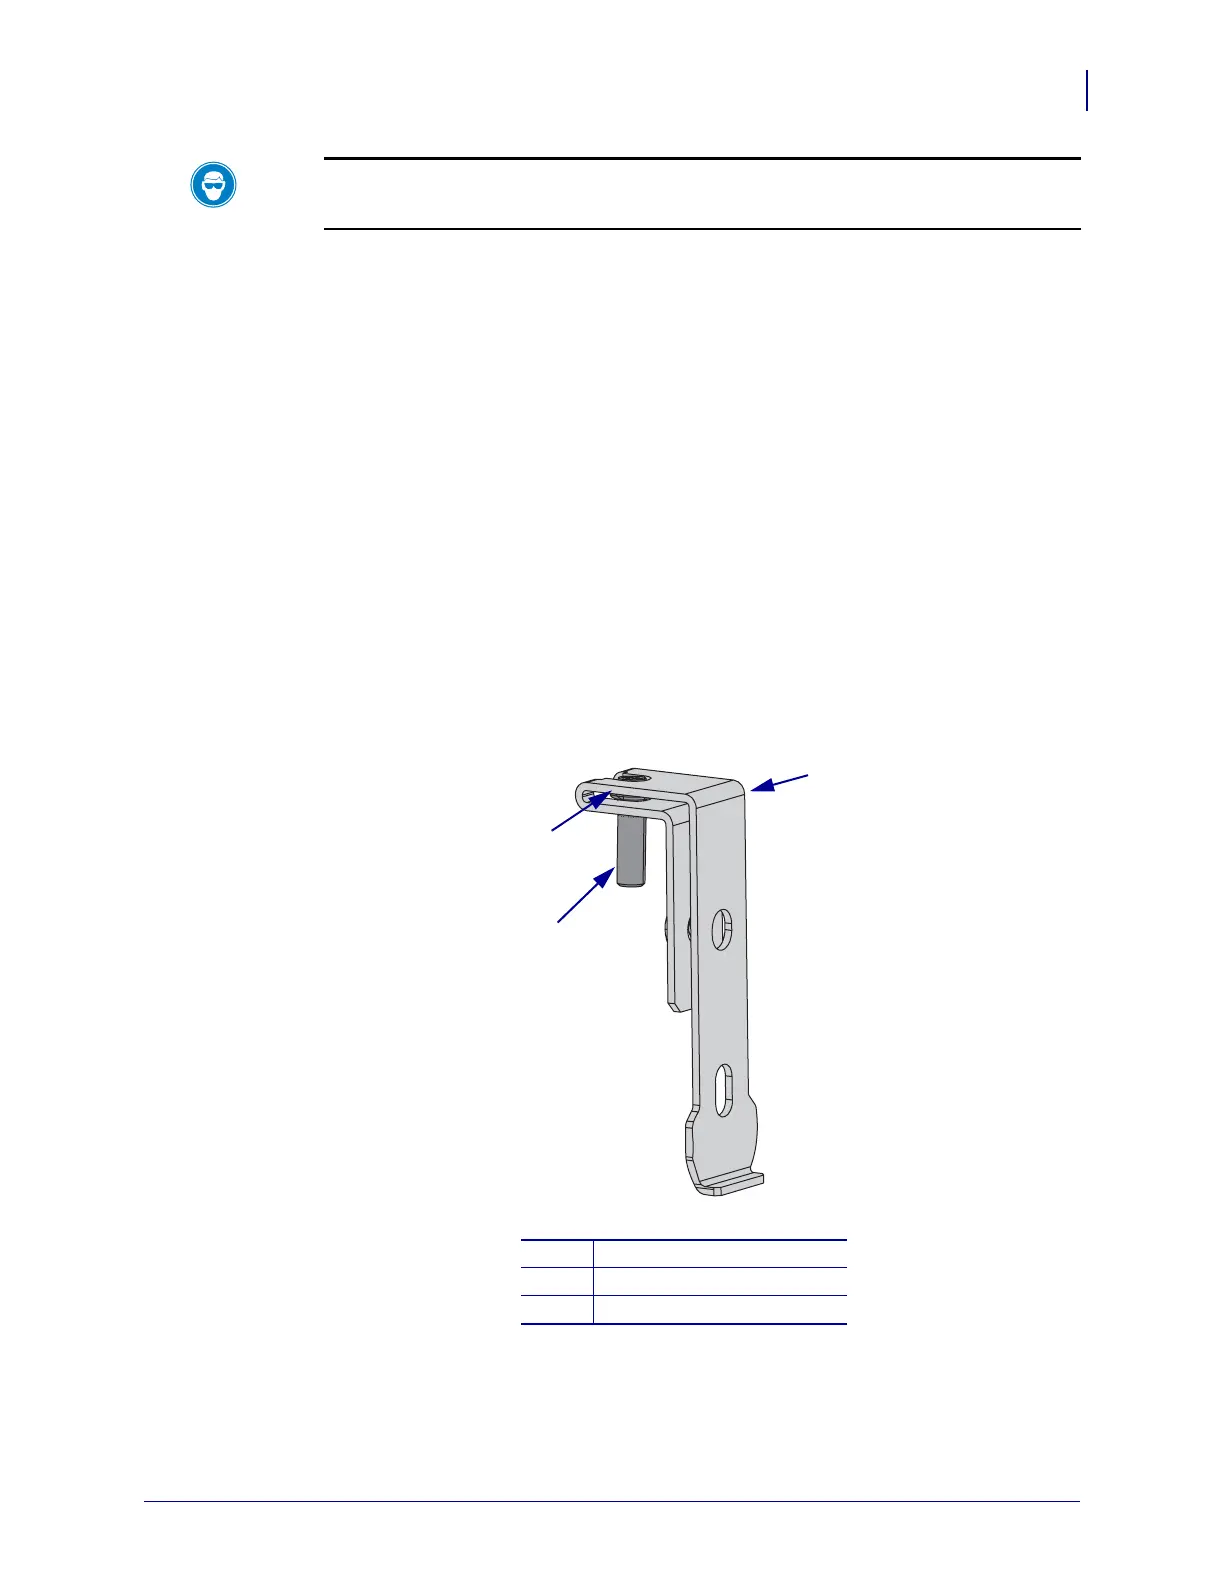
3. See Figure 68. Install the adjustment screw into the strike plate by sliding it in the opening
with the shoulder below the top piece of sheet metal and above the bottom piece of sheet
metal.
4. Install the strike plate partially into print mechanism.
Figure 68 • Adjustment Screw Location
Caution • Wear protective eyewear when installing or removing E-rings, C-clips, snap
rings, springs, and mounting buttons. These are under tension and could fly off.
Remove the plug.
1
Strike plate
2
Adjustment screw
3
Adjustment screw shoulder
1
2
3
 Loading...