14. Lens holder
D
E
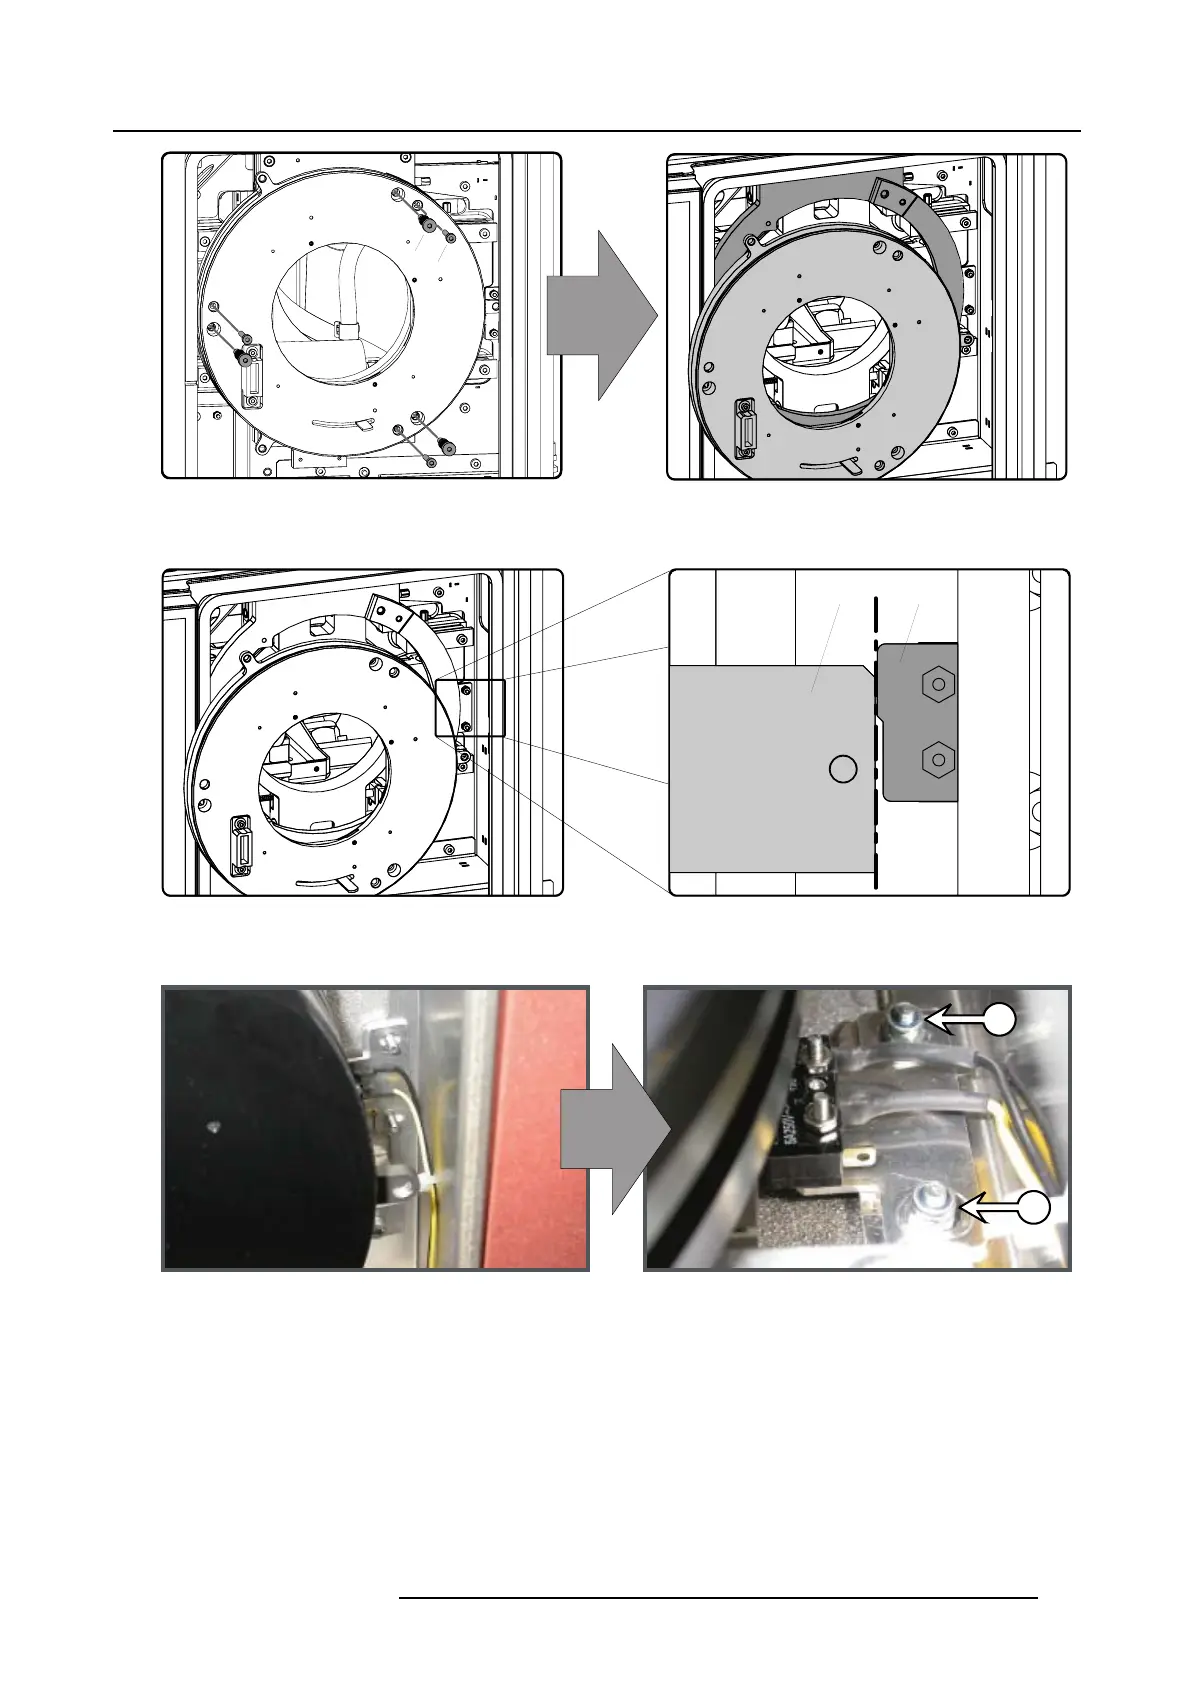
Image 14-7
4. Place the mid position switch (S) into position as illustrated. Make sure that the vertical movements of the lens holder (G) will
press the knob without touching the housing of the switch (S).
SG
Image 14-8
5. Fasten the mid position switch with two screws (N) as illustrated. Use a 5,5 mm nut driver.
Caution: Make sure that the switch remains in the correct position.
N
N
Image 14-9
6. Reinstall the front plate which you removed in step 3. Use a 3 mm Allen key the fasten the screws D and E (image 14-7).
7. Connect the wire units from the lens holder with their respective wire units of the projector. Make sure that you connect the wire
units of the same color with each other. Tie the wire units together with two cable ties.
R59770072 FLM SERIES 19/03/2007
133

 Loading...


