Chapter 6 General
6.8 Installation Settings (Installation)
6-62
Serial Number Setting (Serial No.)
The procedure below describes how to change the parameter using [Serial No.] as an example.
1 Enter the CE mode. (See "6.4.2 How to Enter the CE Mode".)
2 Confirm that [Printer Diag] is selected, and then press the [OK] button.
3 Use the [T] button to select [Installation], and then press the [OK] button.
4 Confirm that [Serial No.] is selected, and then press the [OK] button.
Clear Auditron PV -
Clears the Auditron PV data such as billing
counter, user account, and restriction informa-
tion.
(Auditron PV can also be initialized using
[Clear All NVM].)
Clear Device
Data
(Clears the items
on the right in the
order from top to
bottom.)
Error Log - Deletes the Error Log data in the EEPROM.
Jam Log - Deletes the Jam Log data in the EEPROM.
Job Log - Deletes the Job Log data in the EEPROM.
FW Parameter -
Deletes the FW Parameter data in the
EEPROM.
NET Parameter -
Deletes the NET Parameter data in the
EEPROM. (Only for models with network fea-
tures)
Auditron/PV -
Deletes the EEPROM-stored print volume
data specific to Auditron/user.
SRAM Adrs - Deletes the address book data in the SRAM.
FAX Log -
Deletes the FAT data of the system data file
system for Fax and all files under that file sys-
tem within the SRAM/Fax Memory.
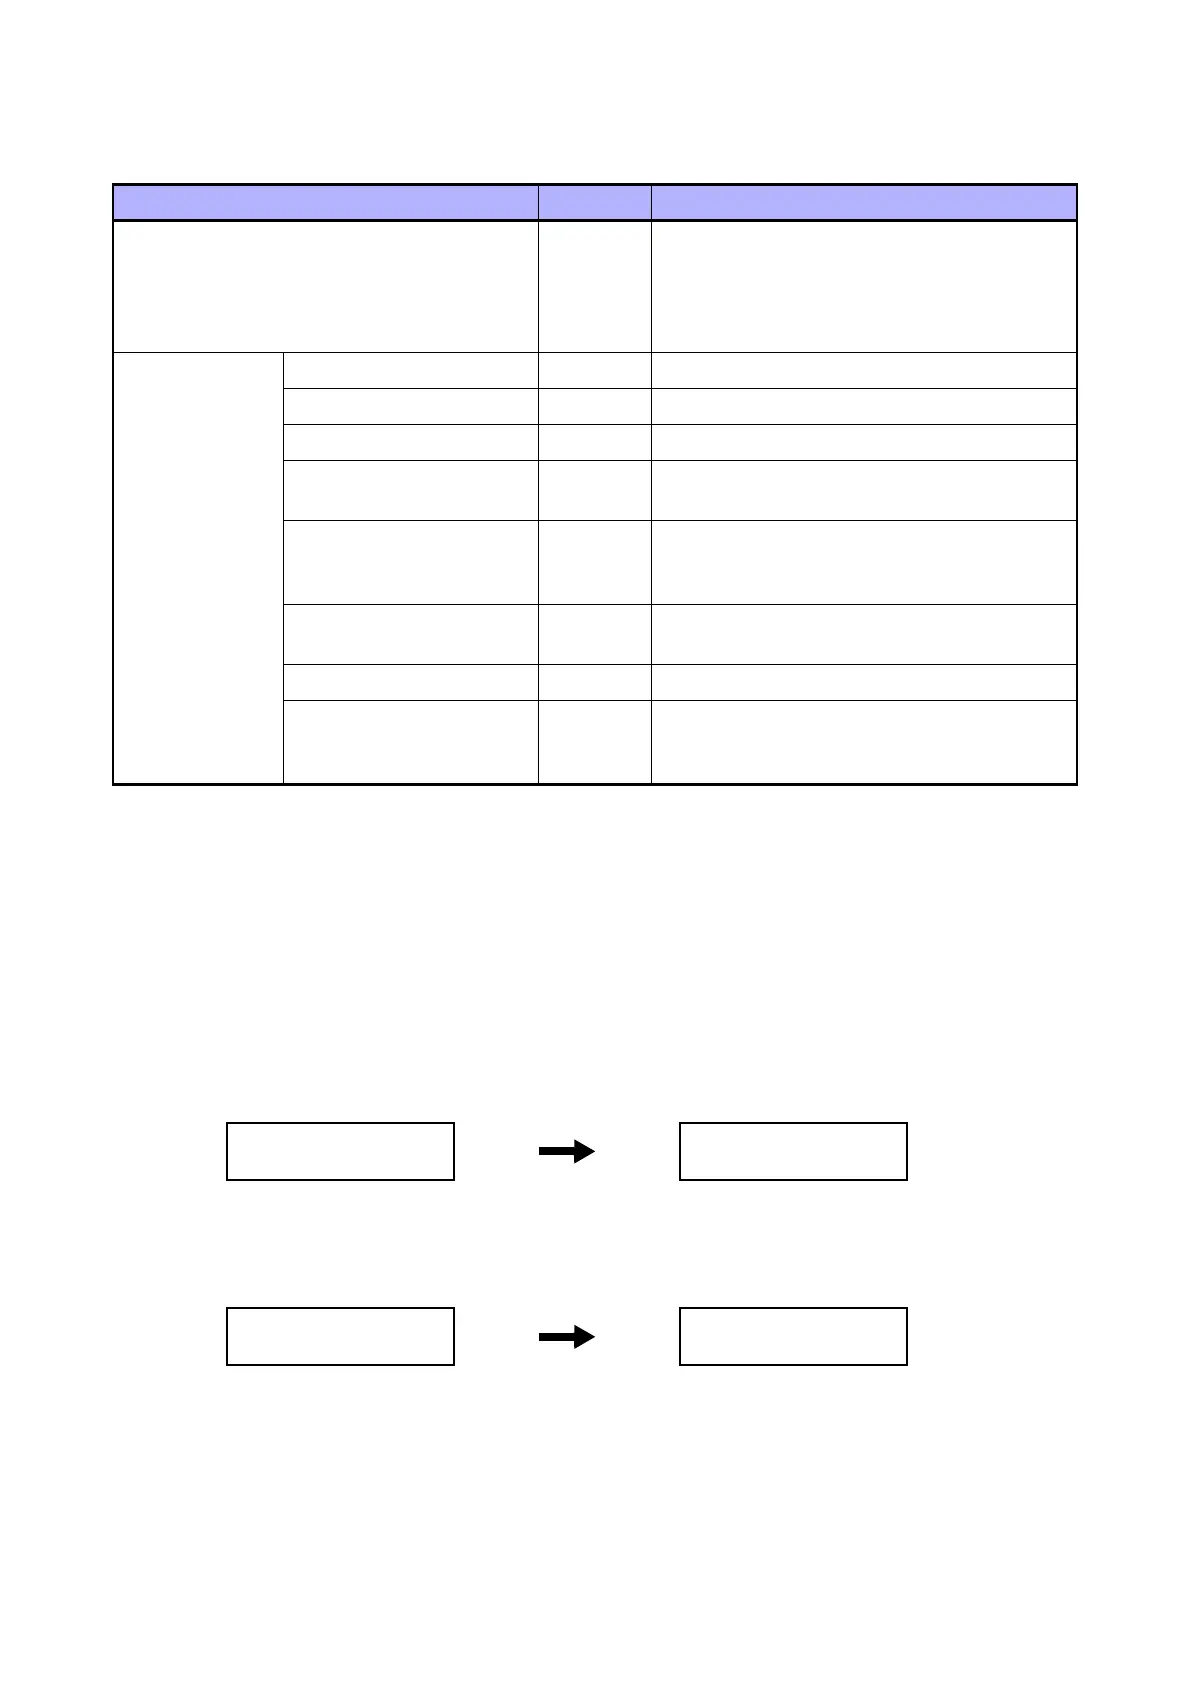
Table 6-42 Installation Settings
Item Range Description
Printer Diag
Installation
Installation
Serial No.
Installation
Serial No.
Serial No.
000000 *

 Loading...


