Repair information 4-13
7525-63x
Autocompensator mechanism (ACM)—standard tray removal
1. Remove the toner bottles, the waste toner bottle, and the imaging unit (IU). See “Imaging unit (IU)
removal” on page 4-63 and “Waste toner bottle removal” on page 4-73.
2. Remove the rear shield. See “Rear shield removal” on page 4-7.
3. Remove the left cover. See “Left cover removal” on page 4-4.
4. Remove the right cover. See “Right cover removal” on page 4-7.
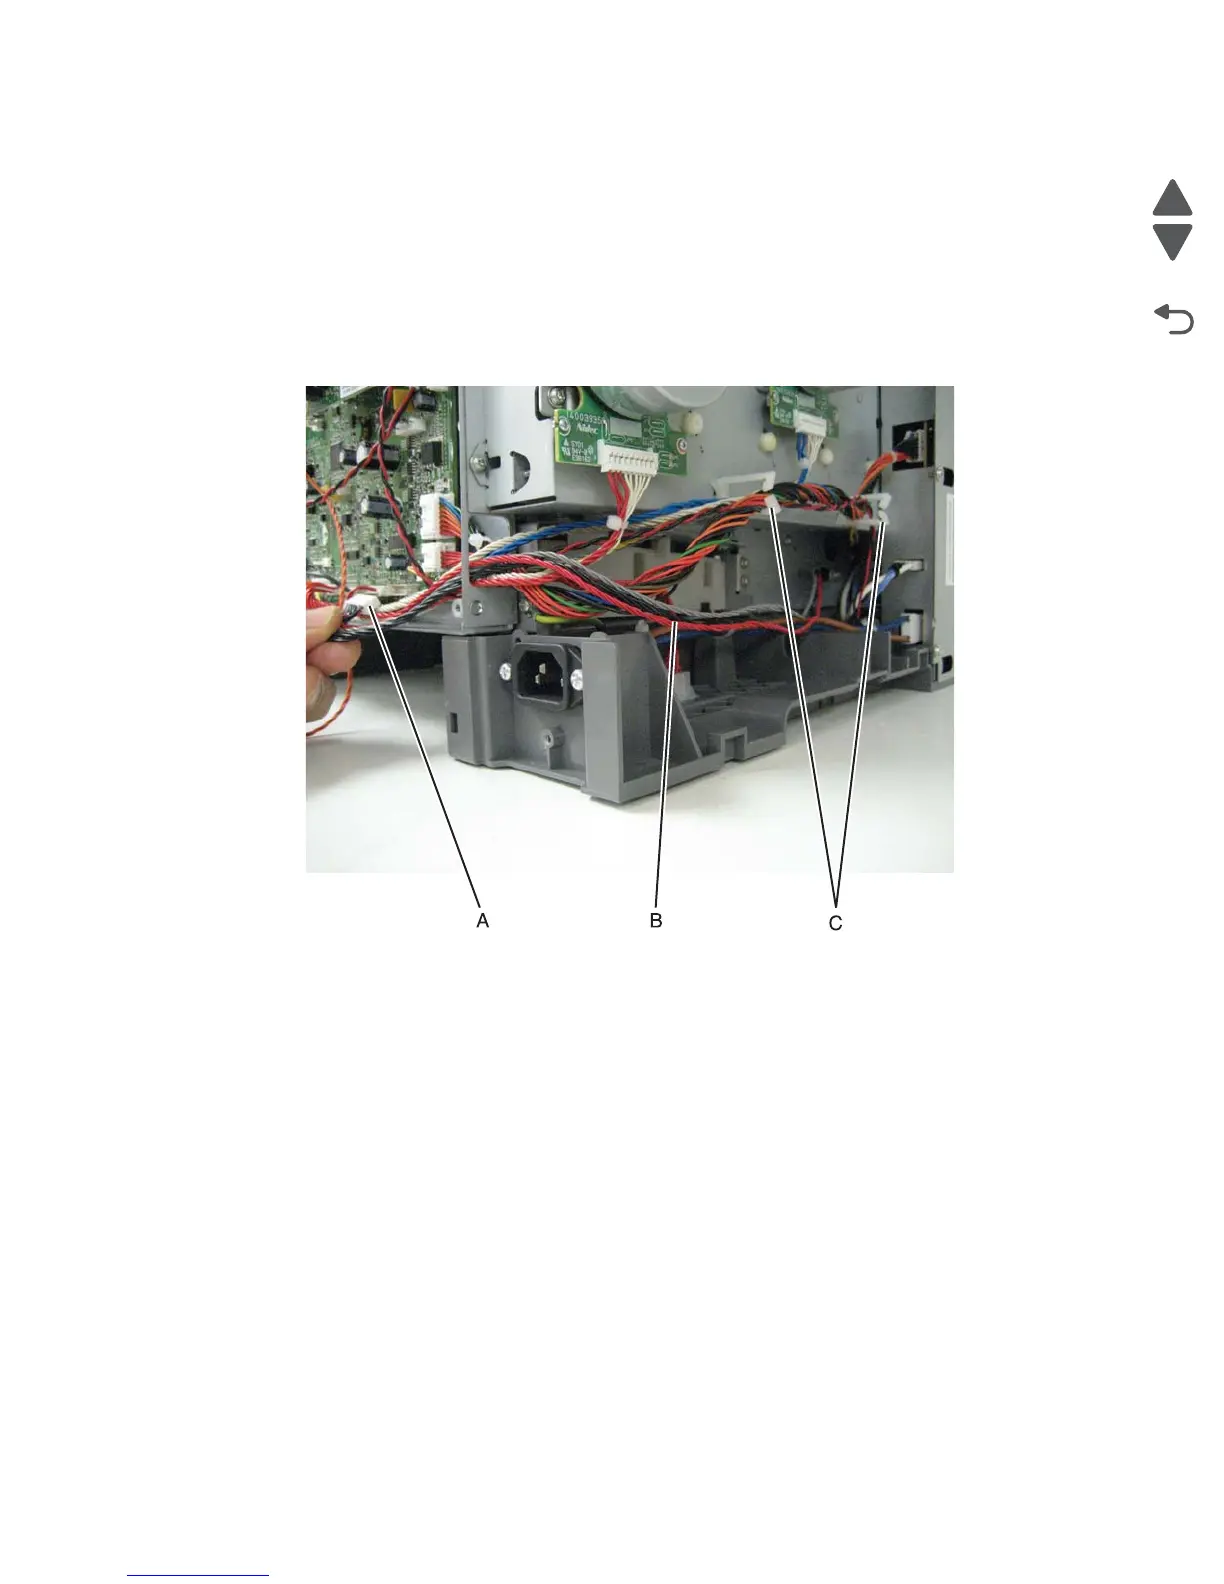
5. Disconnect the ACM cable connector JSP1 (A) from the RIP board.
6. Unclip the cable (B) from the retainers (C) on the left side.
7. Reinstall the rear shield to protect the RIP board. Turn the printer so the bottom is facing you.
8. Carefully tilt the printer so the rear shield rests on the table.

 Loading...


