4-112 Service Manual
7525-63x
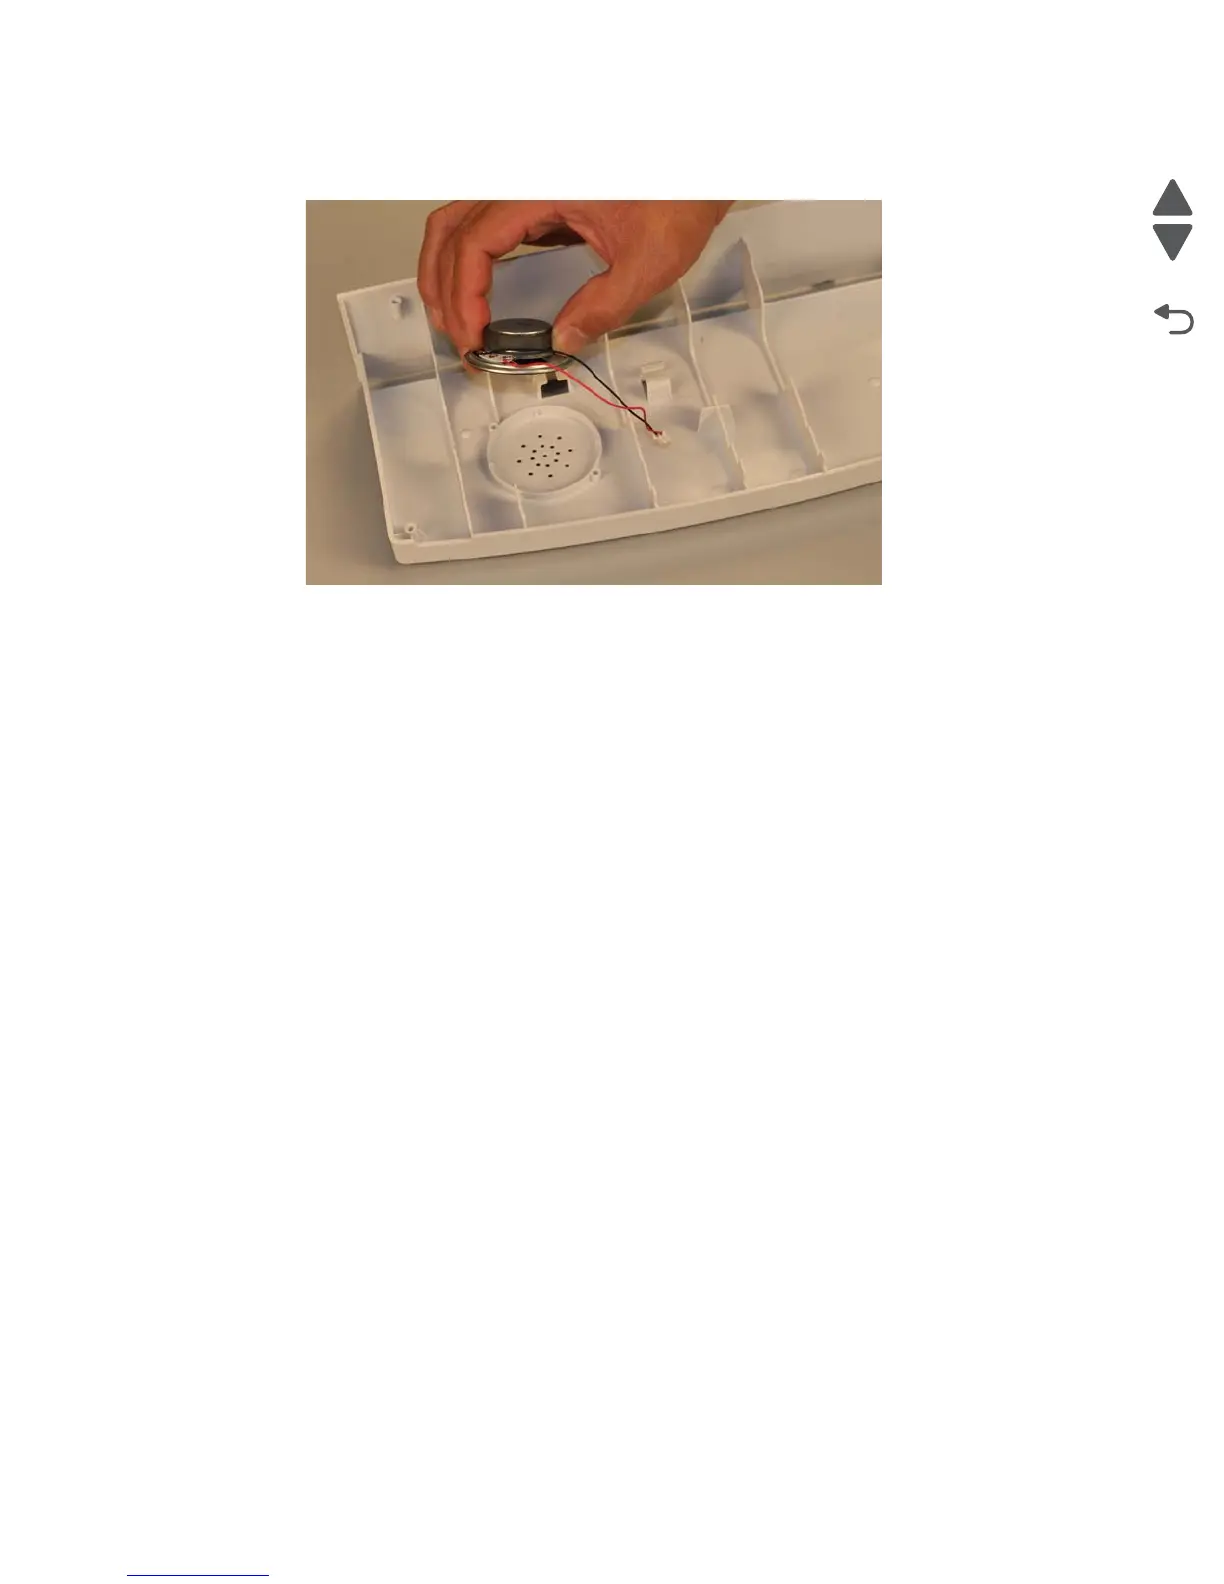
5. Remove the speaker.
USB cable removal
1. Remove the AIO rear cable cover. See “AIO back cable cover removal” on page 4-8.
2. Remove the rear shield. See “Rear shield removal” on page 4-7.
3. Remove the left cover. See “Left cover removal” on page 4-4.
4. Remove the ADF unit. See “Duplex ADF removal” on page 4-87.
5. Remove the flatbed. See “Flatbed removal” on page 4-75.
6. Remove the operator panel assembly. See “Operator panel assembly removal” on page 4-102.
7. Pry the front cover off the operator panel.
8. Remove the two screws securing the rear case to the operator panel cover.
9. Pull the operator panel cover away from the rear case to access the USB cable.
10. Route the USB cable off the rear case and remove.
User interface controller card cable removal
1. Remove the AIO rear cable cover. See “AIO back cable cover removal” on page 4-8.
2. Remove the rear shield. See “Rear shield removal” on page 4-7.
3. Remove the left cover. See “Left cover removal” on page 4-4.
4. Remove the ADF unit. See “Duplex ADF removal” on page 4-87.
5. Remove the flatbed. See “Flatbed removal” on page 4-75.
6. Remove the operator panel assembly. See “Operator panel assembly removal” on page 4-102.
7. Pry the front cover off the operator panel.
8. Remove the two screws securing the rear case to the operator panel cover.
9. Pull the operator panel cover away from the rear case to access the UICC cable.
10. Route the UICC cable off the rear case and remove.

 Loading...


