EasyManuals Logo

Lexmark X548 Series Service Manual

Lexmark X548 Series
347 pages
To Next Page IconTo Next Page
To Previous Page IconTo Previous Page
Page #243 background imageLoading...
Page #243 background image
Repair information 4-57
7525-63x
Go Back
Previous
Next
4. Remove the backing from the new plates, and place them on the surfaces (A) between the sensor
mounting posts.
Note: Make sure the clips on the posts extend onto the surface of the plate.
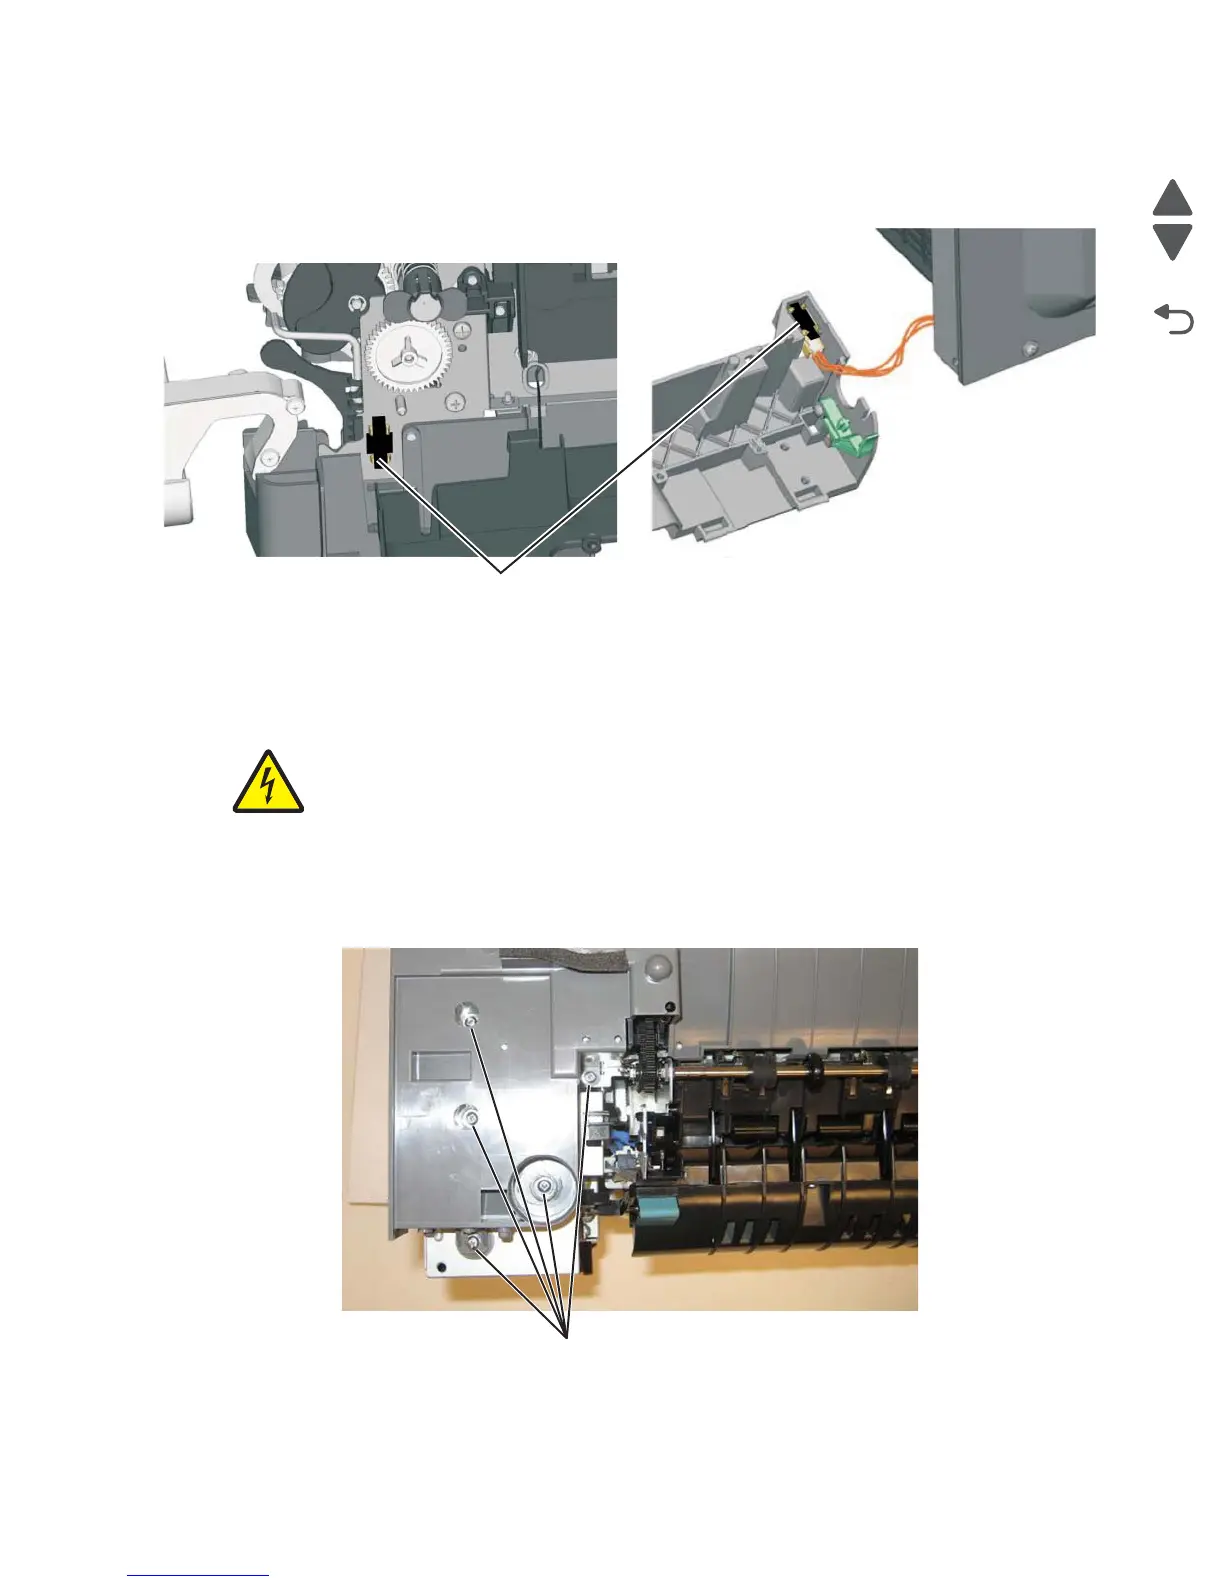
5. Connect the cable to the tray present sensor, and put the spring in place before installing the right lower
frame.
Main drive gear assembly with motor removal
1. Remove the left cover. See “Left cover removal” on page 4-4.
2. Remove the LVPS. See “Low-voltage power supply (LVPS) assembly removal” on page 4-48.
3. Remove the five screws (A) on the top cover.
I
A

Table of Contents

Other manuals for Lexmark X548 Series

Questions and Answers:

Question and Answer IconNeed help?

Do you have a question about the Lexmark X548 Series and is the answer not in the manual?

Lexmark X548 Series Specifications

General IconGeneral
BrandLexmark
ModelX548 Series
CategoryAll in One Printer
LanguageEnglish

Related product manuals