Repair information 4-19
7525-63x
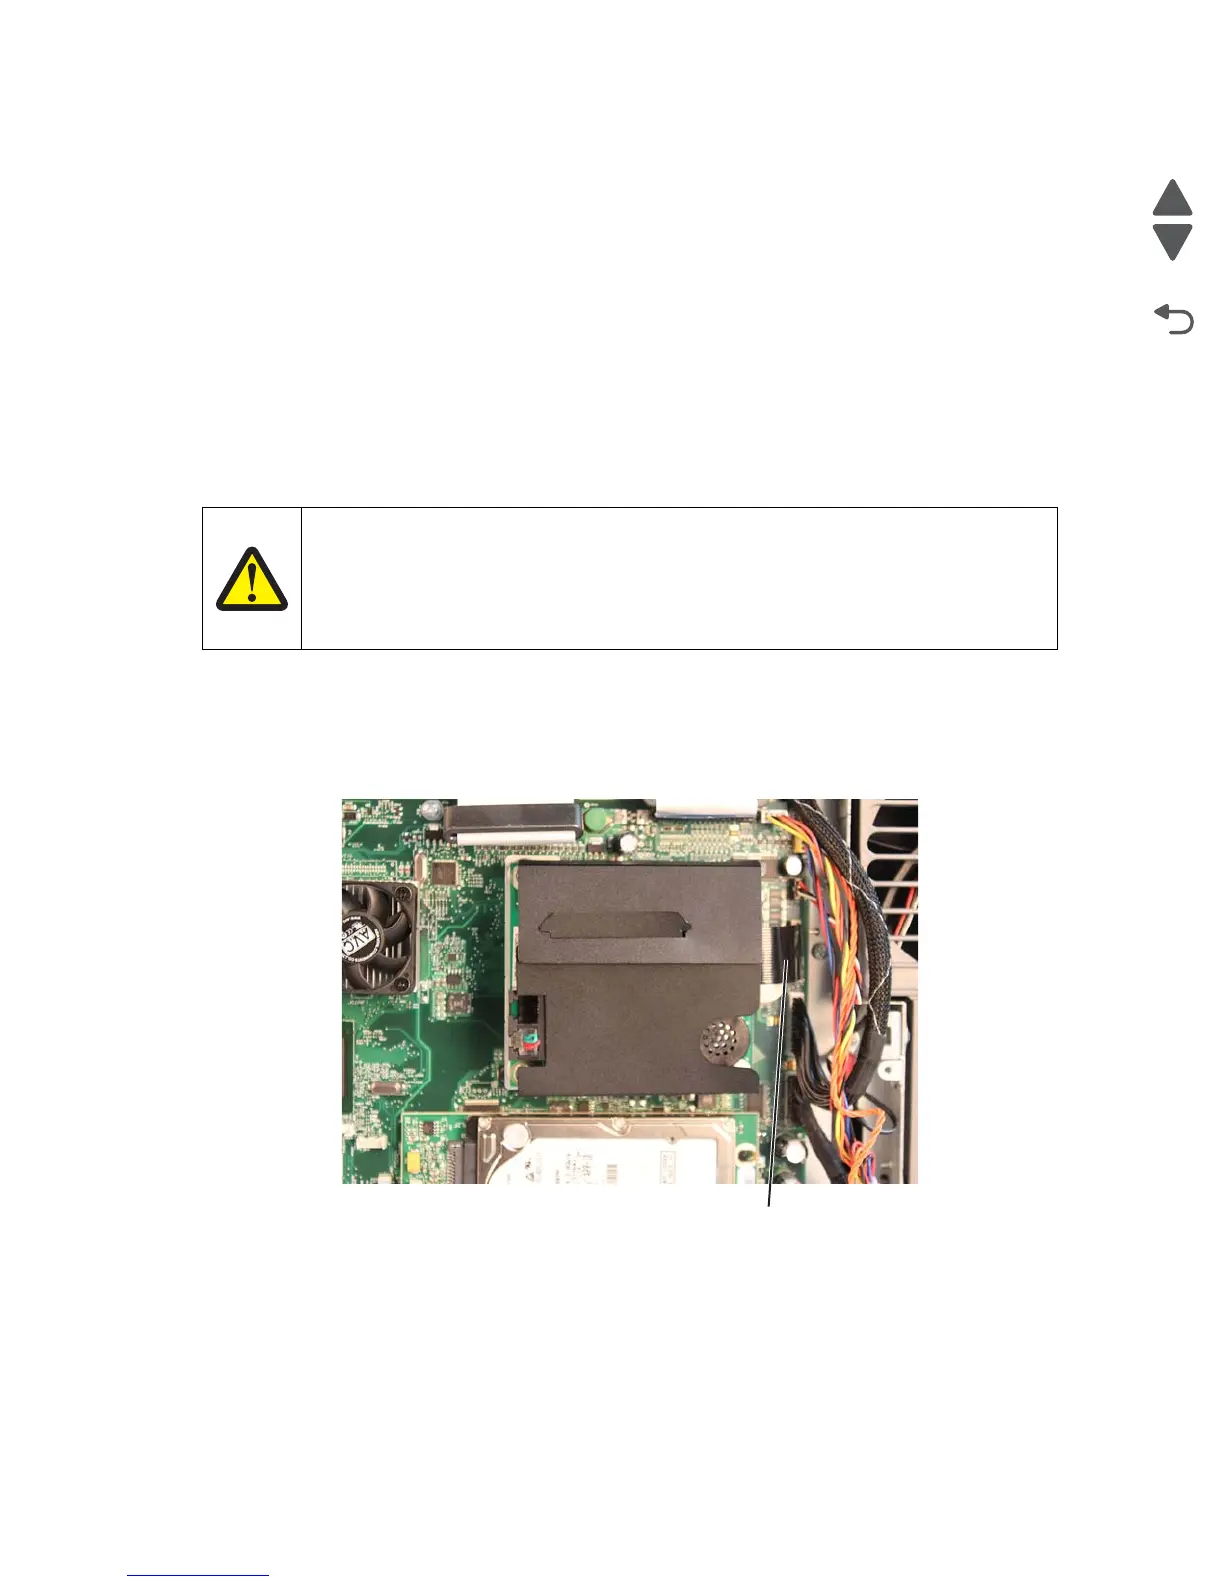
RIP board removal
Warning: Observe all ESD precautions while handling electrostatic-discharge sensitive parts. See “Handling
ESD-sensitive parts” on page 4-1.
Warning: When replacing any one of the following components:
• Operator panel assembly
• RIP board
Replace only one component at a time. Replace the required component, and perform a POR before
replacing a second component listed above. If this procedure is not followed, the printer will be
rendered inoperable. Never replace both of the components listed above without a POR after
installing each one, or the printer will be rendered inoperable.
Warning: Never install and remove components listed above as a method of troubleshooting components.
Once a component has been installed in a printer, it cannot be used in another printer. It must
be returned to the manufacturer.
Note: Back up the eSF applications and settings before replacing the RIP board. See “Backing up eSF
applications and settings” on page 3-44.
1. Remove the rear shield. See “Rear shield removal” on page 4-7.
2. Disconnect the fax card cable (A) from the RIP board.
3. Remove the fax card with its standoff from the RIP board.
4. Remove the hard drive. See “Hard drive removal” on page 4-39.
CAUTION
POTENTIAL INJURY: There is danger of explosion if a lithium battery is incorrectly replaced.
Replace it only with the same or an equivalent type of lithium battery. Do not recharge,
disassemble, or incinerate a lithium battery. Discard used batteries according to the
manufacturer's instructions and local regulations.

 Loading...


