Repair information 4-15
7525-63x
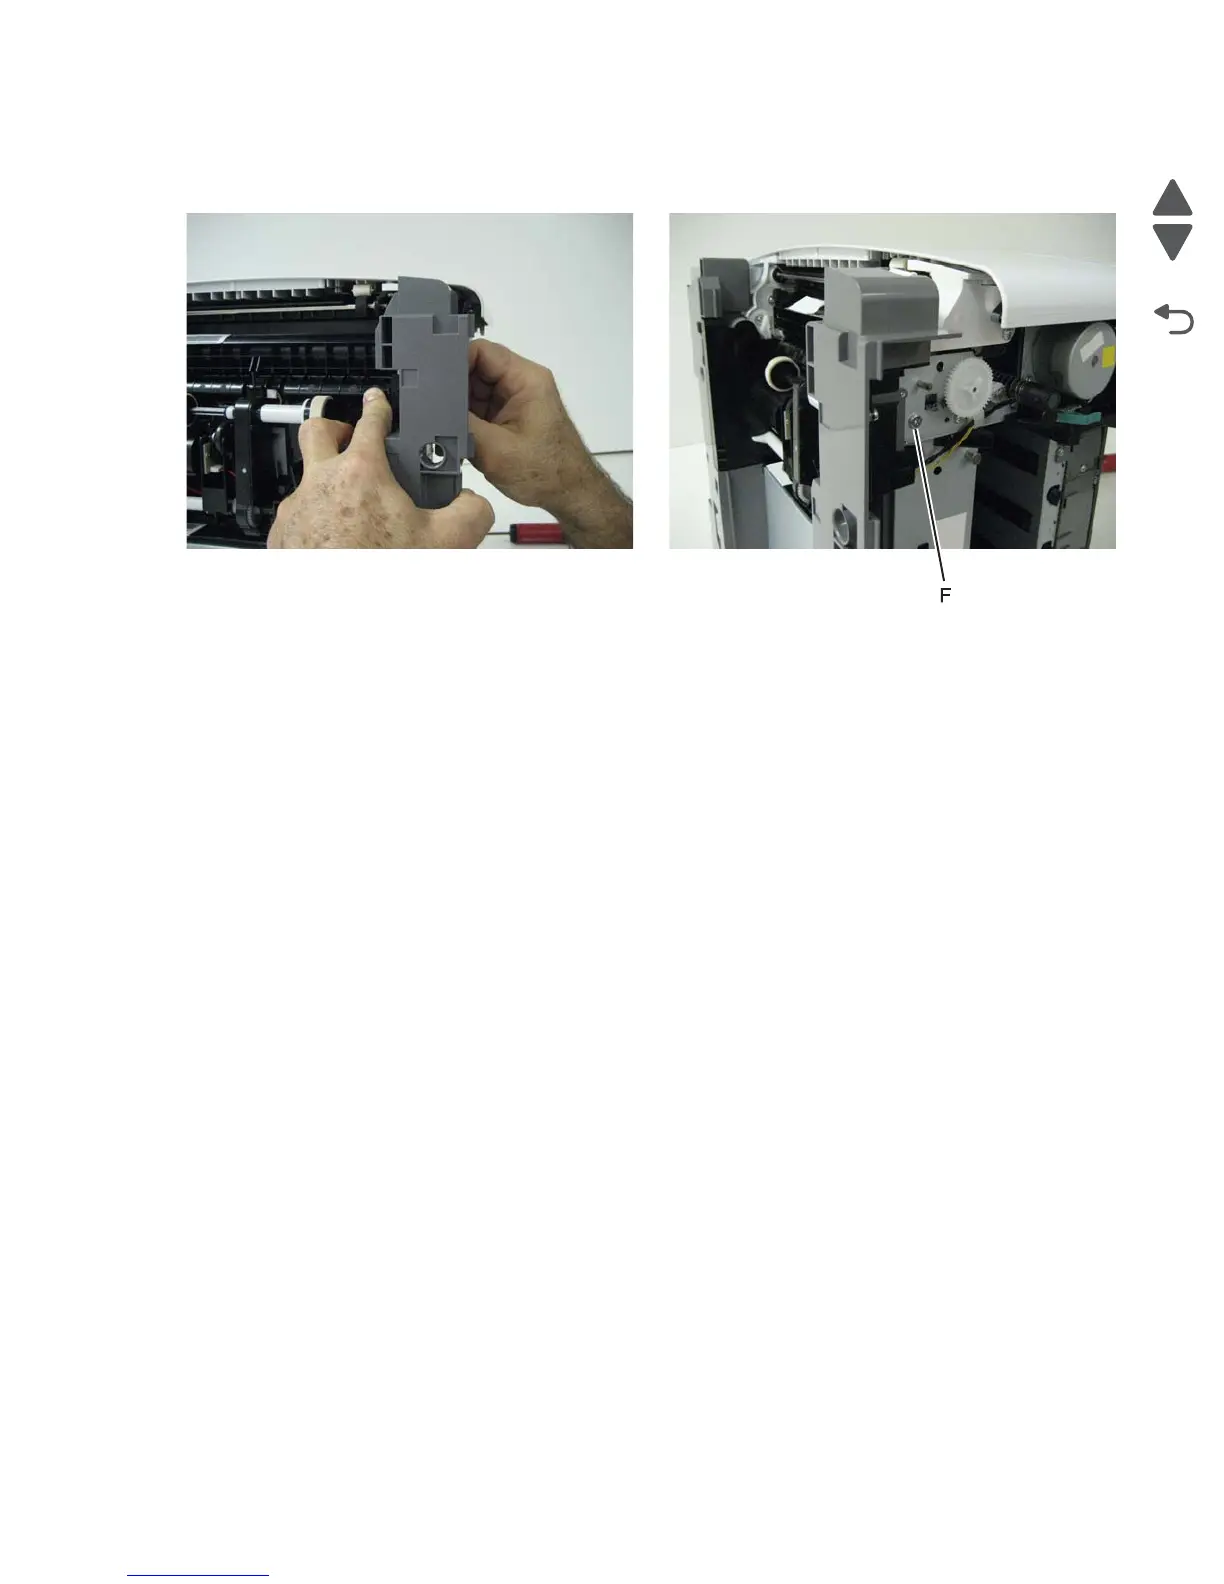
11. On the right side, loosen the screw (F), and hold the ACM in place as you use your fingers to remove the
screw.
12. Move the right side of the ACM out to free the shaft from the hole in the frame.
Note: Observe the location of the shaft and hole for reinstallation.
13. Remove the ACM.
Installation notes:
1. Place the left side of the ACM in the printer. Make sure the shaft on the left side aligns with the hole in the
frame.
2. Turn the printer to the proper upright position.
3. Route the cable through the frame and through the cable channel, making sure to clamp the cables into the
two retainers on the left side.
4. Remove the rear shield, and connect the cable.
5. Replace the rear shield.

 Loading...


