Repair information 4-35
7525-63x
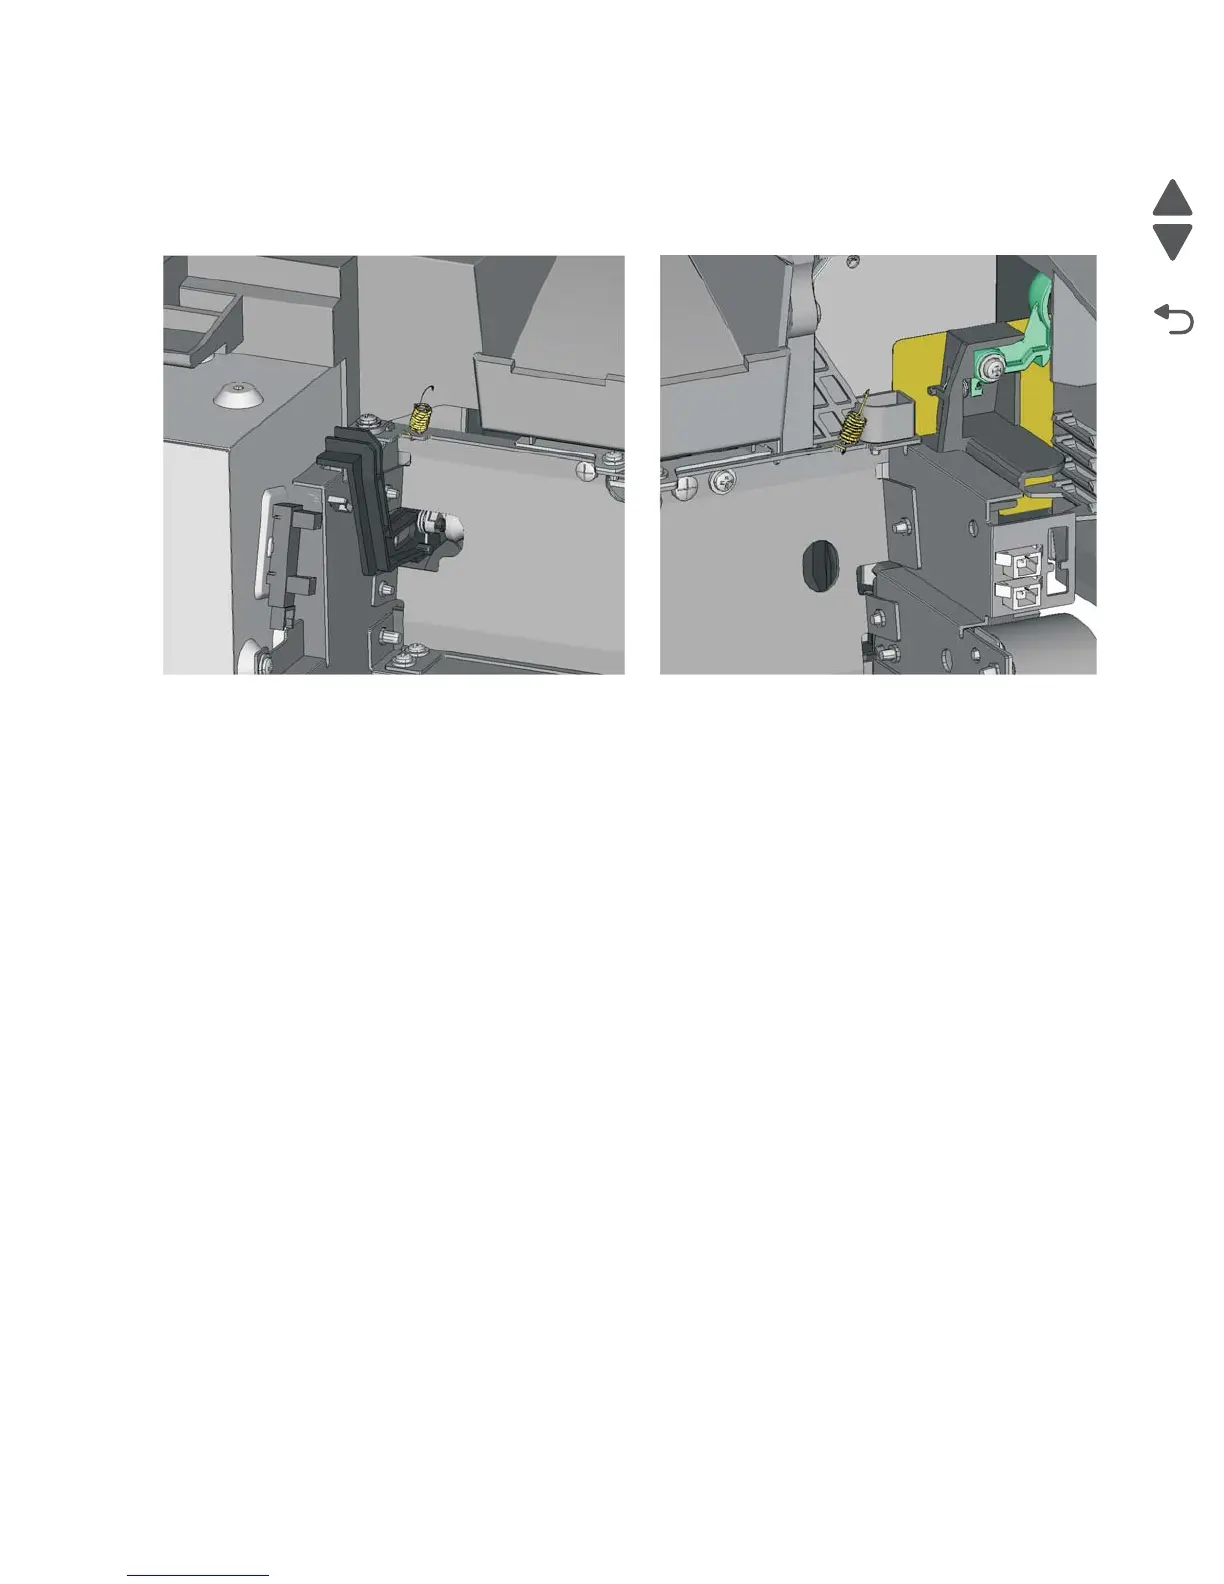
Installation notes:
• Install the narrow media sensor flag to the fuser before putting the fuser into the printer.
• Make sure the springs are resting on the top so they can be reached once the fuser is in place.
• When reinstalling on the right, make sure the gears mesh.
• Be careful not to interfere with the exit sensor on the left side.
• Reroute the cables back through their retainers.
• After replacing a new fuser, make sure to reset the Fuser Counter.
1. POR the machine into Diagnostics mode.
a. Turn off the printer.
b. Press and hold 3 and 6 simultaneously.
c. Turn on the printer.
d. Release the buttons when the progress bar appears.
2. Navigate to PRINTER SETUP > Reset Fuser Cnt > Reset Fuser Cnt.
3. Resetting Fuser Cnt Value appears.

 Loading...


