4-4 Operation
4.5 Installing the Dispensing Valve
Slide the dovetail bracket (included with the dispensing valve) into the valve mounting bracket on the
Z-axis face plate. Tighten with the 4mm hex wrench.
4.5.1 Valve Software Setup
Refer to the applicable valve manual or Fluidmove Online Help for software configuration instructions.
4.5.2 Valve Pneumatic and Electrical Connections
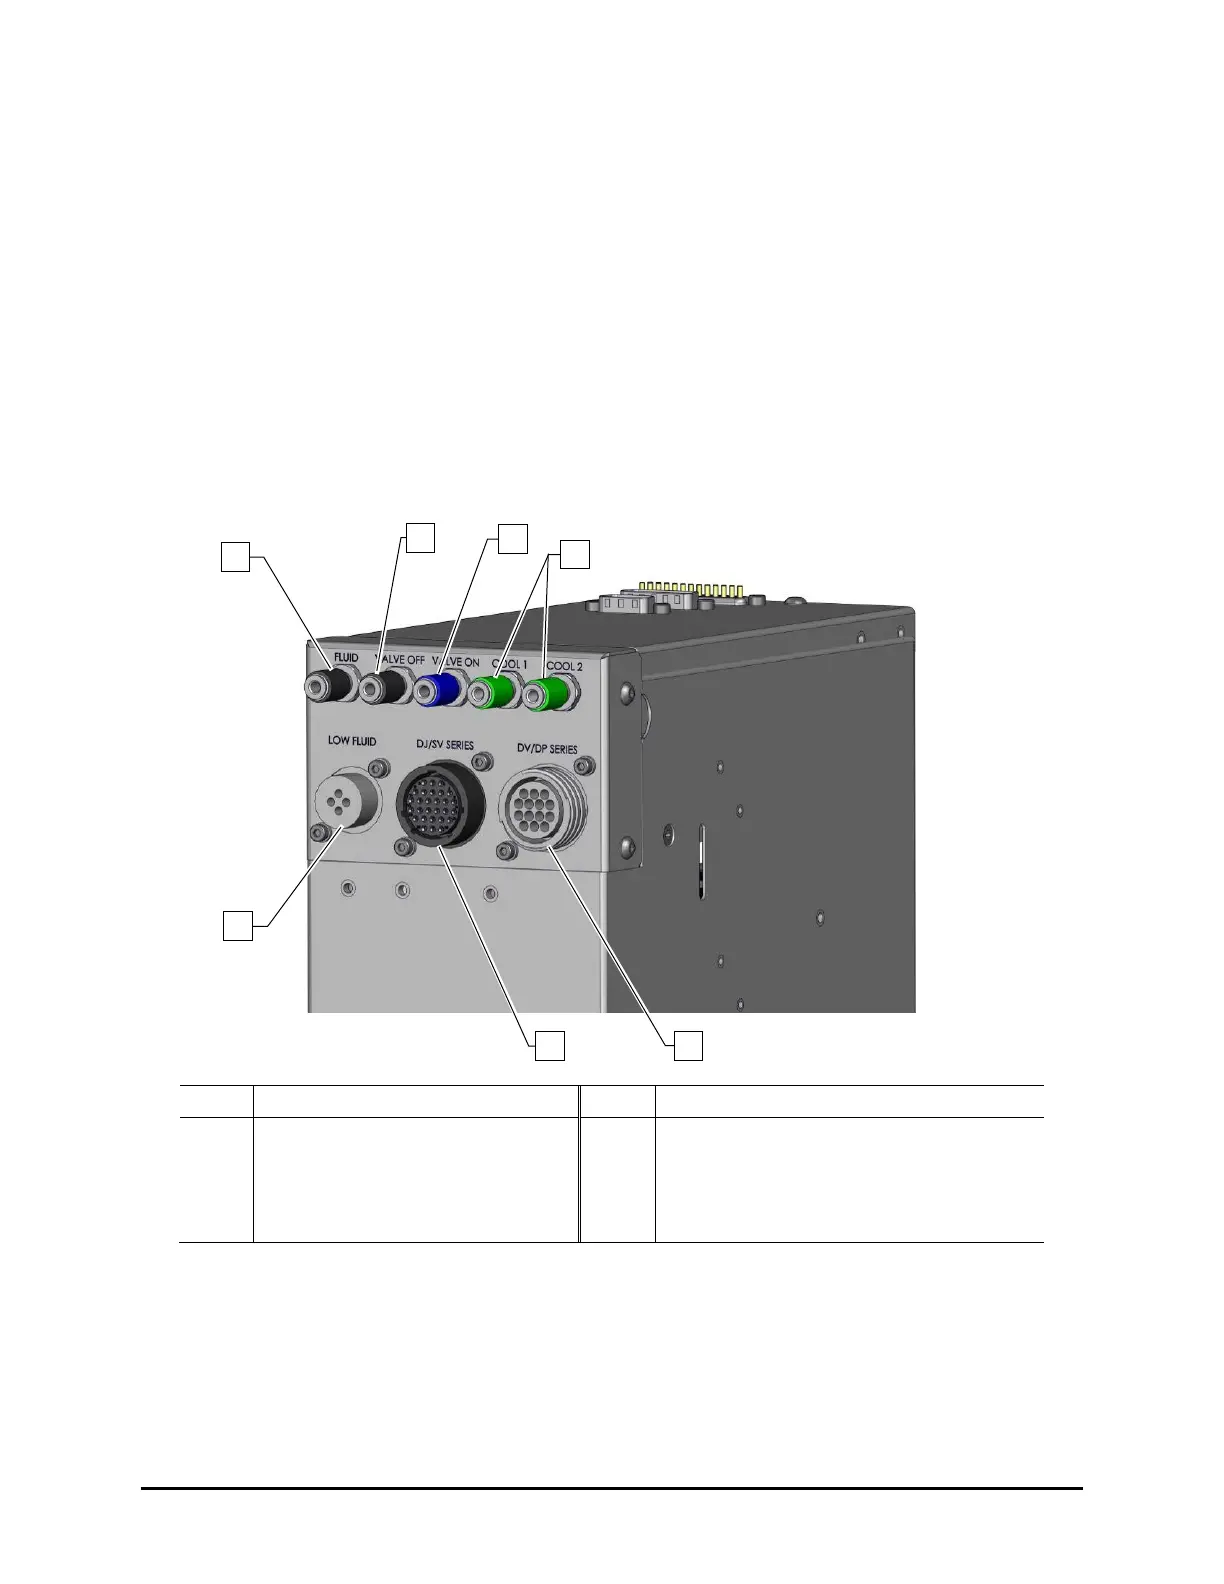
Standard valve pneumatic and electrical connections are shown in Figure 4-3. Refer to the manual for
your particular dispensing valve for additional information.
NOTE The bulkhead may change depending on system configuration.
1 Fluid Air Pressure (Clear) 5 DV/DP Series Valve
2 Valve OFF 6 DJ/NJ/IJ Series Valve
3 Valve ON 7 Low Fluid Sensor
4 Cooling Air (Green)
Figure 4-3 Valve Pneumatic and Electrical Connections
NOTE The Cool 2 connection is not available on the S2-9XXC. It is replaced by an exhaust
connection.

 Loading...


