9 Monitoring SpO2
199
Progressive hypoxia scenario: SpO
2
value (E) - the values drop steadily and after 16 seconds a value
leaves the shaded area. An alarm is indicated immediately.
Recovery scenario: SpO
2
value (F) - the values stay within the shaded area for 98 seconds, deviating
from the alarm limit by 1% to 3%, before rising again above the alarm limit. No alarm is indicated
because the SpO
2
values never leave the shaded area below the alarm limit.
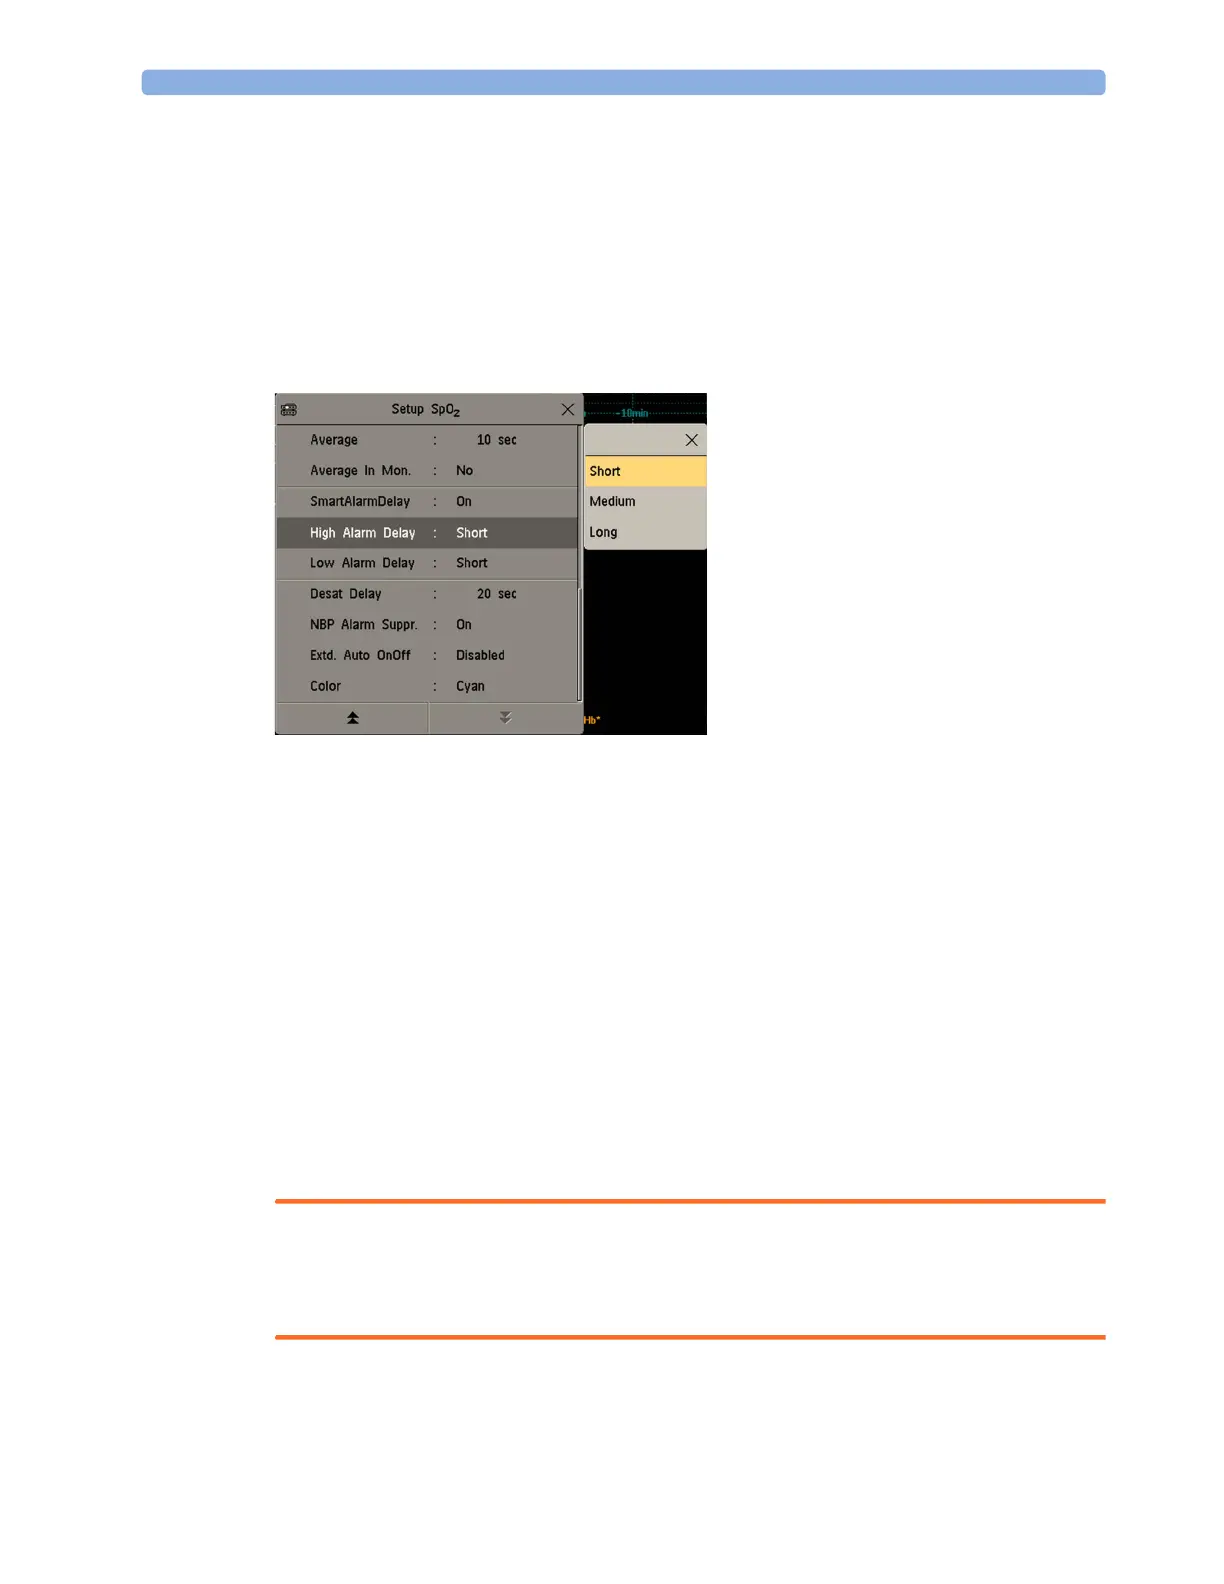
Setting Smart Alarm Delay Mode
To set the mode for Smart Alarm Delays, in the Setup SpO₂ menu,
1 Check that SmartAlarmDelay is set to On.
This setting is made in Configuration mode and will be shown in the menu in gray. If it is set to
Off, a standard alarm delay is in use.
2 Select High Alarm Delay and choose Short, Medium, or Long mode.
3 Select Low Alarm Delay and choose Short, Medium, or Long mode.
If you also use monitors with earlier software revisions, be aware that smart alarm delays will not be
used after a transfer to one of these monitors. Monitors with earlier software revisions will always use
the standard alarm delay. If you are not sure whether a monitor has the Smart Alarm Delay function,
check whether there is a
SmartAlarmDelay entry in the Setup SpO₂ menu.
Adjusting the Alarm Limits
In the Setup SpO₂ menu:
•Select
High Limit then choose the high alarm limit.
•Select
Low Limit then choose the low alarm limit.
WARNING
High oxygen levels may predispose a premature infant to retrolental fibroplasia. If this is a
consideration do NOT set the high alarm limit to 100%, which is equivalent to switching the high
alarm off.