17 Monitoring Intravascular Oxygen Saturation
275
Making the In-Vivo Calibration
1 Be prepared to draw a blood sample from the patient.
2 In the Setup <SO₂ Label> menu, select Start In-VivoCal.
3 To clear the distal lumen, draw off and discard at least 2 ml of blood before taking the sample.
4 Draw a blood sample from the distal port of the catheter and flush the line according to standard
hospital practice.
5 Obtain laboratory analysis of the sample using direct measurements.
6 Select CalibrationValue and select from the list the value received from the lab.
7 Complete the calibration by selecting Store In-VivoCal (even if the stored calibration value did not
change) and select
Confirm. This updates the data stored in the optical module.
Selecting
Recall Last Cal recalls the previously stored calibration value.
If the calibration fails, check that the light intensity indicator is indicating a stable medium to high level.
Repeat the calibration.
Preparing to Monitor with the M1011A Narrow
Module
In addition to the module, you need a Philips SO
2
Optical Module and a compatible fiber optic probe
or catheter. Use only the accessories listed as applicable for the intended measurement location in the
Accessories section.
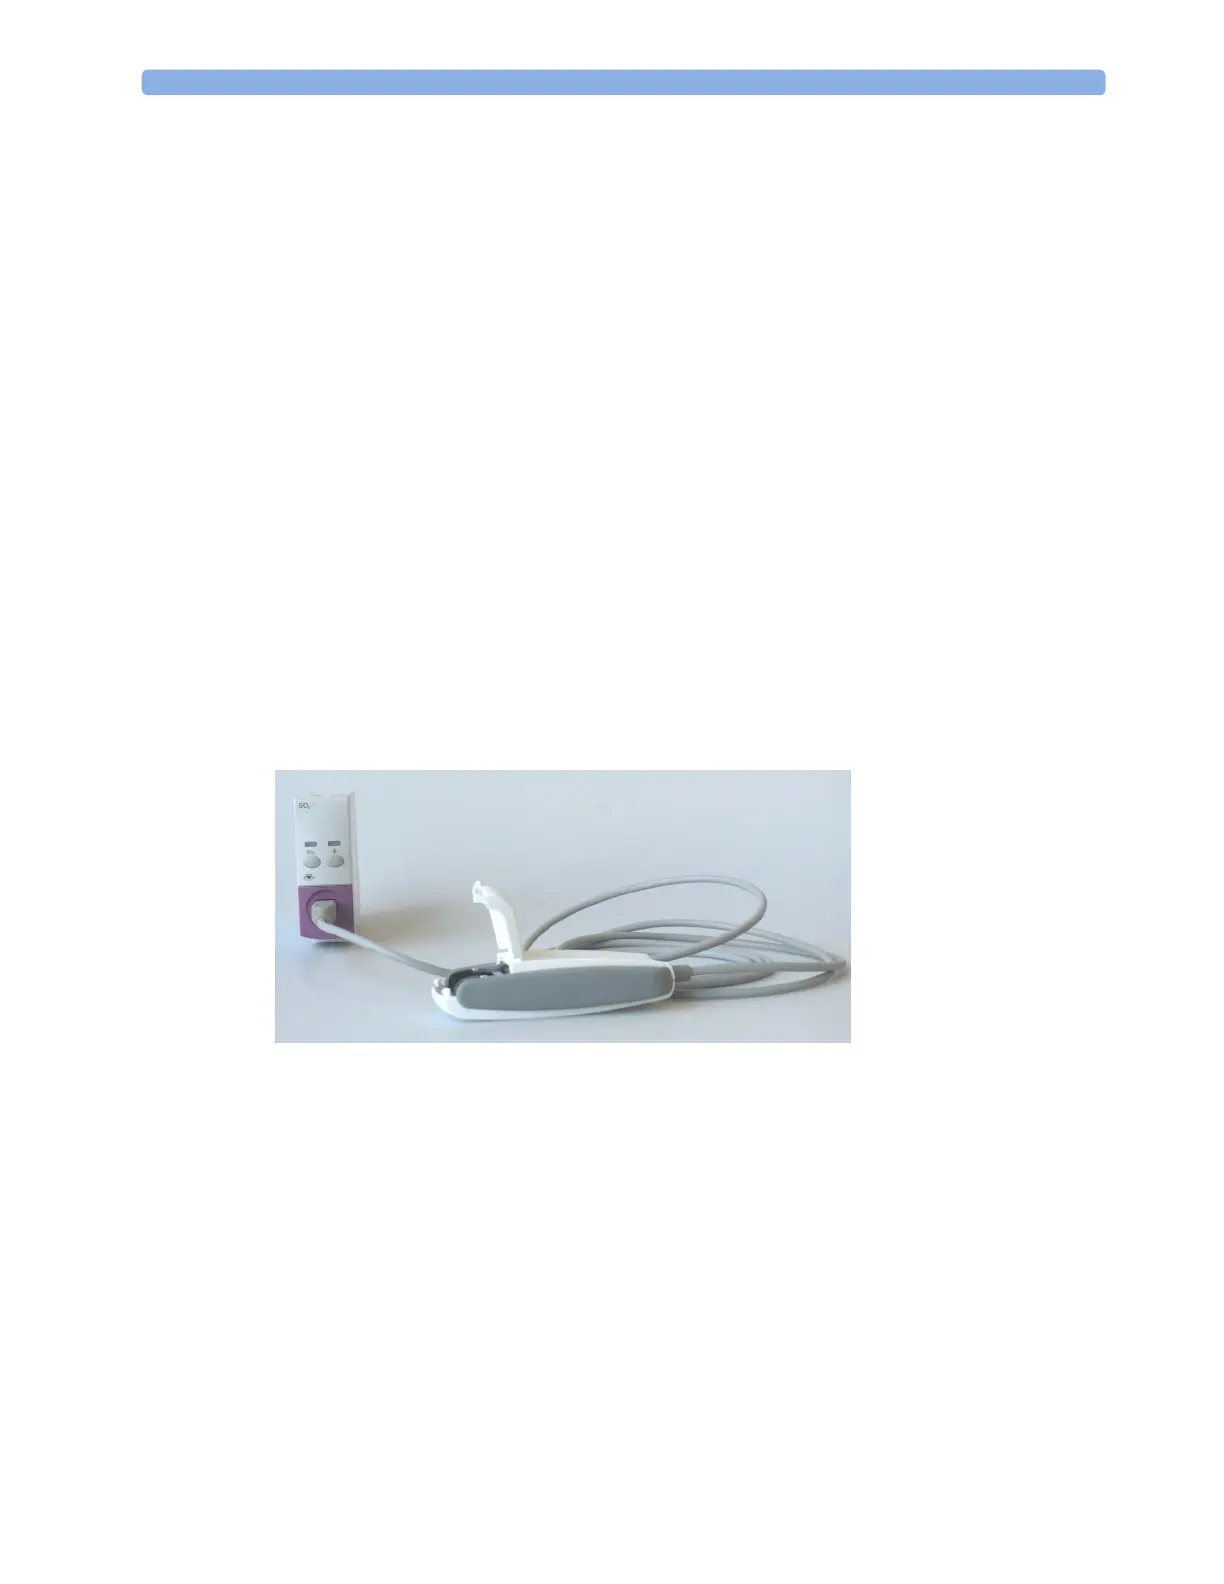
Connecting the Optical Module
1 Connect the optical module to the SO
2
module. Allow the optical module to warm up before you
insert the probe/catheter and perform a calibration.
Although the warmup message disappears from the screen after one minute, it is preferable to let
the optical module warm up for 10 minutes for best accuracy.
2 Place the optical module on the catheter tray in the space provided and open the lid.
3 Insert the SO
2
probe/catheter connector into the socket in the optical module until it snaps into
place.
4 Close the lid.
5 For instructions on the placement of fiber optic catheters/probes, refer to the documentation
provided with the accessory.