DMG 3200/3100/3000 – User Manual
Page 241 (306)
Figure 8.52 – Statmux Output service creation
8.8 Adding Logo Images
In order to add logo images to an encoded/transcoded service, an image of the corresponding
resolution will first need to be uploaded to the MMI mode.
8.8.1 Uploading Logo to the MMI
The file format supported by the Logo Insertion is 8-bit PNG with correct resolution (listed
below). If the PNG file is in ARGB format, the logo will be transparent depending on the alpha
channel in the PNG file.
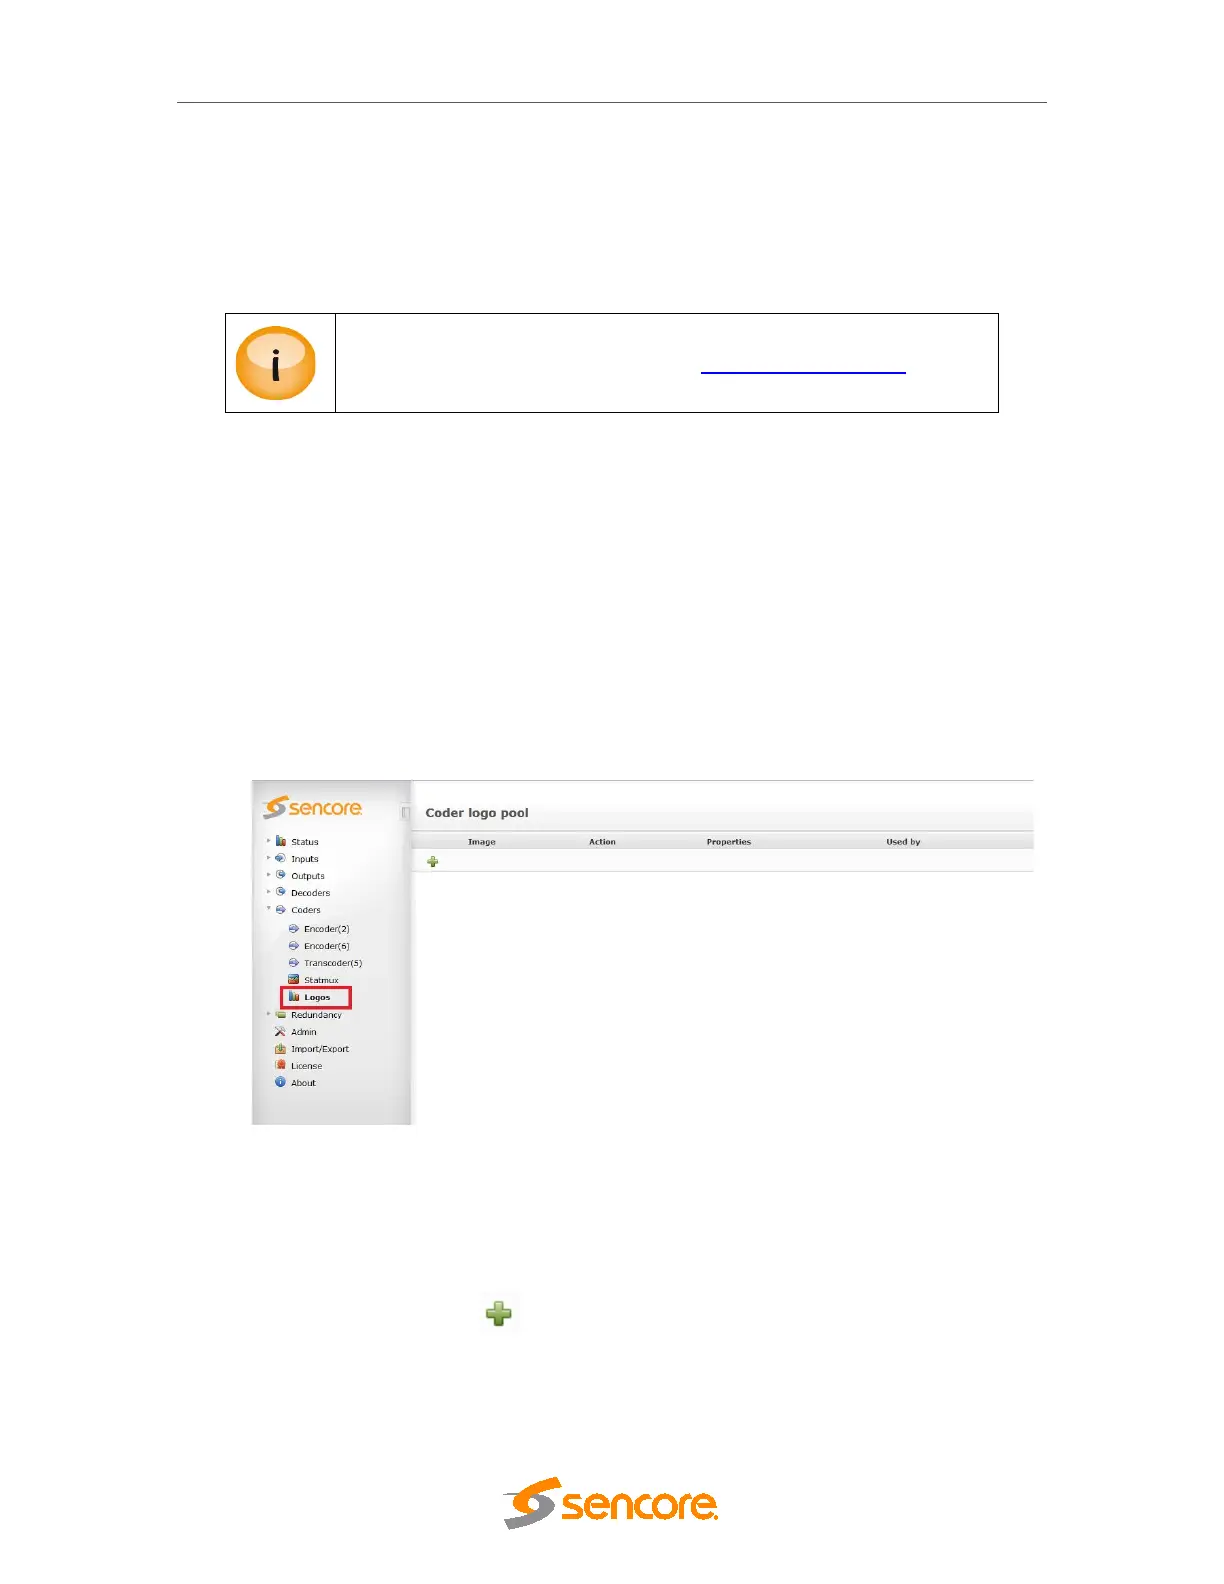
In order to upload the file, first navigate to the Coders->Logos page:
Figure 8.53: Logo for Encoders
Note: If no micro SD card is present on the MMI, the following message will appear.
“No microSD card inserted into card reader. Please contact support.”
The next step is to click the and navigate to the PNG file with appropriate resolution. Once
uploaded, this will create a new entry in the logo table.
Required size depends on resolution of encoder SD/720P/1080i.
A MicroSD card has to be available on the MMI module. All logos are
stored on the MMI module. Please contact ProCare@sencore.com
for
details.