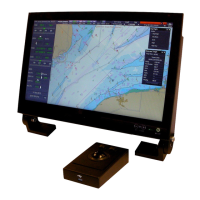
Routes ECDIS-E User Guide
8-24 65934012
3. To change a CP label from the default CP1,
CP2 etc. select the CP and click in the field
to the right of the label, the screen keypad
appears. Enter a label name using the
keypad and click the keypad OK button.
The label appears next to the selected CP
(if the label check box is ticked in the Route
Display Settings).
4. To create more CPs, continue to click on
the required positions on or near the route. As each CP is created
the purple square of the previous CP is displayed as a smaller
square in the same colour as the route and the Critical Points tab
shows each CP's label and L/L position.
5. To select a previous CP in the route click the
< button, to select
the next CP click the
> button. To select the first CP in the route
plan click the
<< button, or to select the last CP click the >>
button.
To change a CP's position do one of the following:
1. Move the cursor over the CP, hold down the left button and move
the trackball. The CP can be moved either up and down the length
of the route, or away from the route. When the required CP position
is shown on screen release the left button.
Or:
1. In the Critical Points tab navigate to the CP using the navigation
buttons, and with the required CP label shown click in the L/L
fields, a drop down keypad appears enabling you to select a
position for the CP.
There are a number of ways of defining the L/L position for the
selected CP. For a description of the position options available
refer to `How to edit waypoint data' in Edit Route - Waypoints Tab.
2. When a L/L position for the CP has been selected click the keypad
OK button. The CP is moved to the new position.
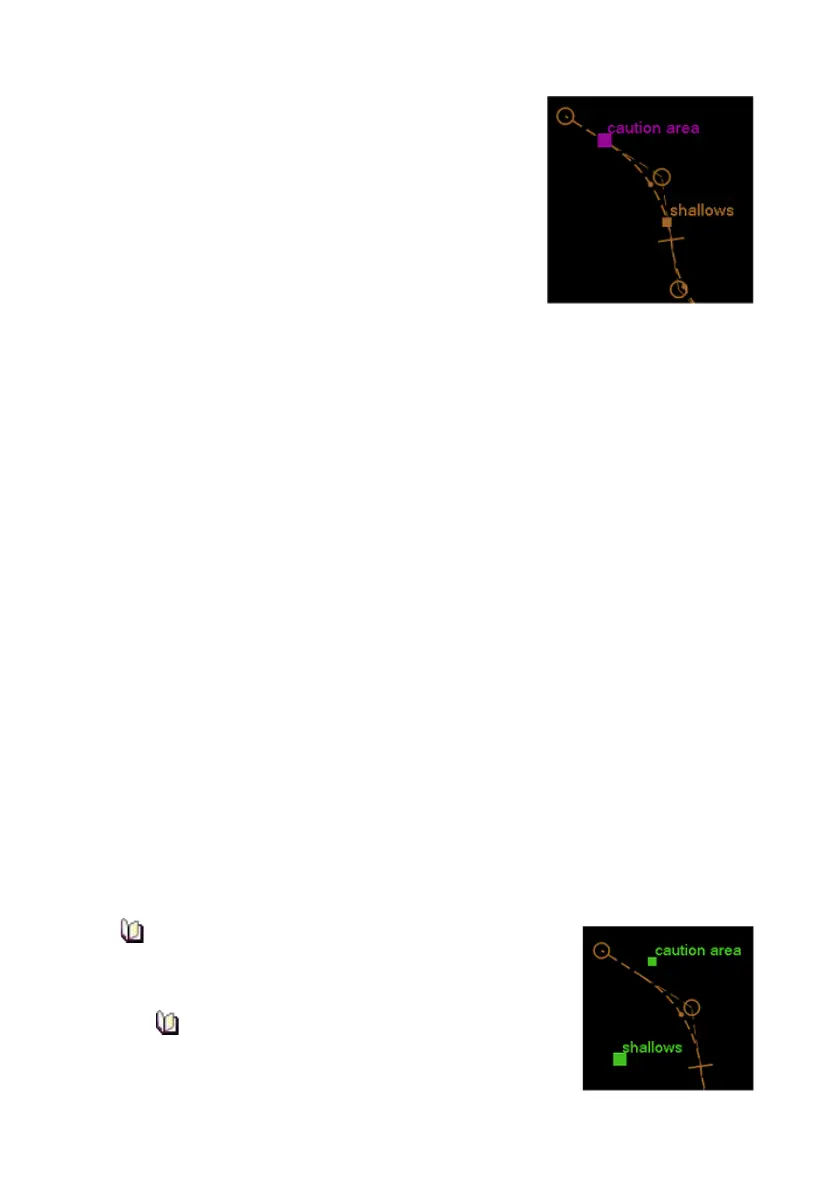
If a CP is moved away from the route, its colour
changes to green and the No Errors button
changes to Errors.
Clicking the Goto button centres the chart
display on the selected CP (in Standby only).
 Loading...