311
7 Repairing the knitting machine
7.3 Replacing parts
7.3.5 Remove needle bed or position it at an angle
This chapter contains instructions on:
Releasing needle bed
Removing needle bed
Positioning the needle bed at an angle
Screwing on the needle bed tight
Releasing needle bed 1. Transfer all stitches of the needle bed to be removed or positioned
vertically to the other needle bed.
2. When the carriage assembly is in the left reversing position, stop the
machine with the engaging rod. If a central lubrication is present, the
carriage must be in the left reversing position.
3. Tap the "Rel. drive brake" key in the "Manual interventions" window and
slide the carriage assembly to the left up to the stop.
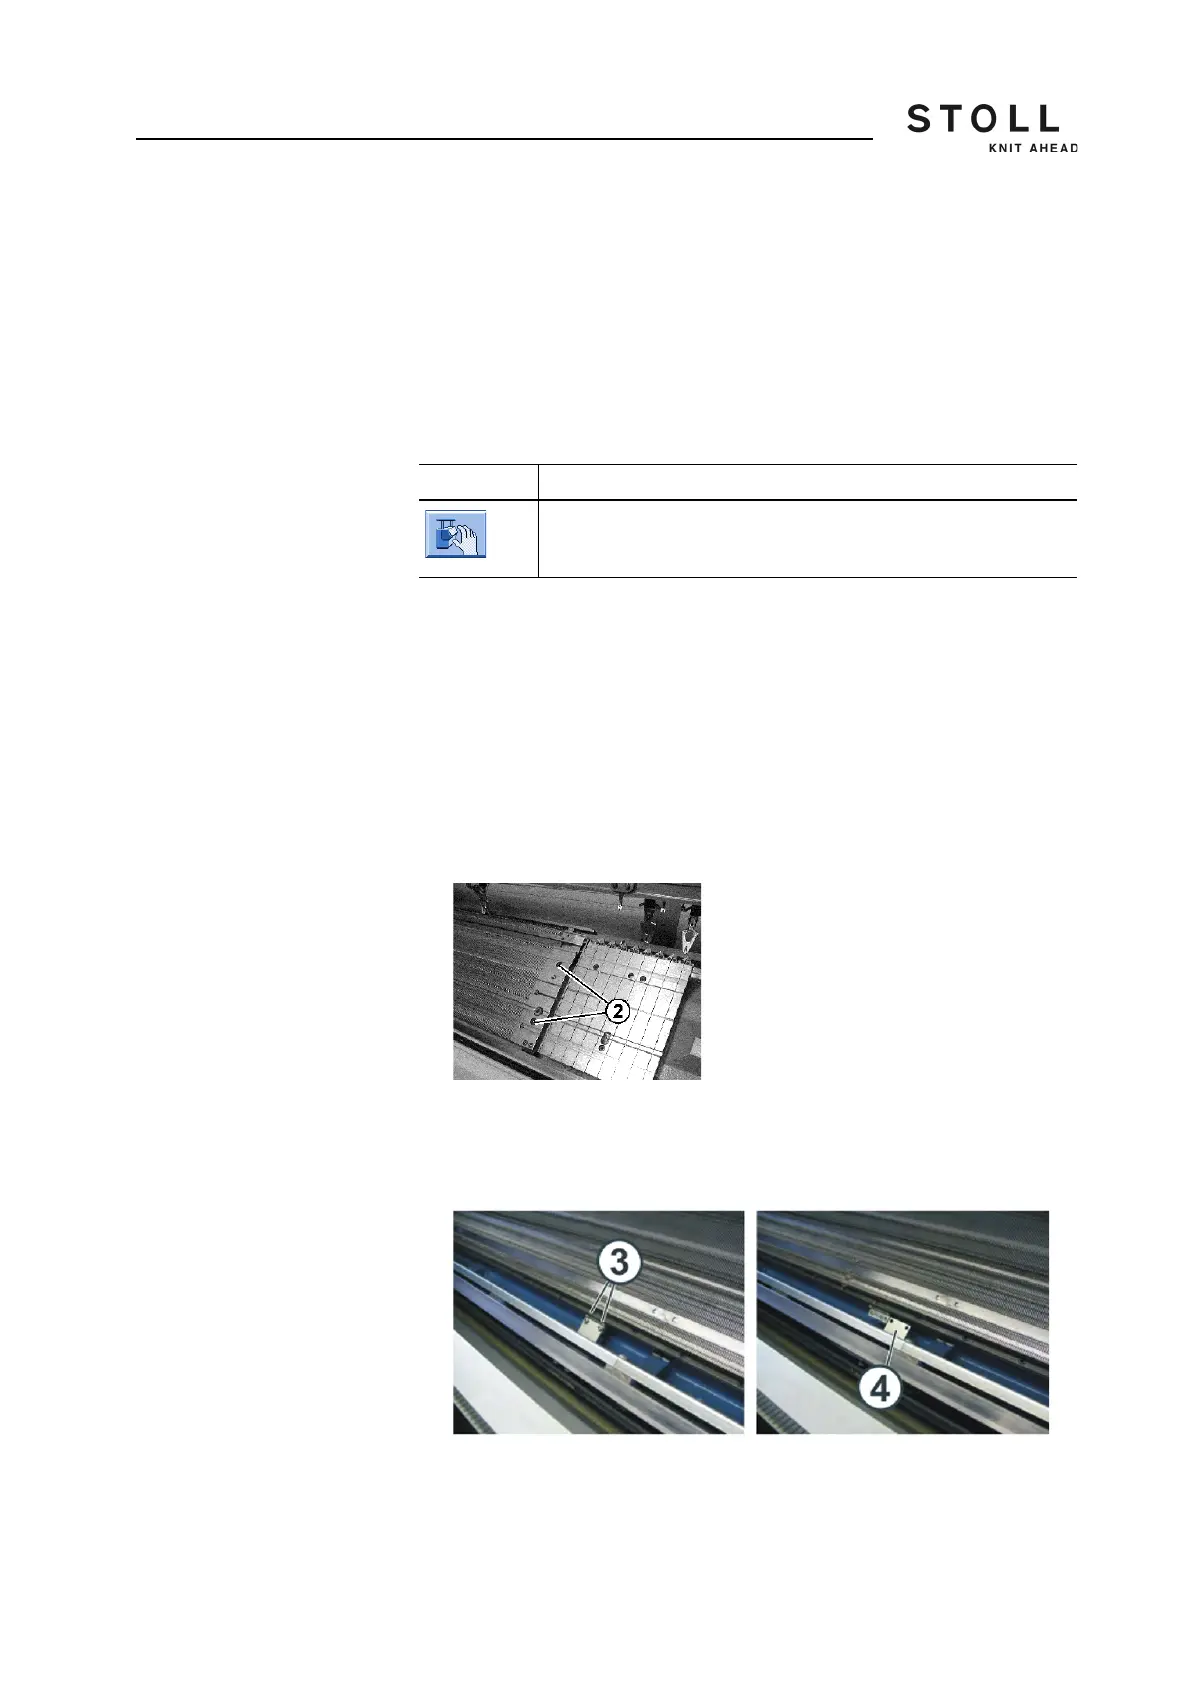
4. Remove two screws (2) on each side of the machine.
Releasing needle bed
5. Releasing the rear needle bed for gauge E 10 - E 18:
Remove the screws (3). Push the connection (4) to the side. While
doing so, the impulse sensor rail is pushed to the side.
Link of the impulse sensor rail
Key Function
Call up "Manual interventions" window
Key for calling up "Manual interventions" window