Using Vivo
132
CAEAthena
PN: 905K520652 v2.8
Tablet Setup
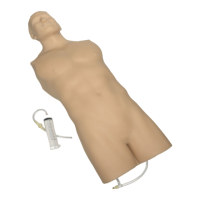
1. Power on the simulator first, and wait at least 3 minutes while the simulator establishes
a wireless network
Note: The power light will turn solid when ready.
TIP: It is recommended to wait 2 minutes after the manikin power light is solid, before starting
the tablet.
2. Power on the Vïvo tablet
Note: The power button is located on the top-right side of the tablet.
Once the simulator and the tablet are both powered on, they automatically establish a WiFi
connection.
TIP: For the initial WiFi connection, it may be necessary to have the tablet very close to the simulator.
For the initial (first-time) startup, or if the WiFi does not automatically connect, perform the following
steps to establish a WiFi connection to the simulator:
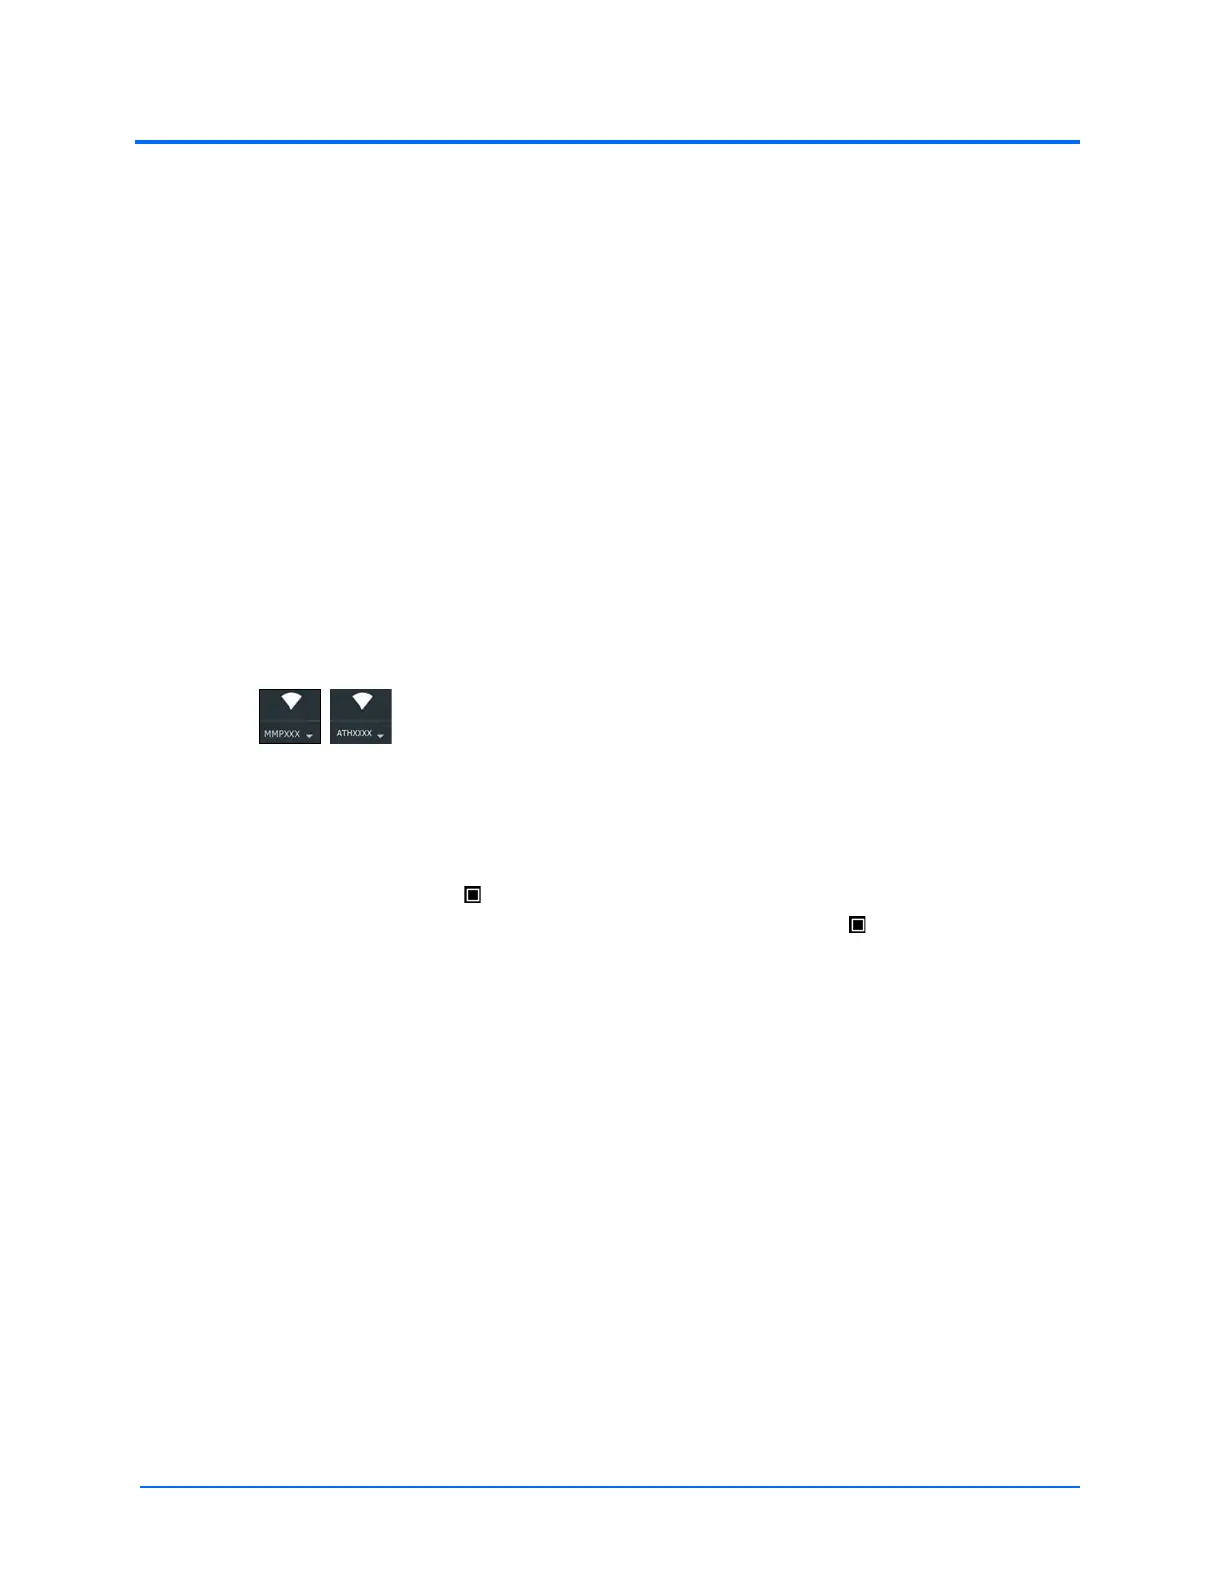
1. Swipe down from the top of the tablet screen to access the menu heading
2. Tap or swipe down on the WiFi icon to access the menu
3. Tap the WiFi icon dropdown
Tap the simulator network (Example: ATHXXXX, where XXXX is the serial number for the unit).
4. If necessary, enter the password caeadmin, then tap Connect
5. Tap the tablet square to minimize the windows. It may be necessary to first swipe up
from the bottom of the tablet screen to show the tablet square .
6. Swipe the window right or left (off the screen) to close
The WiFi icon will show it as connected (an exclamation point may show beside the icon, this is ok).
The Vïvo tablet is connected and ready to use.