• Chery QQ Service Manual Transmission System
2. Screw off the shift and select lever shaft bolt and nut, remove the control
from the shift shaft.
3. Screw off the strengthen pole nut, remove the strengthen pole and gasket.
4. Disconnect the exhaust pipe.
5. Meanwhile, remove the exhaust pipe nut。
6. Remove the clutch down clapboard.
7. Remove Ball joint bolt and nut from the Steering, then remove each
Suspension arm.
8.Use big drive screw disassembly drive shaft snap ring from differential side.
9. Screw the bolt and nut of the transaxle ,engine assembly.
10.Support the transaxle by transaxle jack.
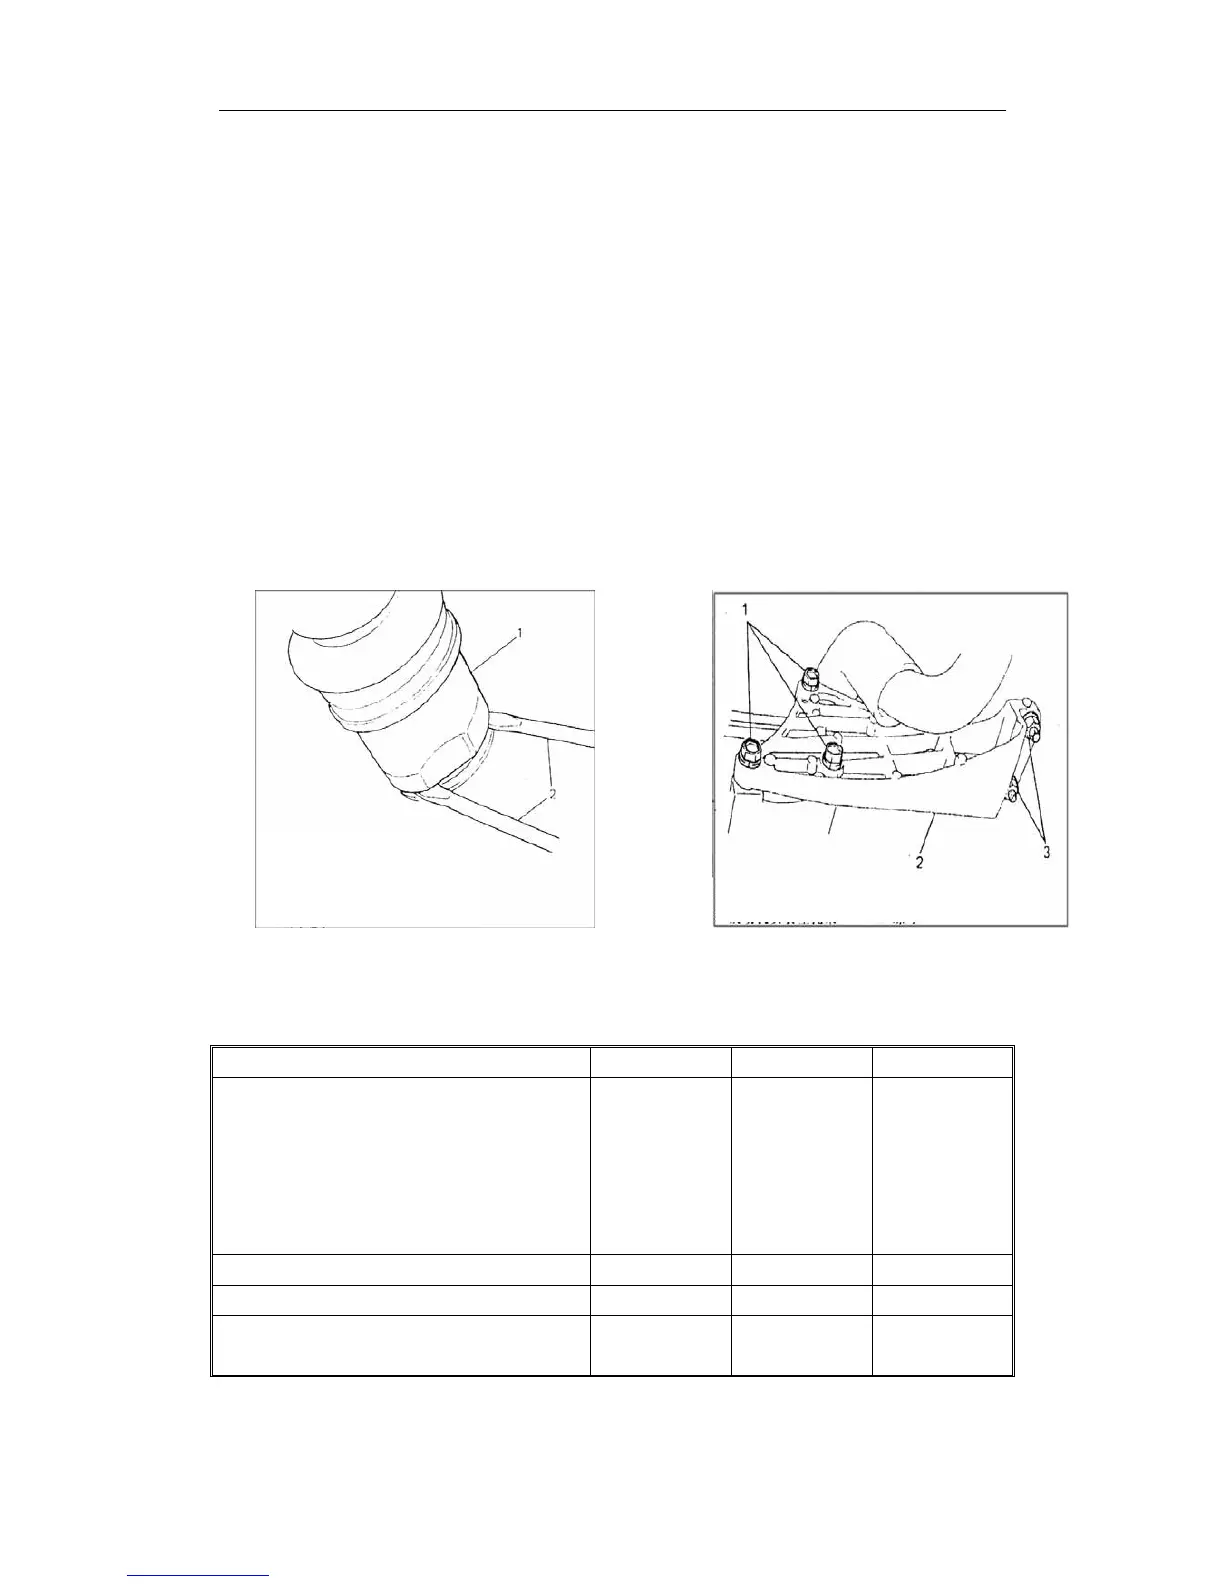
11.From engine retainer bracket,disassembly 2 blot。
12. First remove the 3 bolt and 2 nut, then remove the bracket.
13. Down the jack and the transaxle, disassembly the bolt between the engine
and transaxle, separate input shaft and clutch disc, take the transaxle.
1 Bolt 2 Engine bracket 3
1 Drive shaft universal
coupling
II, Install transaxle
The following Fig. Shows the fastened torque:
Torque N·m kg·m 1b·ft
· Transaxle, engine assembly bolt,
nut。
· Engine nut
· Engine bracket bolt
· Exhaust pipe / nut
· Exhaust pipe / muffler nut
40-60 4.0-6.0 29.0-43.0
Ball joint bolt nut 50-70 5.0-7.0 36.5-50.5
Strengthen pole nut 25-40 2.5-4.0 18.5-28.5
Shift and select lever shaft
bolt , nut
15-20 1.5-2.0 11.0-14.5
52
Chery Automobile Co., Ltd