Chery QQ Service Manual Chassis System
Chery Automobile Co., Ltd
90
2)Remove the balanced beam and rubber sleeve
9. Install the separation sheath bearing and
assembly.
the positioning device.
Attention: When removing the balanced beam,
the assembly is to be removed, and the supporting
frame of the balanced beam is to be removed.
10. Make use of new nuts for tightening against
looseness.
11. Tighten the new screw nuts.
Cautions:
3)Remove the joining bolt for the steering
knuckle and the lower swinging arm.
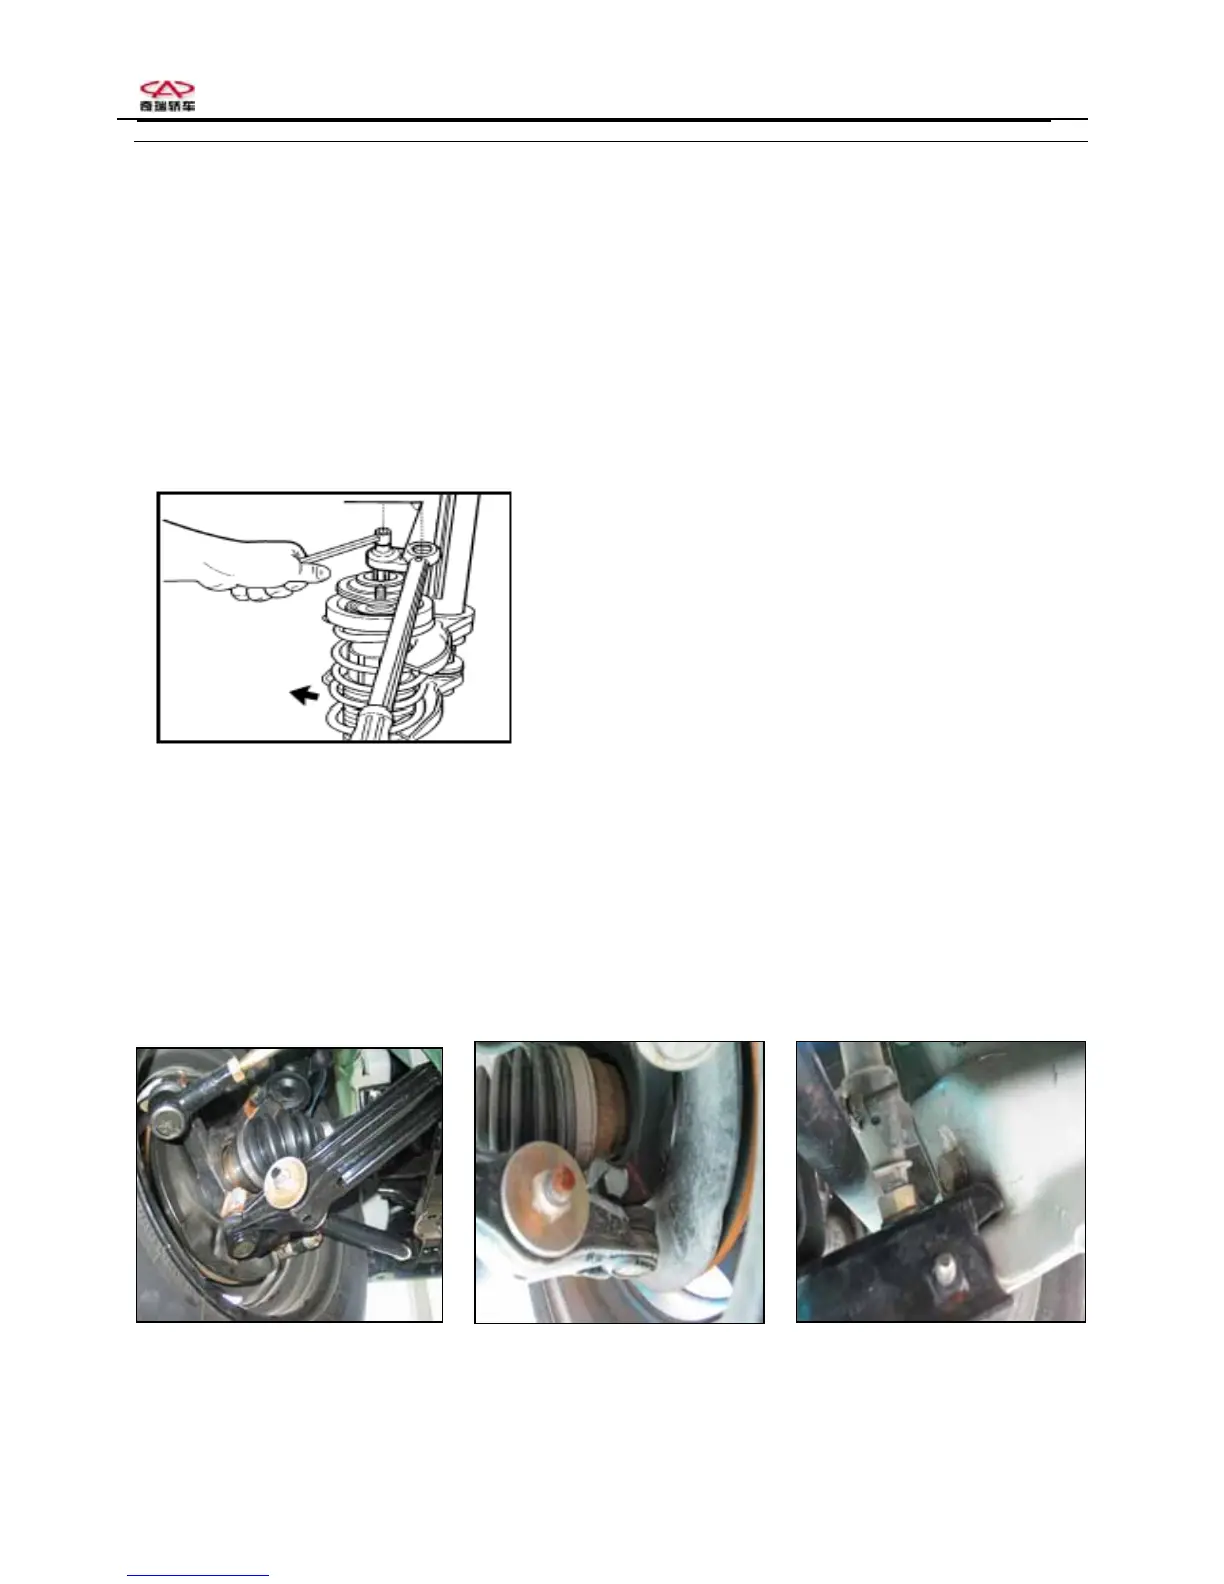
The torque wrench should be used in the
perpendicular manner (as shown in the figure).
4)Remove the joining bolt for the car body and
the lower swinging arm.
5)Remove the car body lower swinging arm
assembly.
Steps of installation:
1. Do the installation by referring to the steps
of dismounting.
2、Points of attention:
① In the screw tightening process, the fastening
bolts controlled by torque + corner tightening
submission limits should be replaced after each
action of loosening
IV. Removal and installation of the
lower swinging arm assembly
② The screws should be tightened to the
specified torques after the installation.
Removal
1)Remove the wheels.