GERAFT LOGIQ P9/P7
D
IRECTION 5604324, REVISION 11 DRAFT (JANUARY 24, 2019) SERVICE MANUAL
7-8 Section 7-4 - Screen Captures and Logs
Section 7-4
Screen Captures and Logs
Sometimes, the customer or field engineer wants to capture a presentation on the screen to identify the
issue may be recovered by the Online Center (OLC). This is accomplished by saving the log files.
A) To archive log files and current screen image put DVD-R/CD-R media to DVD drive tray or plug-in
external USB drive.
B) Press ALT+D to archive log files and a screen capture to the target media
C) “System Problem Reporting” dialog will be popped up and please describe brief information about
the issue.
D) Please select destination drive (CD/ DVD recordable/ HDD/ USB drive).
E) Press store button to save archive file to the destination drive.
7-4-1 Capturing a screen
The following is the generic process to capture any screen from the scanner.
1) Navigate and display the image/screen/volume to be captured.
2) Press the P1
, P2, P3 or P4 key (depending on system configuration) on the control panel and store
the image onto the clipboard (frame on left side of the screen).
3) Select the stored image(s) and export them to DVD-R/CD-R, an external USB drive (optional) or
mapped Network drive (jpg, bmp, tiff).
7-4-2 Export Log’s and System Data
1) “ALT + D” key to save a snapshot and “Full Backup” of the System status.
See: Section 7-4-2-1 on page 7-8
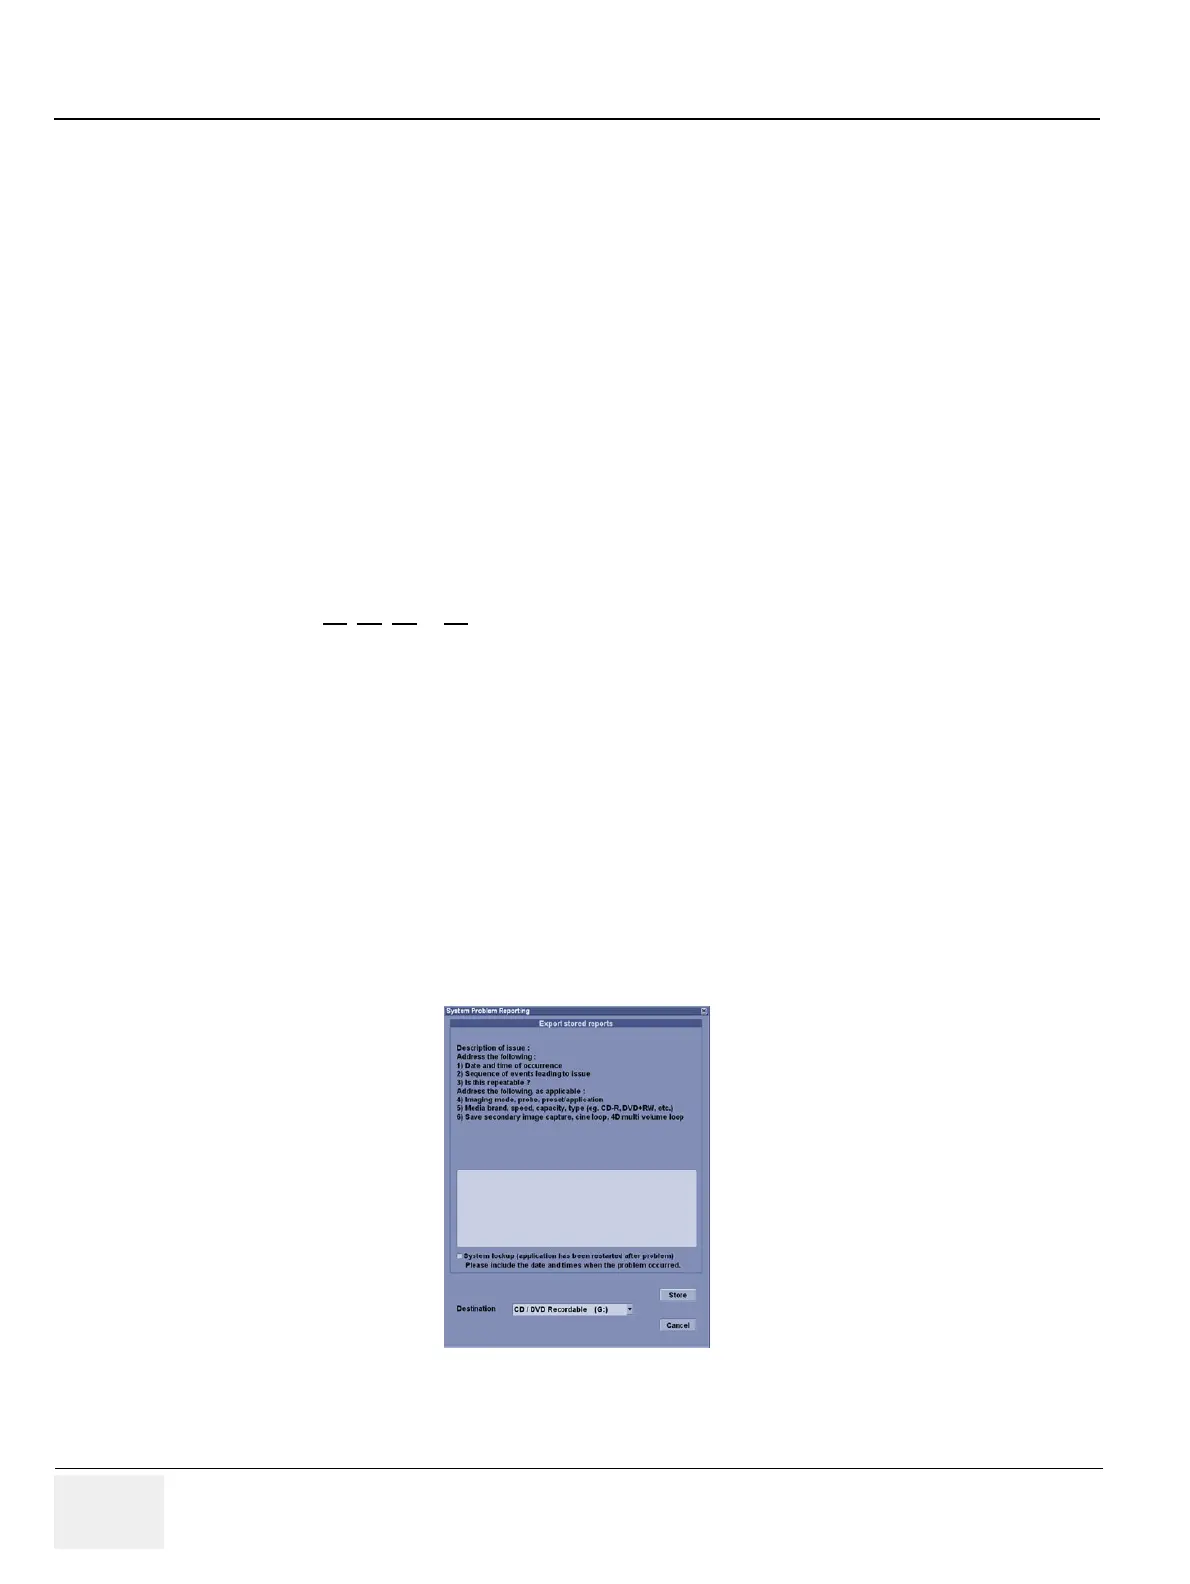
7-4-2-1 Export System Data (by pressing the ALT + D key)
Pressing ALT + D make “Full Backup” archive of the system status. In addition, it creates one
screenshot of the point in time when “ALT + D” is pressed. The main usage of the archived files is to
identify system problem based on logs and captured screen. (e.g., when experiencing strange behavior
or when the problem should be investigated by engineering team.)
Figure 7-11 System Problem Reporting
NOTE: For capturing logs limitation, please refer to LP9/P7 R3 user manual in chapter 10 under the "Groups"
for the preset parameters.

 Loading...


