EasyManuals Logo

GE LOGIQ P9 Service Manual

GE LOGIQ P9
602 pages
To Next Page IconTo Next Page
To Previous Page IconTo Previous Page
Page #370 background imageLoading...
Page #370 background image
GERAFT LOGIQ P9/P7
D
IRECTION 5604324, REVISION 11 DRAFT (JANUARY 24, 2019) SERVICE MANUAL
8-44 Section 8-3 - System Software - Installation/Upgrade Procedure
8-3-7-5 Application Software Installation (R1.x.x or R2.x.x)
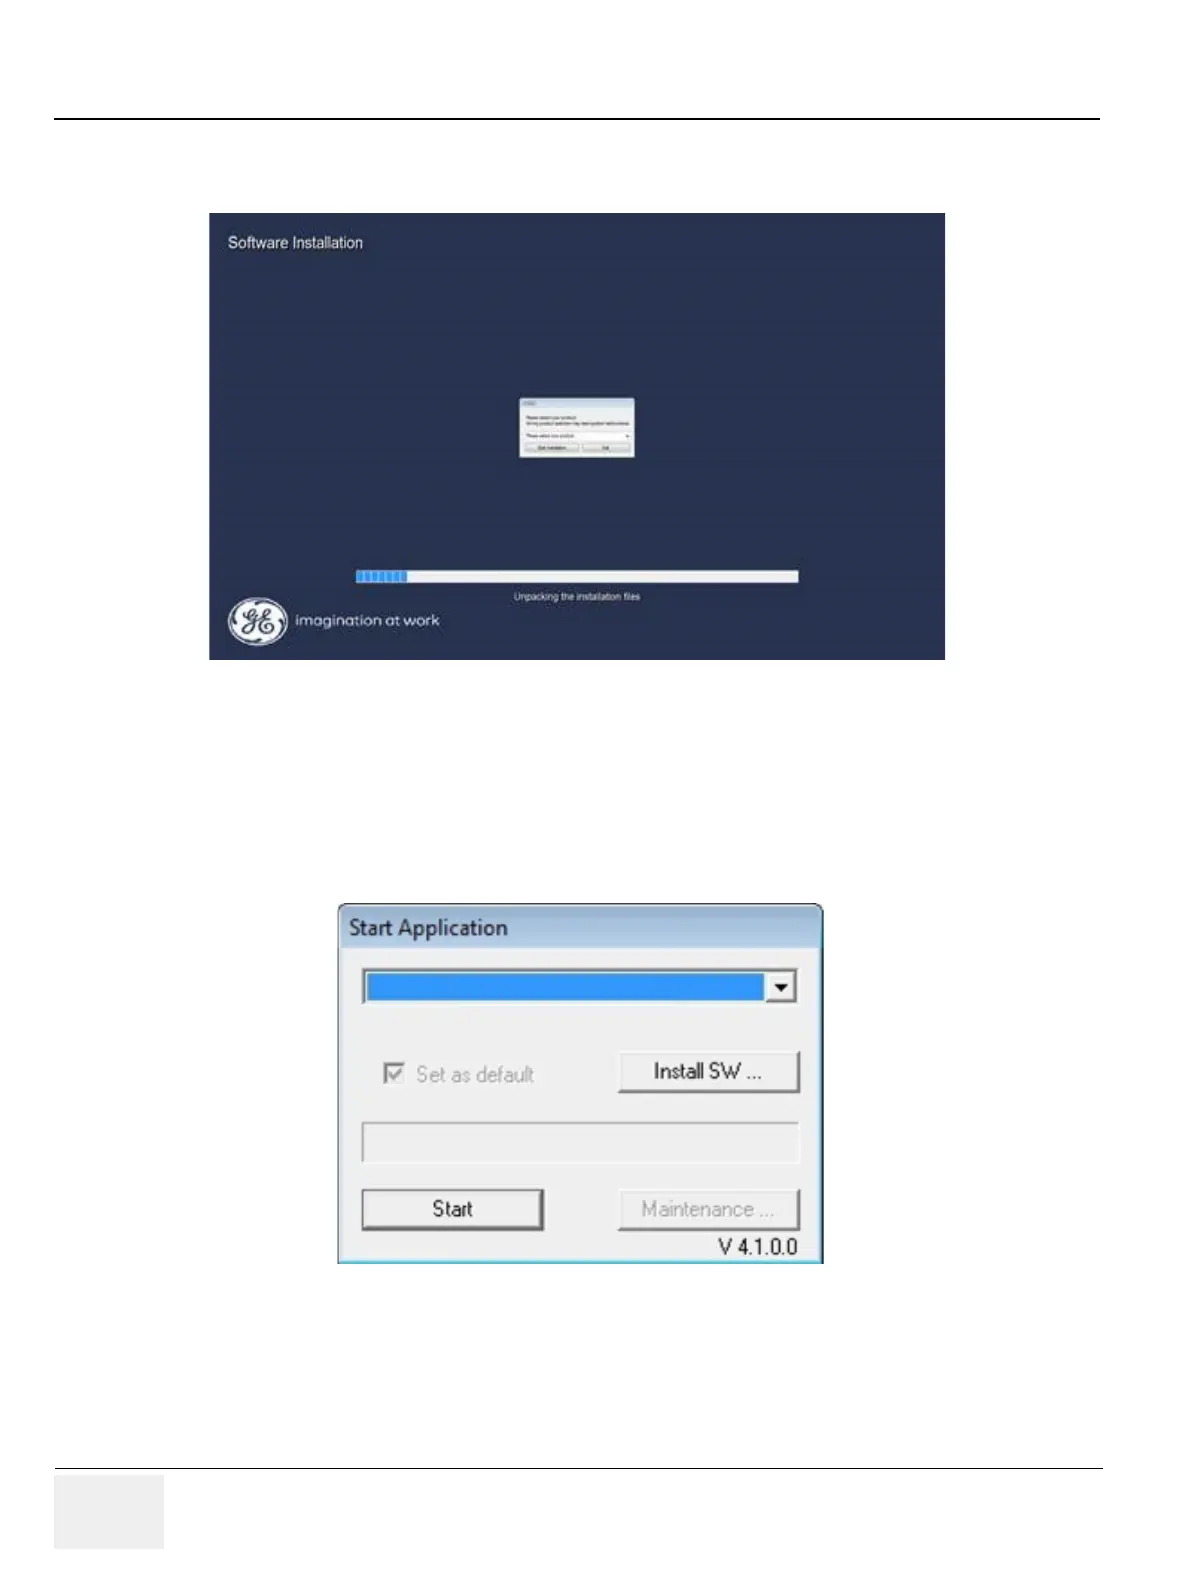
1) Application Software Installation process will take approximately 20 minutes
2) Select your product. Click “Start Installation” button.
3) After the installation completes, the system will be rebooted automatically.
NOTE: Do not remove Application Software DVD from drive. (R1.x.x or R2.x.x)
4) After rebooting the system, the “Start Application” window appears. Remove the DVD from the tray
(R1.x.x or R2.x.x), then click “Start” button.

Table of Contents

Other manuals for GE LOGIQ P9

Questions and Answers:

Question and Answer IconNeed help?

Do you have a question about the GE LOGIQ P9 and is the answer not in the manual?

GE LOGIQ P9 Specifications

General IconGeneral
TypeUltrasound System
3D/4D ImagingYes
ElastographyYes
ConnectivityDICOM, USB, Ethernet, HDMI
Doppler ModesColor Doppler, Power Doppler
Probesconvex, linear, phased array
Imaging ModesM-Mode, Color Doppler, Power Doppler
PortabilityCart-based
ApplicationsVascular, Cardiac, OB/GYN, Musculoskeletal
WeightApprox. 80 kg
Touch Panel10.1-in touchscreen

Related product manuals