GERAFT LOGIQ P9/P7
D
IRECTION 5604324, REVISION 11 DRAFT (JANUARY 24, 2019) SERVICE MANUAL
3-62 Section 3-13 - Configuring Connectivity
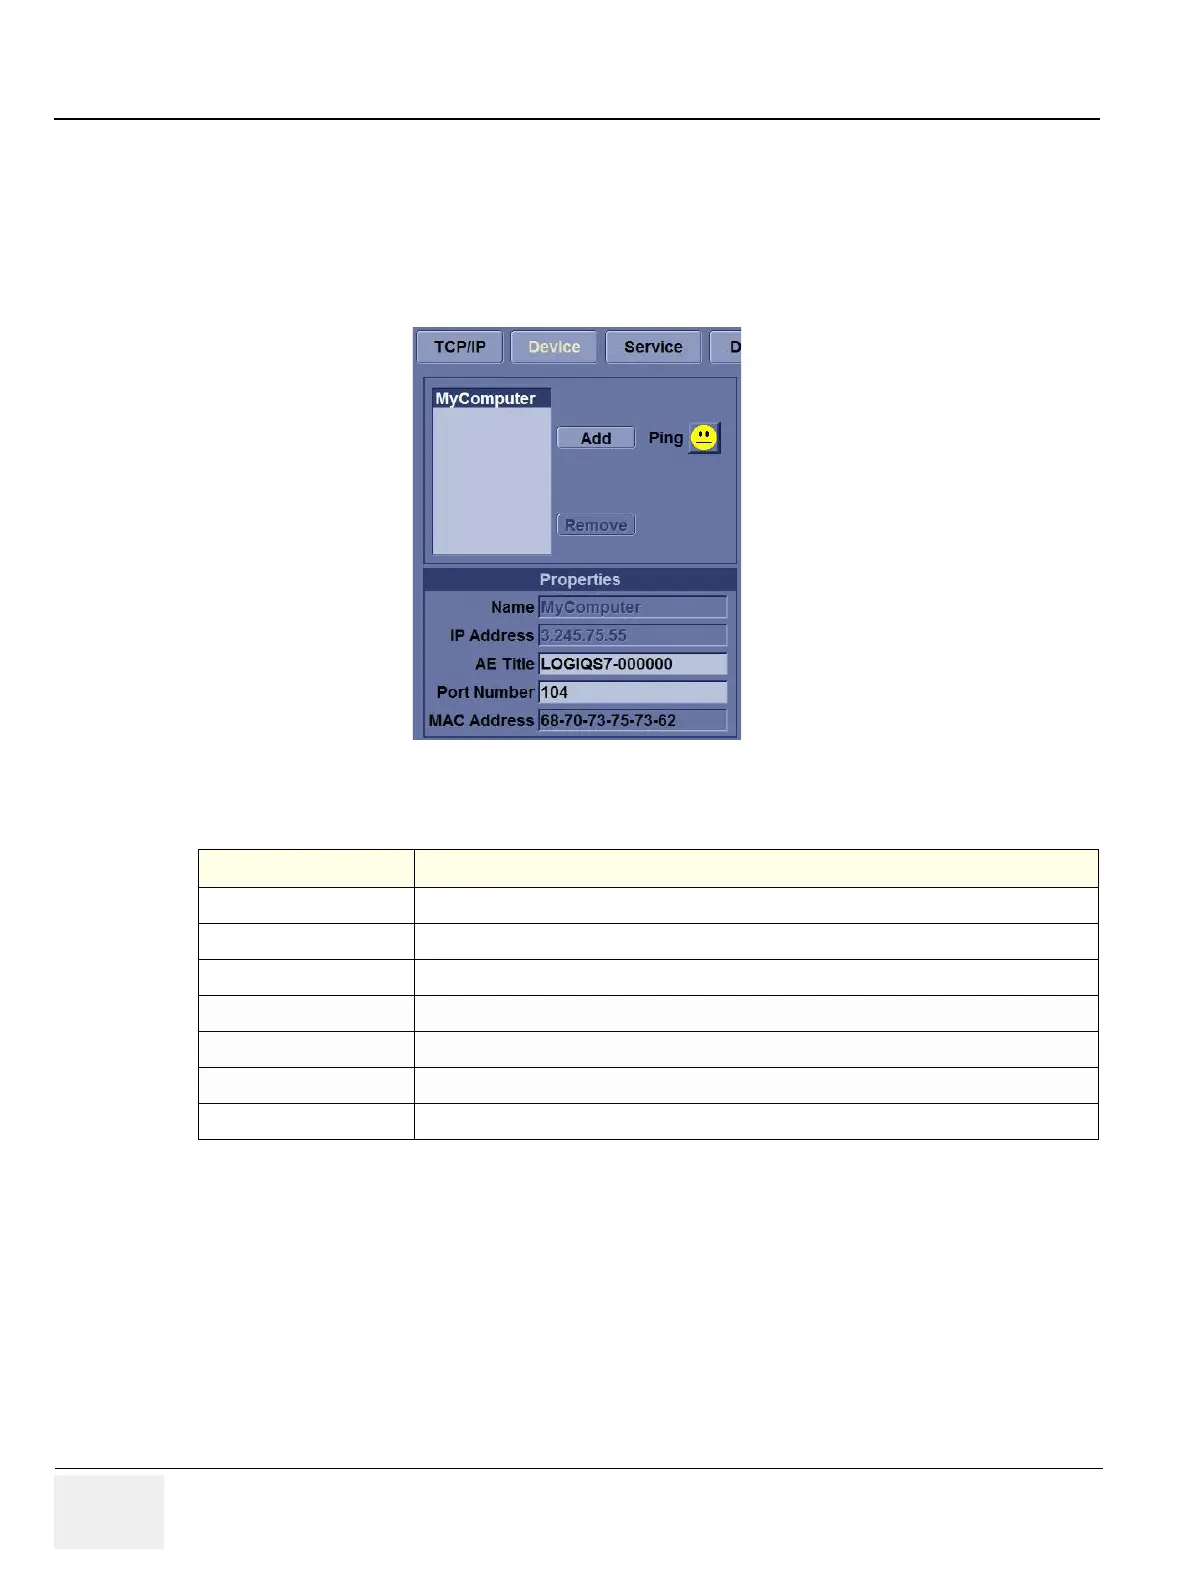
3-13-5 Device
To add a new device,
1) Press Add.
2) Type the device name in the Name field.
3) Type the device's IP address in the IP Address field.
Figure 3-37 Connectivity Device Preset Menu
To ping a device,
1) Select the device.
2) Press Ping. If the smiley face smiles, then the connection has been confirmed. If the smiley face
frowns, then the connection has not been made. Check the device name and IP address.
Table 3-25 Device
Preset Parameter Description
Add/Remove Press Add to add a new device; press Remove to delete a device.
Ping Press Ping to confirm that a device is connected.
Properties: Name Type the name of the device.
Properties: IP Address Type the device's IP address.
Properties: AE Title AE Title of the LOGIQ P9/P7. NOTE: Only available for MyComputer.
Properties: Port Number IP Port Number Used for DICOM, set by default to 104. NOTE: Only available for MyComputer.
Properties: MAC Address Unique network card address. NOTE: Only available for MyComputer.

 Loading...


