GEDRAFT LOGIQ P9/P7
D
IRECTION 5604324, REVISION 11 DRAFT (JANUARY 24, 2019) SERVICE MANUAL
Chapter 3 - Setup Instructions 3-11
Section 3-6
Connection of Auxiliary Devices
NOTE: Normally auxiliary devices and peripherals come pre-installed with the system.
Table 3-7 below outlines hardware installation procedures described in the sub-sections.
NOTE: For more detailed Safety Considerations when connecting auxiliary devices to the LOGIQ P9/P7
system, please review: Chapter 1 - Auxiliary Devices Safety, on page 1-10.
Table 3-7 Connection Procedures
Sub-section Description Page Number
3-6-1
Connecting the LCD Monitor
3-12
3-6-2
Connecting the Black & White Printer
3-13
3-6-3
Connecting the Color Printer
3-14
3-6-3
Connecting the Secondary “Patient” LCD Monitor
3-15
3-6-4
Connecting the Footswitch
3-17
3-6-5
Connecting the USB Flash Memory Stick
3-18
3-6-6
Connecting the external USB Hard disk (Handydrive)
3-18
3-6-7
General Remarks and Hints when using external USB-Devices
3-19
!! WARNING:
After each installation, the leakage currents have to be measured according to
IEC 60601-1 respectively ANSI/AAMI ES60601-1.
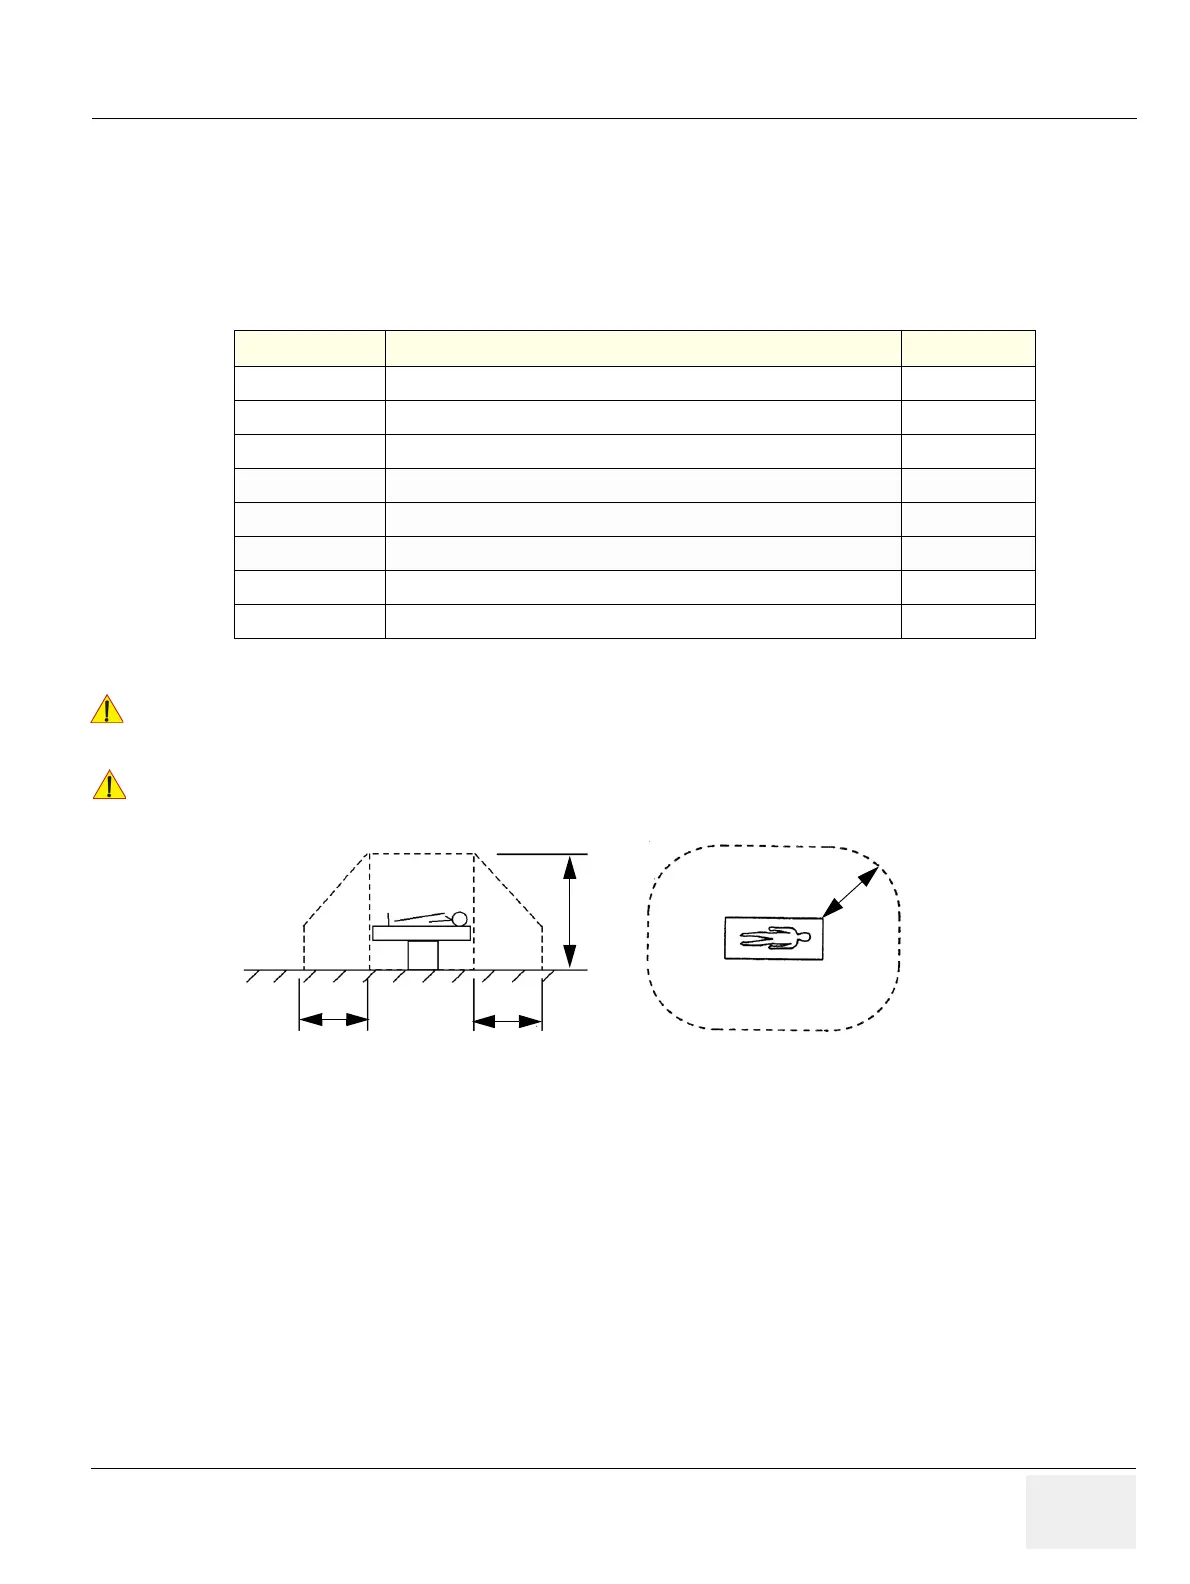
!! CAUTION:
Please observe that some printers may not be medical devices! If the Bluetooth Printer and/or
Line Printers are not medical devices, they have to be located outside of the patient
environment (according to IEC 60601-1 / ANSI/AAMI ES60601-1).