EasyManuals Logo

GE LOGIQ P9 Service Manual

GE LOGIQ P9
602 pages
To Next Page IconTo Next Page
To Previous Page IconTo Previous Page
Page #364 background imageLoading...
Page #364 background image
GERAFT LOGIQ P9/P7
D
IRECTION 5604324, REVISION 11 DRAFT (JANUARY 24, 2019) SERVICE MANUAL
8-38 Section 8-3 - System Software - Installation/Upgrade Procedure
8-3-7-3 System Software - Installation Procedure (R3.x.x)
8-3-7-3-1 Set the system boot order (BIOS setting)
1.) Prepare the THUMB DRIVER R3.x.x (USB media) including Base Image Load Windows 10.
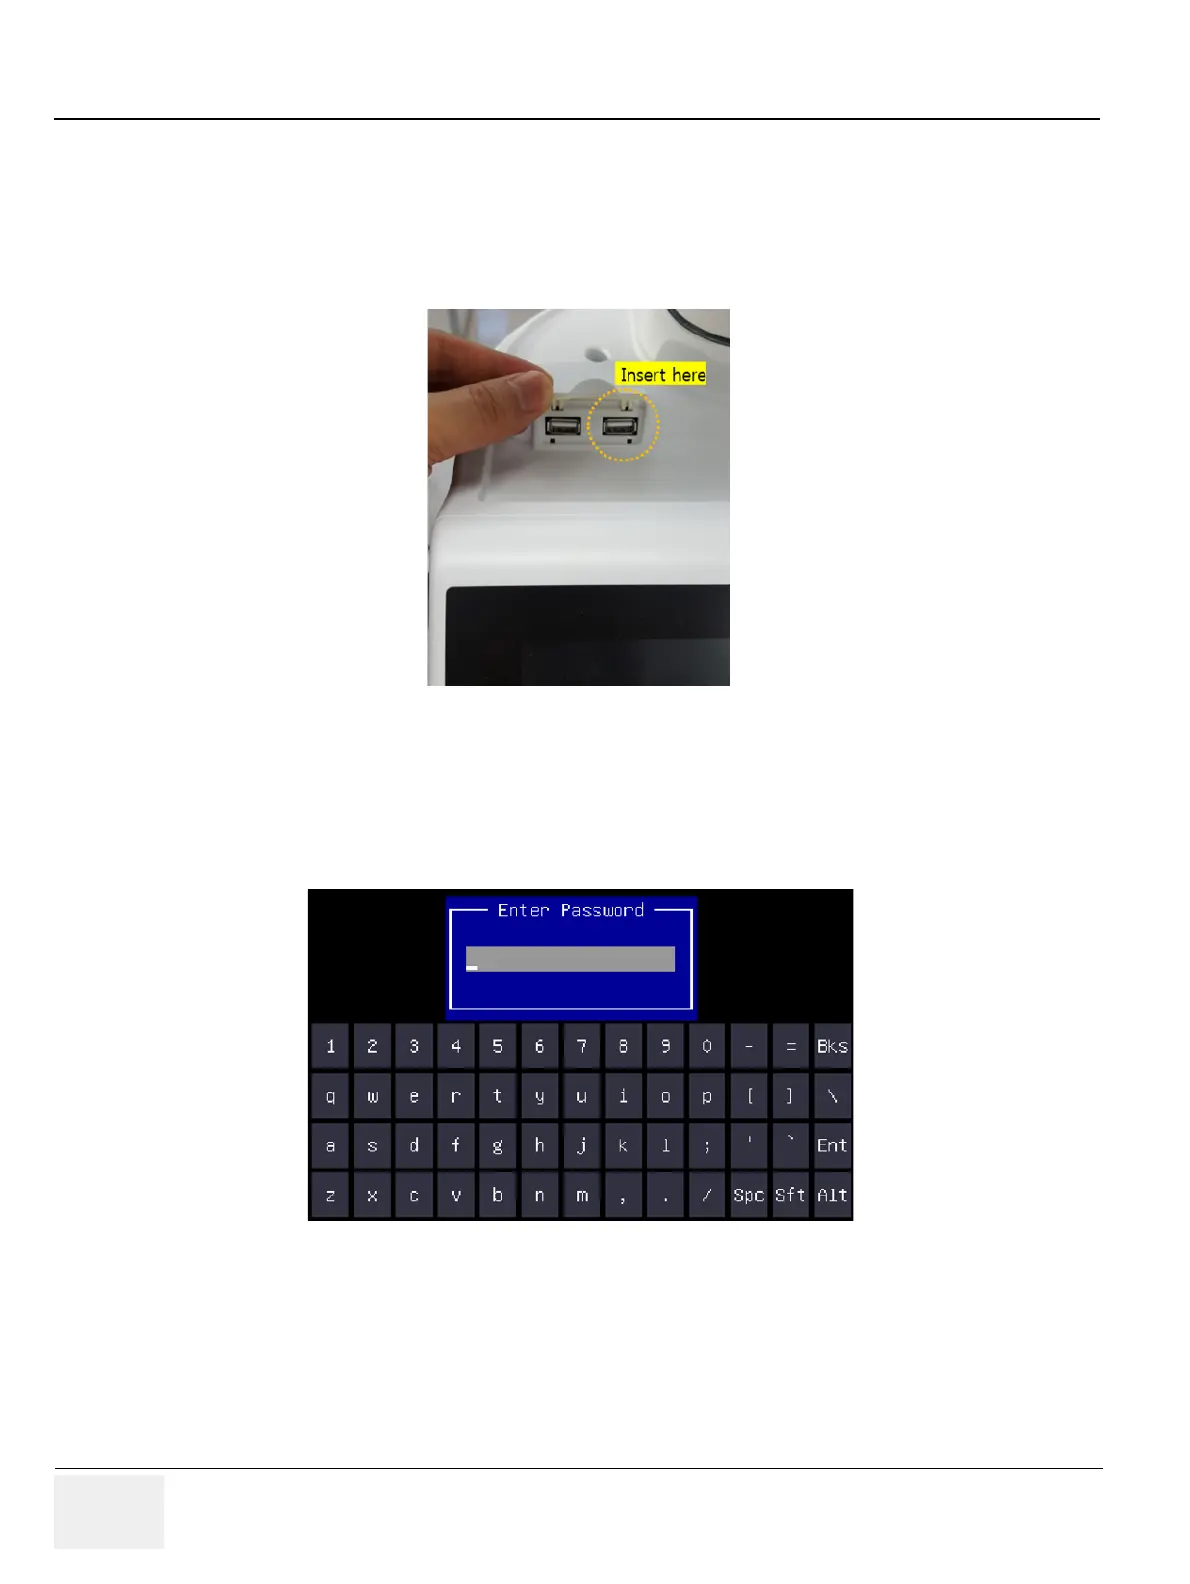
2.) Insert USB media to on the system USB port.
3.) Power on the scanner
4.) Press “DEL” (If AN key is installed) or press left bottom key of trackball (If there’s no AN Key) to
enter BIOS
5.) Enter the “maru” in Enter Password
Figure 8-19 System USB port
Figure 8-20 Enter Password

Table of Contents

Other manuals for GE LOGIQ P9

Questions and Answers:

Question and Answer IconNeed help?

Do you have a question about the GE LOGIQ P9 and is the answer not in the manual?

GE LOGIQ P9 Specifications

General IconGeneral
TypeUltrasound System
3D/4D ImagingYes
ElastographyYes
ConnectivityDICOM, USB, Ethernet, HDMI
Doppler ModesColor Doppler, Power Doppler
Probesconvex, linear, phased array
Imaging ModesM-Mode, Color Doppler, Power Doppler
PortabilityCart-based
ApplicationsVascular, Cardiac, OB/GYN, Musculoskeletal
WeightApprox. 80 kg
Touch Panel10.1-in touchscreen

Related product manuals