EasyManuals Logo

GE LOGIQ P9 Service Manual

GE LOGIQ P9
602 pages
To Next Page IconTo Next Page
To Previous Page IconTo Previous Page
Page #422 background imageLoading...
Page #422 background image
GERAFT LOGIQ P9/P7
D
IRECTION 5604324, REVISION 11 DRAFT (JANUARY 24, 2019) SERVICE MANUAL
8-96 Section 8-15 - Replacement of the Caps for Hardkeys
Section 8-15
Replacement of the Caps for Hardkeys
8-15-1 Manpower
1 person, approx. 1 minute/cap.
8-15-2 Tools
Small-sized slotted screwdriver or tweezers.
8-15-3 Removal Procedure
1) By means of a small slotted screwdriver, carefully push against the hardkey cap.
2) Lift the cap, until it is completely loosened from its base.
3) Place the new hardkey cap down until it snaps into position.
Figure 8-99 Push against the circle cap and lift it
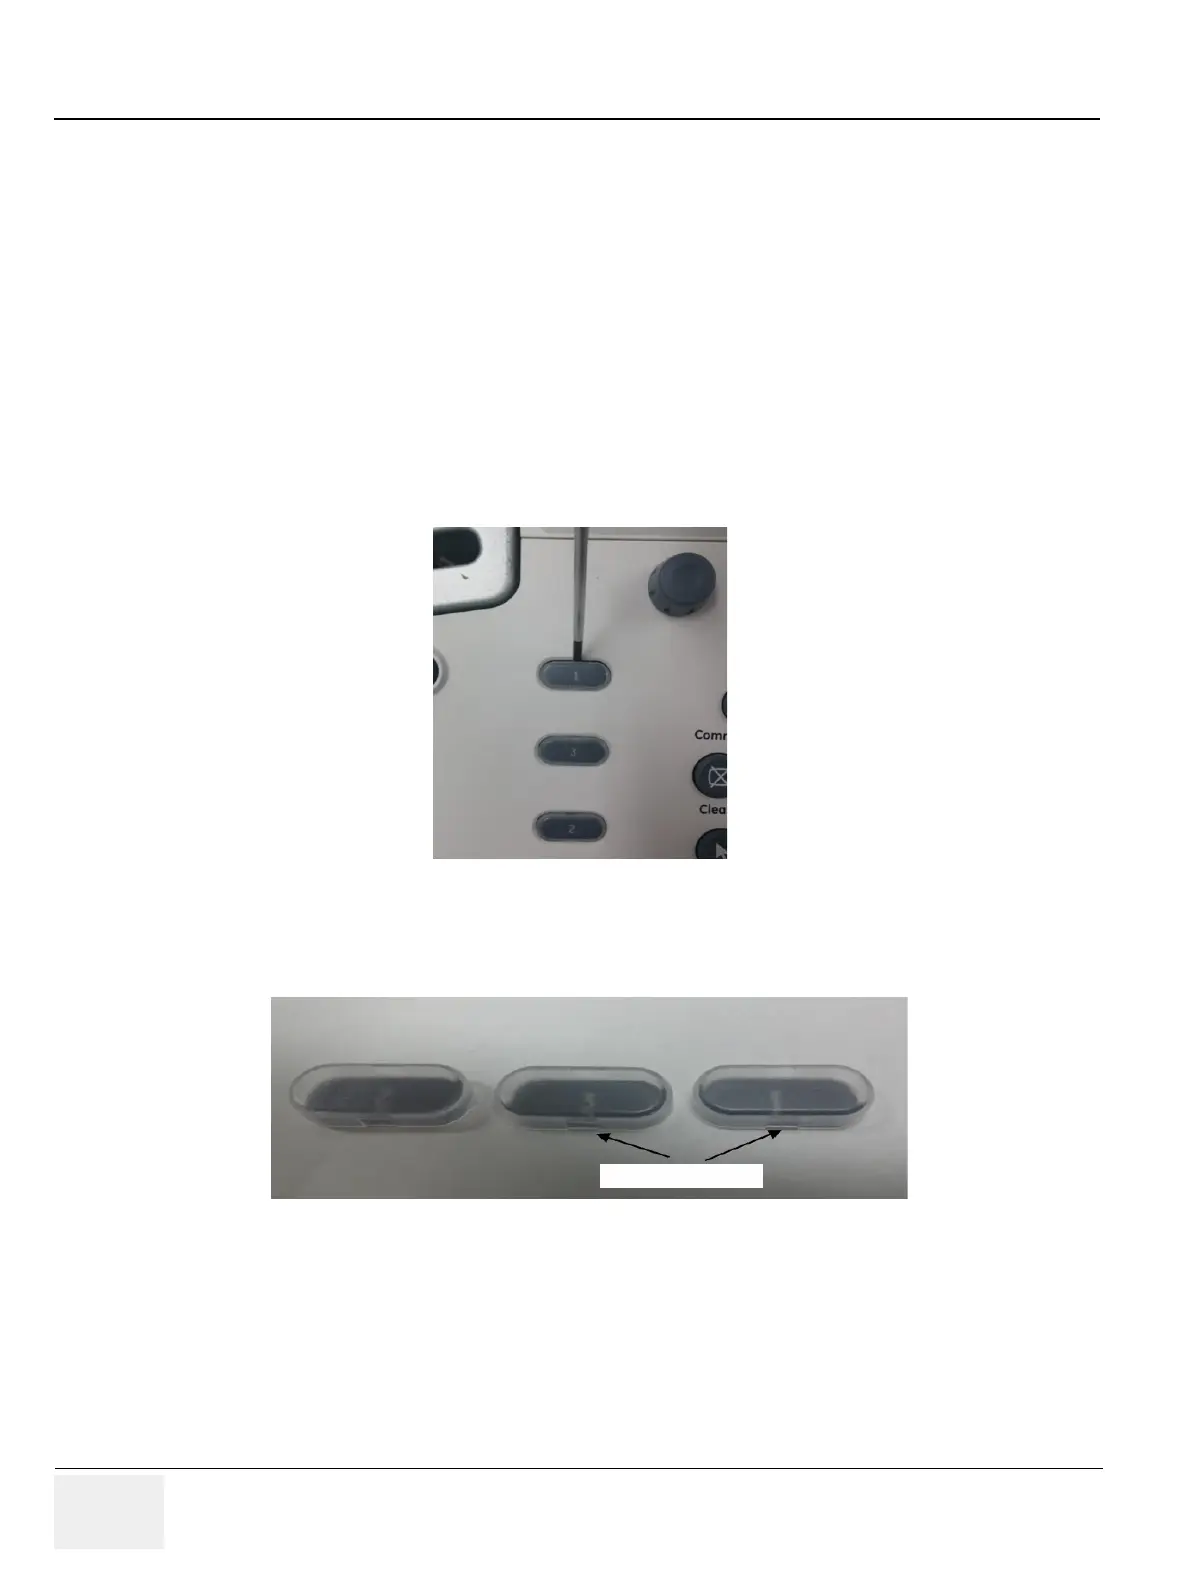
NOTE: Each of the key have “Slit” where flathead screwdriver can be inserted for easy removal.
Figure 8-100 Slit for removal
8-15-4 Installation Procedure
Parts to be installed in reverse order of removal.
Slit for removal

Table of Contents

Other manuals for GE LOGIQ P9

Questions and Answers:

Question and Answer IconNeed help?

Do you have a question about the GE LOGIQ P9 and is the answer not in the manual?

GE LOGIQ P9 Specifications

General IconGeneral
TypeUltrasound System
3D/4D ImagingYes
ElastographyYes
ConnectivityDICOM, USB, Ethernet, HDMI
Doppler ModesColor Doppler, Power Doppler
Probesconvex, linear, phased array
Imaging ModesM-Mode, Color Doppler, Power Doppler
PortabilityCart-based
ApplicationsVascular, Cardiac, OB/GYN, Musculoskeletal
WeightApprox. 80 kg
Touch Panel10.1-in touchscreen

Related product manuals