GEDRAFT LOGIQ P9/P7
D
IRECTION 5604324, REVISION 11 DRAFT (JANUARY 24, 2019) SERVICE MANUAL
Chapter 8 - Replacement Procedures 8-129
8-23-4 Installation Procedure
Install components in reverse order of removal.
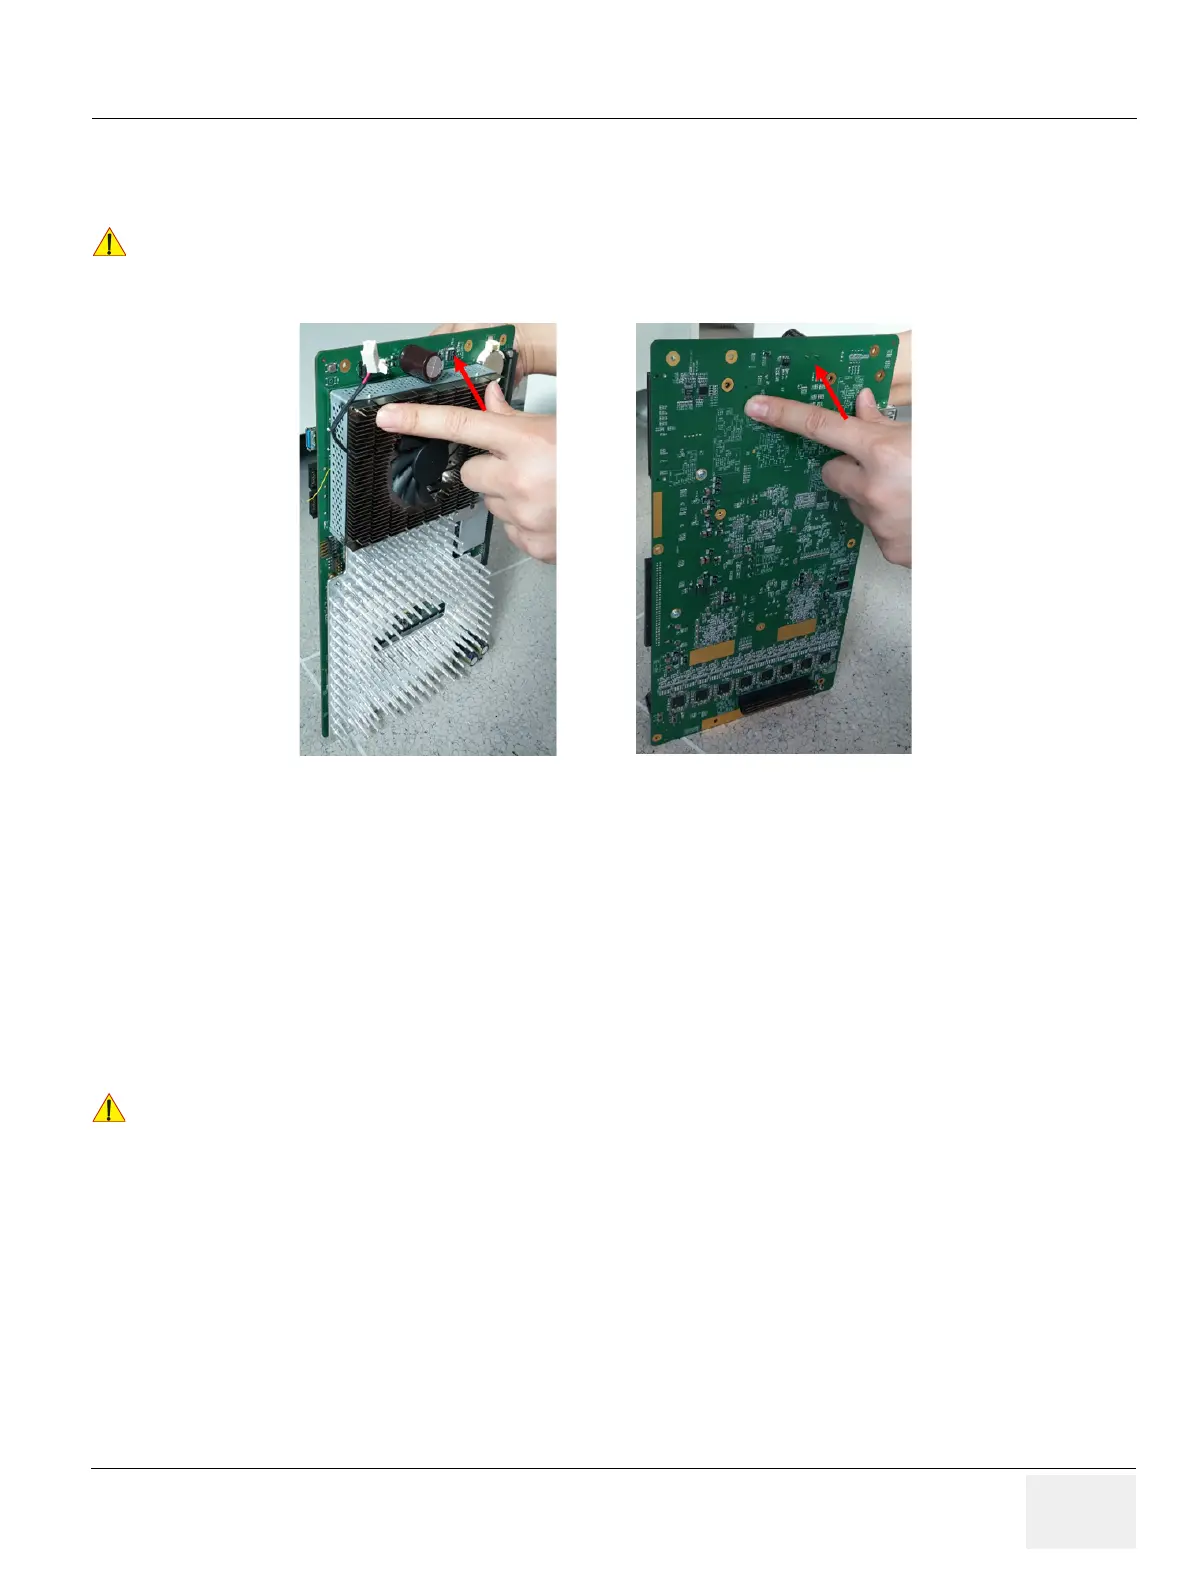
Figure 8-155 Push the SOM in both side of GFS Assy
8-23-5 Note on COM Express Replacement
COM Express retains its memory (date/time/BIOS setting) by receiving 3V from coin battery on MCB
Board. Therefore, when COM Express and MCB boards are separated, COM Express is likely to loose
its date/time setting. In such case, follow the procedure outlined below to update BIOS information.
8-23-5-1 Configuring BIOS
1) Power ON the scanner and press “DEL”(If AN key is installed) or press left bottom key of trackball
(If there’s no AN Key) to enter BIOS.
!! CAUTION:
When replacing with new SOM, Push the SOM in both side of MCB Assy like as below Figure
8-130.
!! NOTICE:
If there’s no AN key, please use trackball to move menu in BIOS mode and click left bottom key of
trackball to select menu in BIOS and double-click to set or change the value in BIOS. Right bottom key
of trackball is ‘ESC’ in BIOS.

 Loading...


