4-6 Service Manual
7525-63x
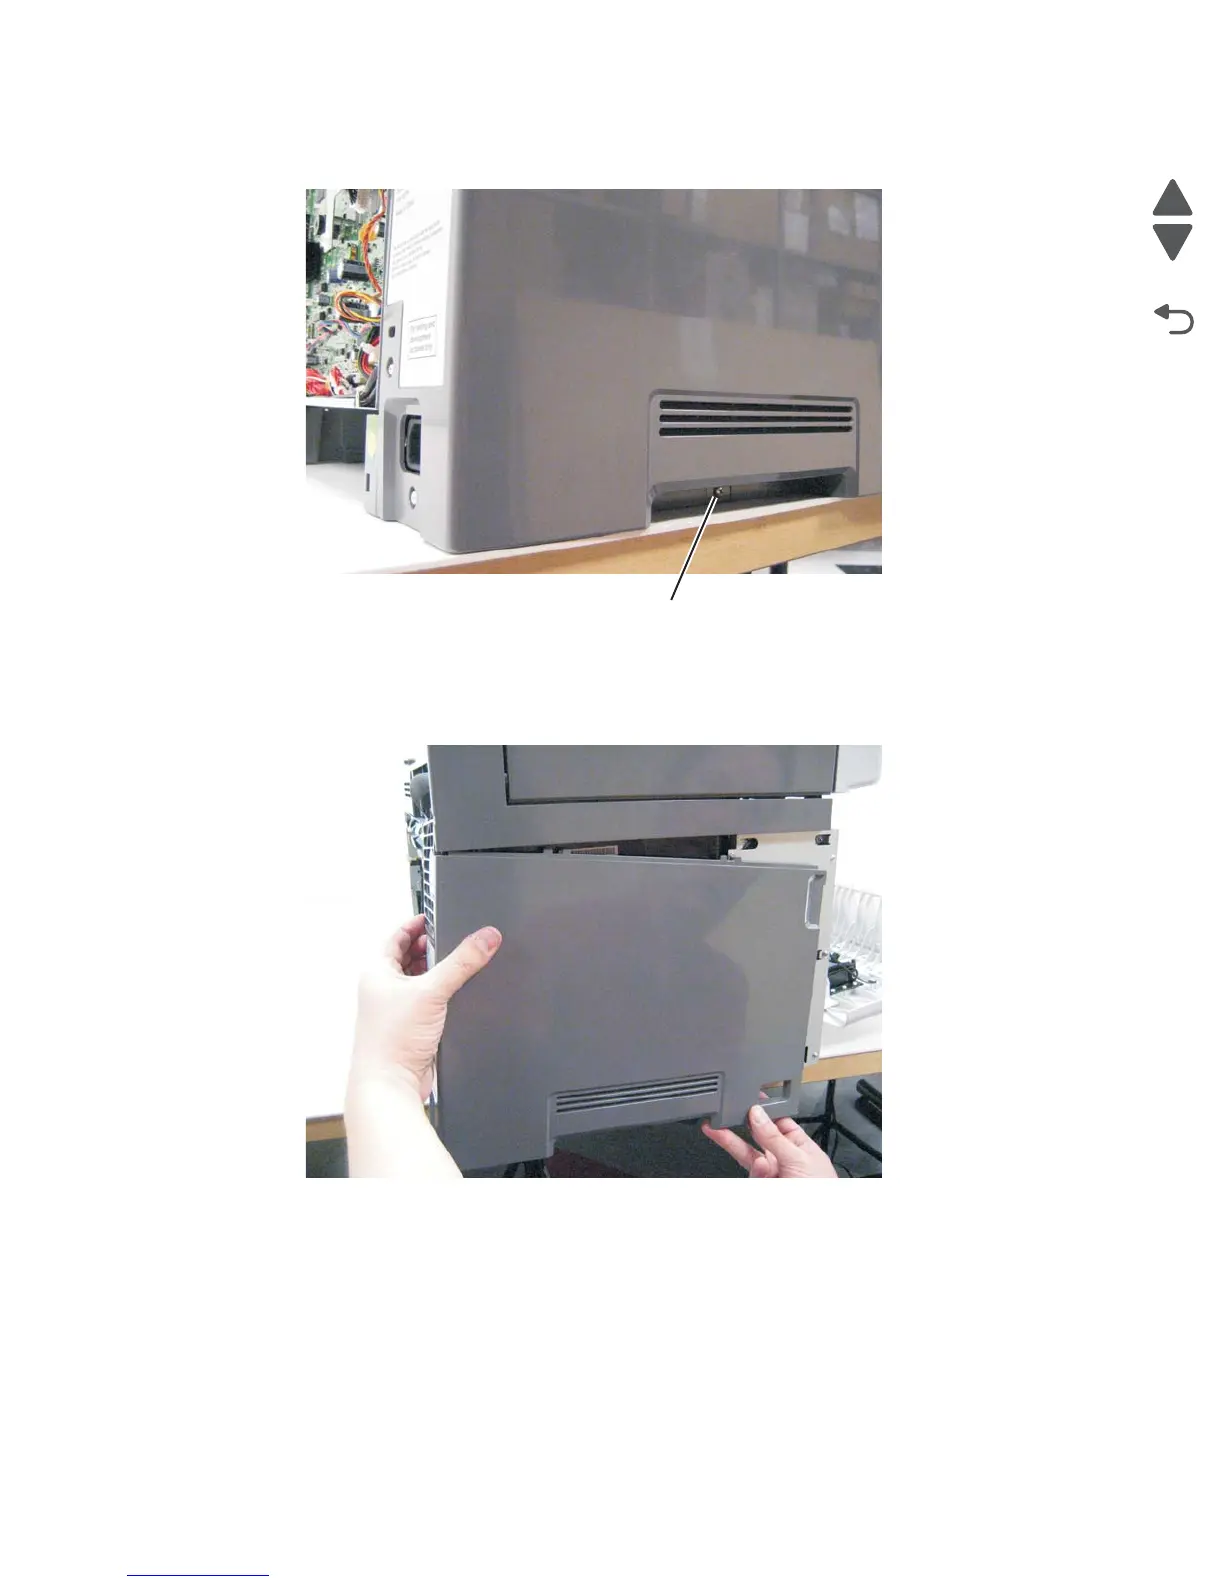
5. Remove the screw (B) on the bottom of the cover.
6. With a hand on the bottom of the cover, ease the cover over the off/on switch, and rotate the cover away
from the printer.
Warning: Be careful not to damage the rear tab at the upper rear side of the cover.
Installation note: When replacing the left cover, flex the cover slightly to engage the tab near the power
switch.

 Loading...


