Chapter 12 Installing, Removing, and Replacing
Removing and Replacing the Library Control Blade and LCB Compact Flash Card
Scalar i500 User’s Guide 411
7 After inserting the new LCB, secure it by depressing both of the LCB
latch hooks into the blade. The LCB will fit snugly into its slot.
8 Reconnect all cables to the new LCB.
9 Power on the library.
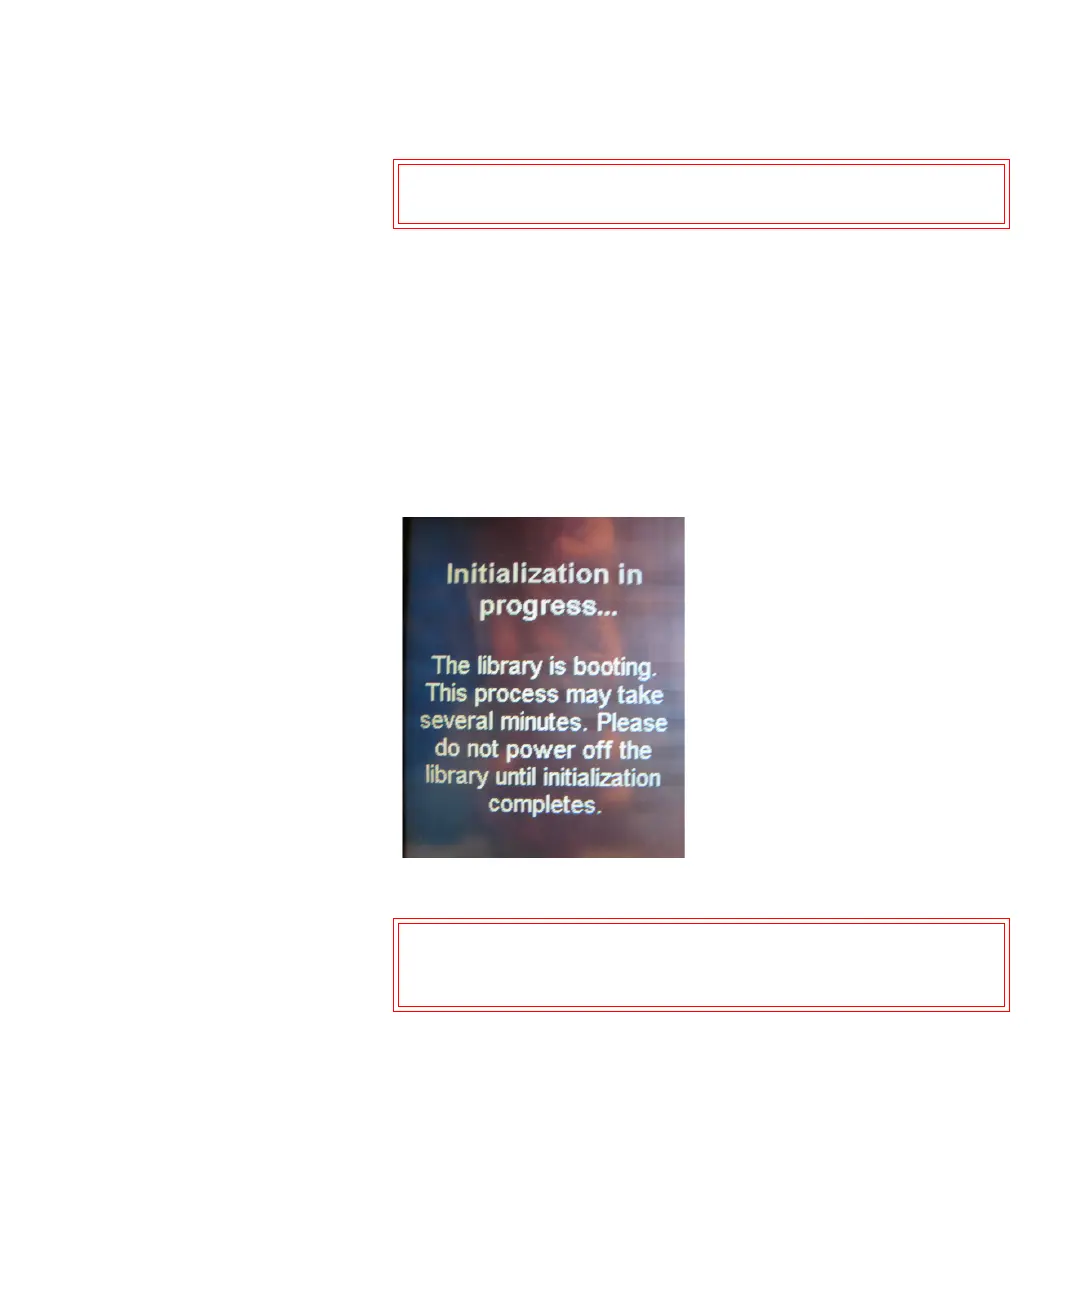
The green power light on the front panel turns on. The screen may
remain dark for up to 5 minutes. Then an “Initialization In Progress”
screen displays. The initialization process can take up to 30 minutes
depending on library configuration.
When initialization is complete, the screen will display “Upgrade
Notification: Compact Flash Replacement” screen shown below.
Caution: Do not force the LCB into the slot or damage may
occur.
Caution: From this point forward until the process is complete,
do NOT remove power from the library! Doing so
may cause failure and cause LCB to become unusable.

 Loading...