Section 08 ENGINE MANAGEMENT (4-TEC)
Subsection 02 (COMPONENT INSPECTION AND ADJUSTMENT)
1
R1503motr181A
2
3
4
1. Solenoid valve
2. Spring
3. Valve disc
4. Retaining washer
WARNING
The spring on the TOPS valve is tensioned
and can shoot away the valve disc. Hold the
valve disc with fingers while removing the
washer.
Remove the valve disc and the spring on the bot-
tom of the TOPS valve after removing the retain-
ing washer.
Unscrew and remove the TOPS valve.
Install the new valve with new gasket. Apply Loc-
tite 243 (blue) on threads and torque to 10 N•m
(89 lbf•in).
Reinstall remaining removed parts.
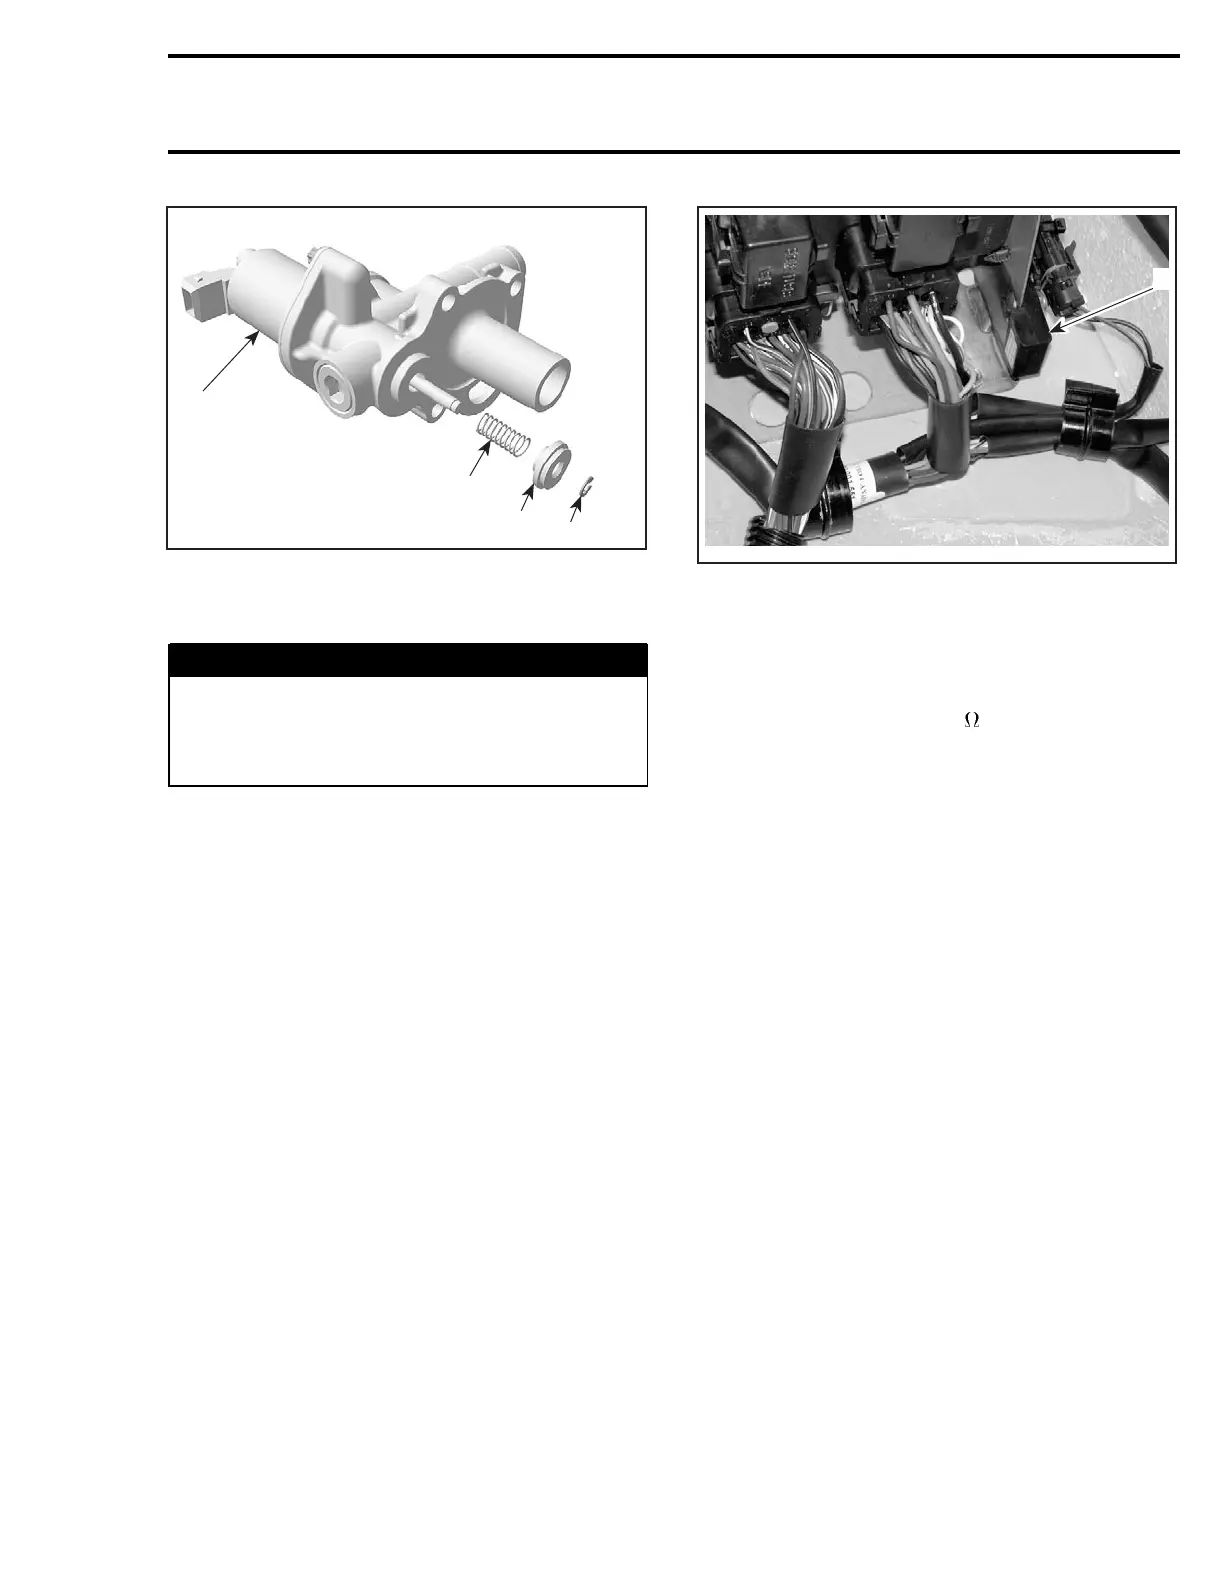
TOPS Switch
Disconnect TOPS switch and remove from MPEM
bracket.
F18R0FA
1
TYPICAL
1. Tops switch
Using and ohmmeter, measure resistance be-
tween terminals.
Position switch as it is located in vehicle. Resis-
tance should be close to 0
.
Rotateswitchasitwoulddoinvehicle. Switch
should remain closed up to approximately 120°
(from the vertical axis) in either direction. Other-
wise, replace switch.
NOTE: Since this is a mercury switch, dispose
it properly according to the environmental regula-
tions in your area.
Farther than 120° andwhenswitchisupside
down, switch should be open and resistance will
be infinite.
Limp Home Mode due to OSPS
Malfunction
When OSPS loses its ground and does not close,
fault code P1202 is activated and engine goes into
the5000RPMlimphomemode.
To fix this problem, check whether TOPS valve is
turned on while safety lanyard is installed on the
DESS post or not. If it doesn't proceed as follows:
– Check battery voltage at the purple/grey wire
(circuit no. 2-19).
– Check the TOPS and do the resistance test as
mentioned above, replace if required.
– Check functions of OSPS , refer to TOPS PRES-
SURE TEST above , replace the OSPS if re-
quired.
– Check OSPS wiring and connectors. Replace if
required.
smr2004-Complete Line Up 435

 Loading...


