Section 07 ENGINE MANAGEMENT (DI)
Subsection 02 (COMPONENT INSPECTION AND ADJUSTMENT)
Otherwise, repair the wiring harness/connectors
between AMP connector and knock sensor.
Replacement
Unscrew and remove knock sensor.
Clean contact surface, apply Loctite 243 in thread-
ed hole then install the new knock sensor.
Torque screw to 20 N•m(15lbf•ft).
CAUTION: Improper torque might prevent sen-
sor to work properly and lead engine to severe
damage of internal components.
Re-plug connector.
RAVE SOLENOID
A quick check can be done as follows. When en-
gine is being stopped, the RAVE valves will open
and close. This can be heard or seen by carefully
removing the caps and feeling the movement with
ahand.
Another test can be done using the vehicle com-
munication kit (VCK) with the B.U.D.S. software,
using the Monitoring tab. Start engine and bring
its RPM to approximately 6000 and look at the
RAVE solenoid LED. It should turn on, indicating
the RAVE system is working on the electronic
side. However, pneumatic test still has to be
performed to validate the mechanical operation.
Leakage/Voltage Test
NOTE: The solenoid activates both RAVE valves
at the same time.
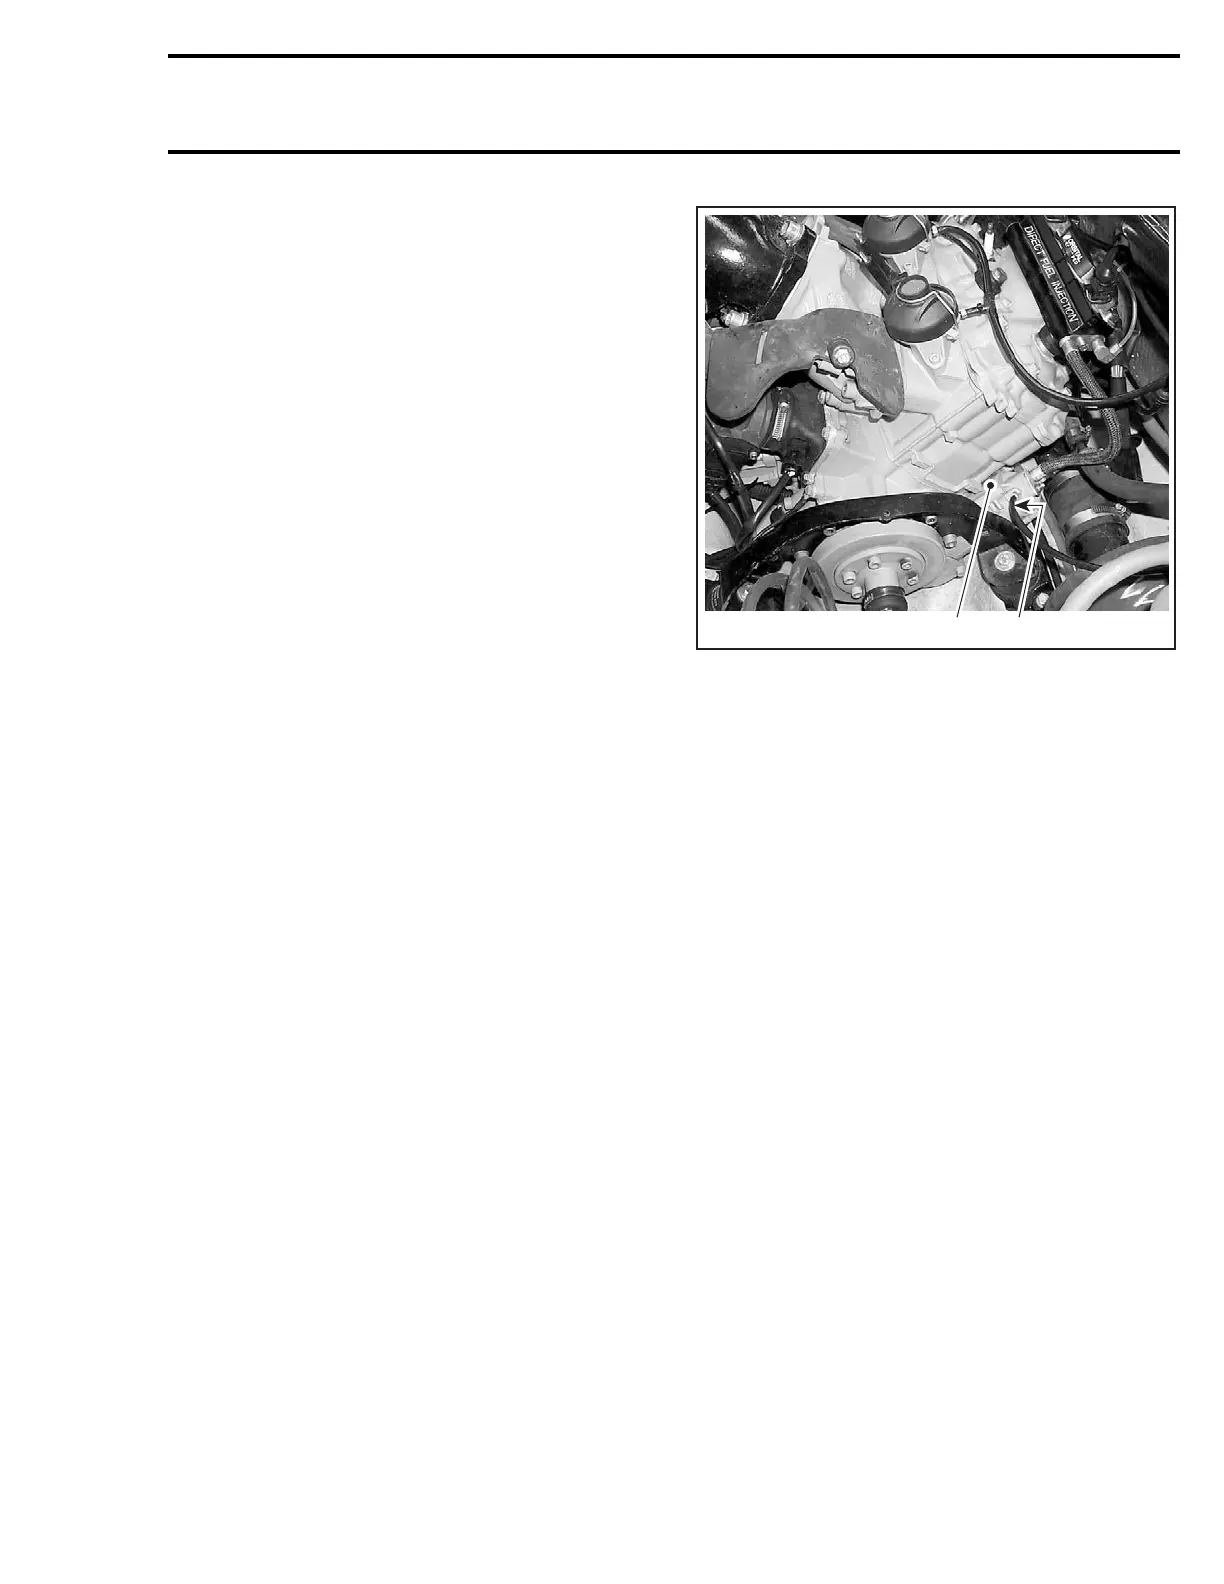
Unplug the RAVE solenoid supply hose from air
compressor.
F12R0RA
1 2
1. Air compressor
2. Disconnect RAVE solenoid supply hose
Install leak test pump (P/N 529 021 800) on hose
endandpressurizeairlineto69-103kPa(10-
15 PSI). Wait some time to see if pressure drops.
If so, check line for leaks. Otherwise, the solenoid
is defective and needs to be replaced.
Using the vehicle communication kit (VCK) with
the B.U.D.S. software, energize the RAVE sole-
noid from the Activation tab.
The pressure should drop when the solenoid is ac-
tivated. If the solenoid does not work, disconnect
the connector from the solenoid.
Install a temporary connector on the solenoid with
wireslongenoughtomaketheconnectionoutside
the bilge and apply voltage (12 V) to this test har-
ness.
If it does not work, replace the solenoid. Other-
wise, proceed with the resistance test below.
Reconnect hose to compressor.
Unplug the outlet hose from RAVE solenoid.
smr2004-Complete Line Up 365

 Loading...


