Section 05 ENGINE (4-TEC)
Subsection 07 (CYLINDER HEAD AND VALVES)
GENERAL
NOTE: When diagnosing an engine problem, al-
ways perform a cylinder leak test. This will help
pin-point a problem. Refer to the instructions in-
cluded with your leak tester and LEAK TEST for
procedures.
Always place the vehicle on level surface.
NOTE: For a better understanding, the following
illustrations are taken with engine out of vehicle.
To perform the following instructions, it is not nec-
essary to remove engine from vehicle.
Always disconnect the negative wire from the bat-
tery before working on the engine.
Even if the removal of many parts is not neces-
sary to reach another part, it is recommended to
remove these parts in order to check them.
For installation, use the torque values and Loctite
products as mentioned. Clean threads before us-
ing Loctite product when installing screws.
When disassembling parts that are duplicated in
the engine, (e.g.: valves, bushings), it is strongly
recommended to note their position (cylinder 1, 2
or 3) and to keep them as a “group”.Ifyoufind
a defective component, it would be much easier
to find the cause of the failure within the group of
parts (e.g.: you found a worn valve guide. A bent
spring could be the cause and it would be easy to
know which one among the springs is the cause
to replace it if you grouped them at disassembly).
Besides, since used parts have matched together
during the engine operation, they will keep their
matched fit when you reassemble them together
within their “group”.
SPARK PLUG
Removal
Remove fuel rail cover from engine.
Unplug the single-spark ignition coil connector on
the spark plug you need to remove.
Remove the single-spark ignition coil no. 1.
Clean spark plug and single-spark ignition coil area
before disassembly.
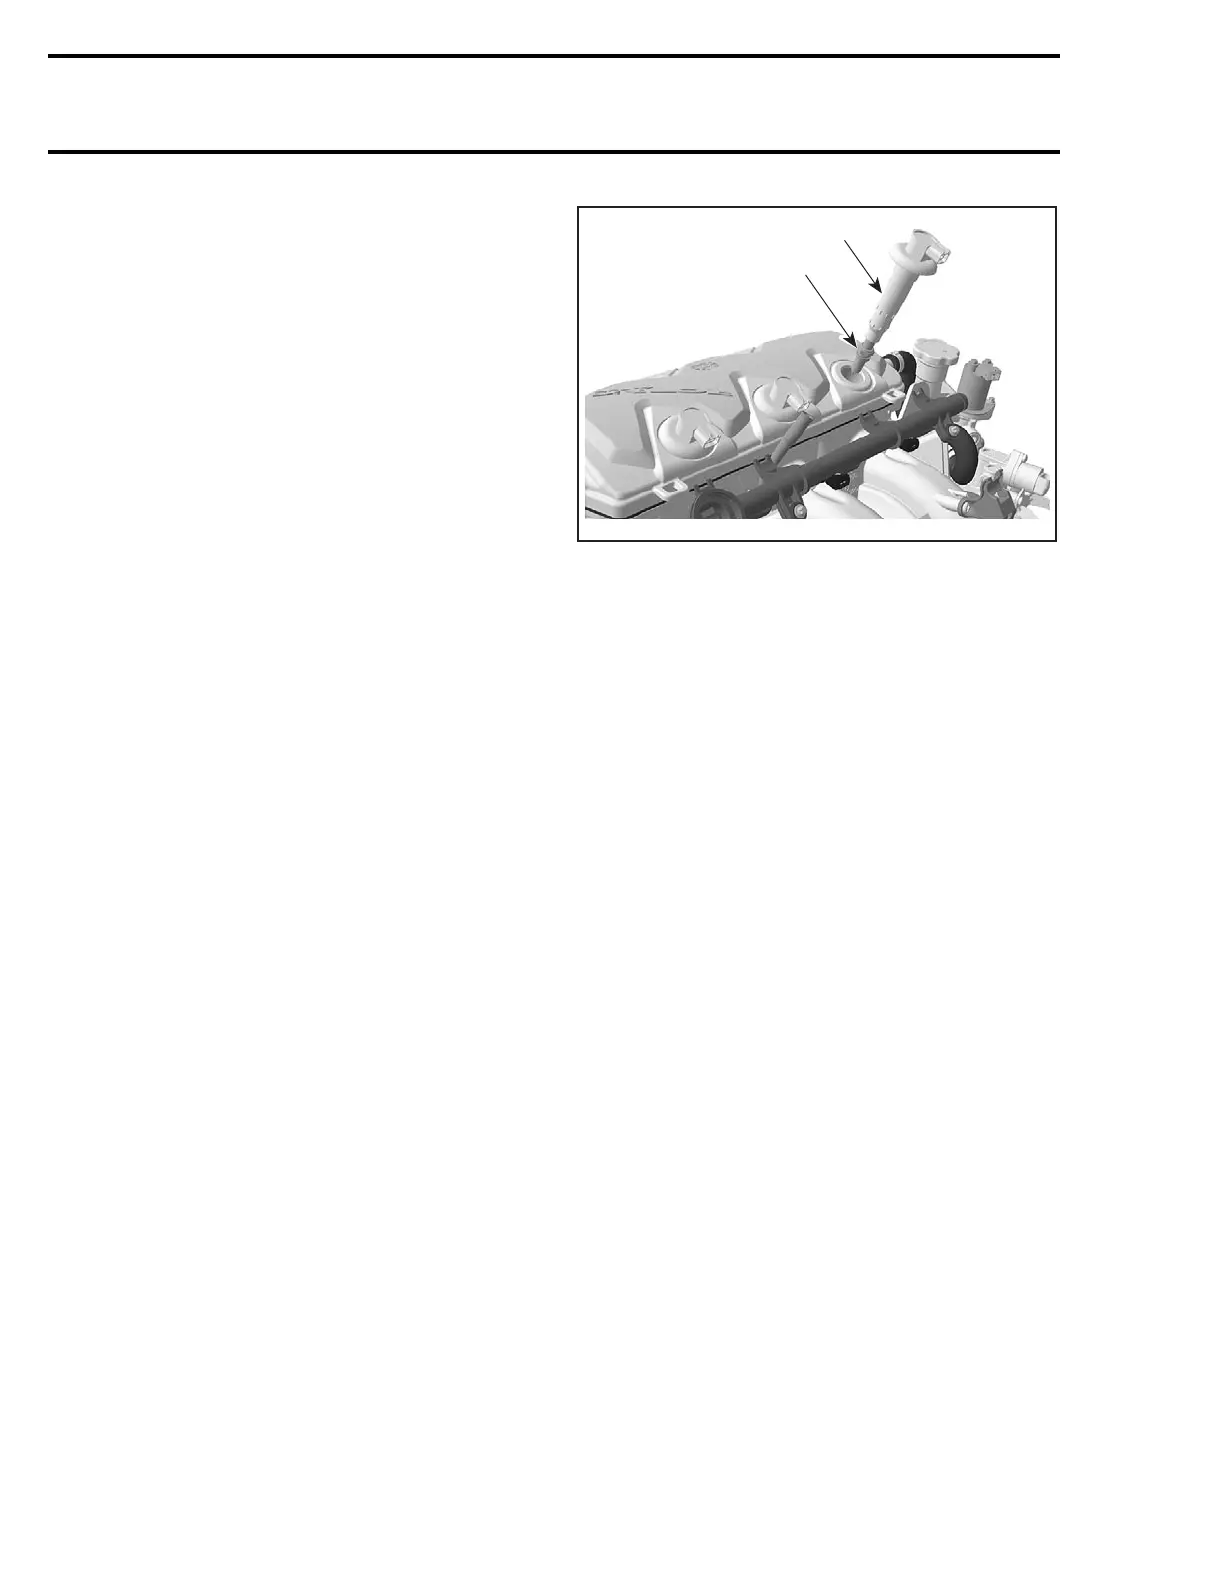
Unscrew spark plug no. 2 then use the single-
spark ignition coil to take spark plug out of spark
plug hole.
1
R1503motr44A
2
1. Single-spark ignition coil
2. Spark plug
Inspection
Check spark plug and single-spark ignition coil
condition (refer to ENGINE MANAGEMENT SYS-
TEM).
Installation
For installation, reverse the removal procedure.
Pay attention to the following details.
Check spark plug gap.
Place spark plug into single-spark ignition coil,
screw spark plug then remove the single-spark
ignition coil. Torque spark plug. Reinstall the
single-spark ignition coil.
NOTE: Priortoinsertingtheignitioncoilinits
location, apply some BOMBARDIER LUBE lubri-
cant around the seal area that touches the spark
plug hole. After installation, ensure the seal seats
properly with the engine top surface.
VALVE COVER
Removal
Remove:
– valve cover shield no. 3
– valve cover screws no. 4
256 smr2004-Complete Line Up

 Loading...


