Section 04 ENGINE (2-STROKE)
Subsection 02 (REMOVAL AND INSTALLATION)
Disconnect RED positive cable from starter post.
F01H1JB
1
TYPICAL
1. Disconnect RED positive cable
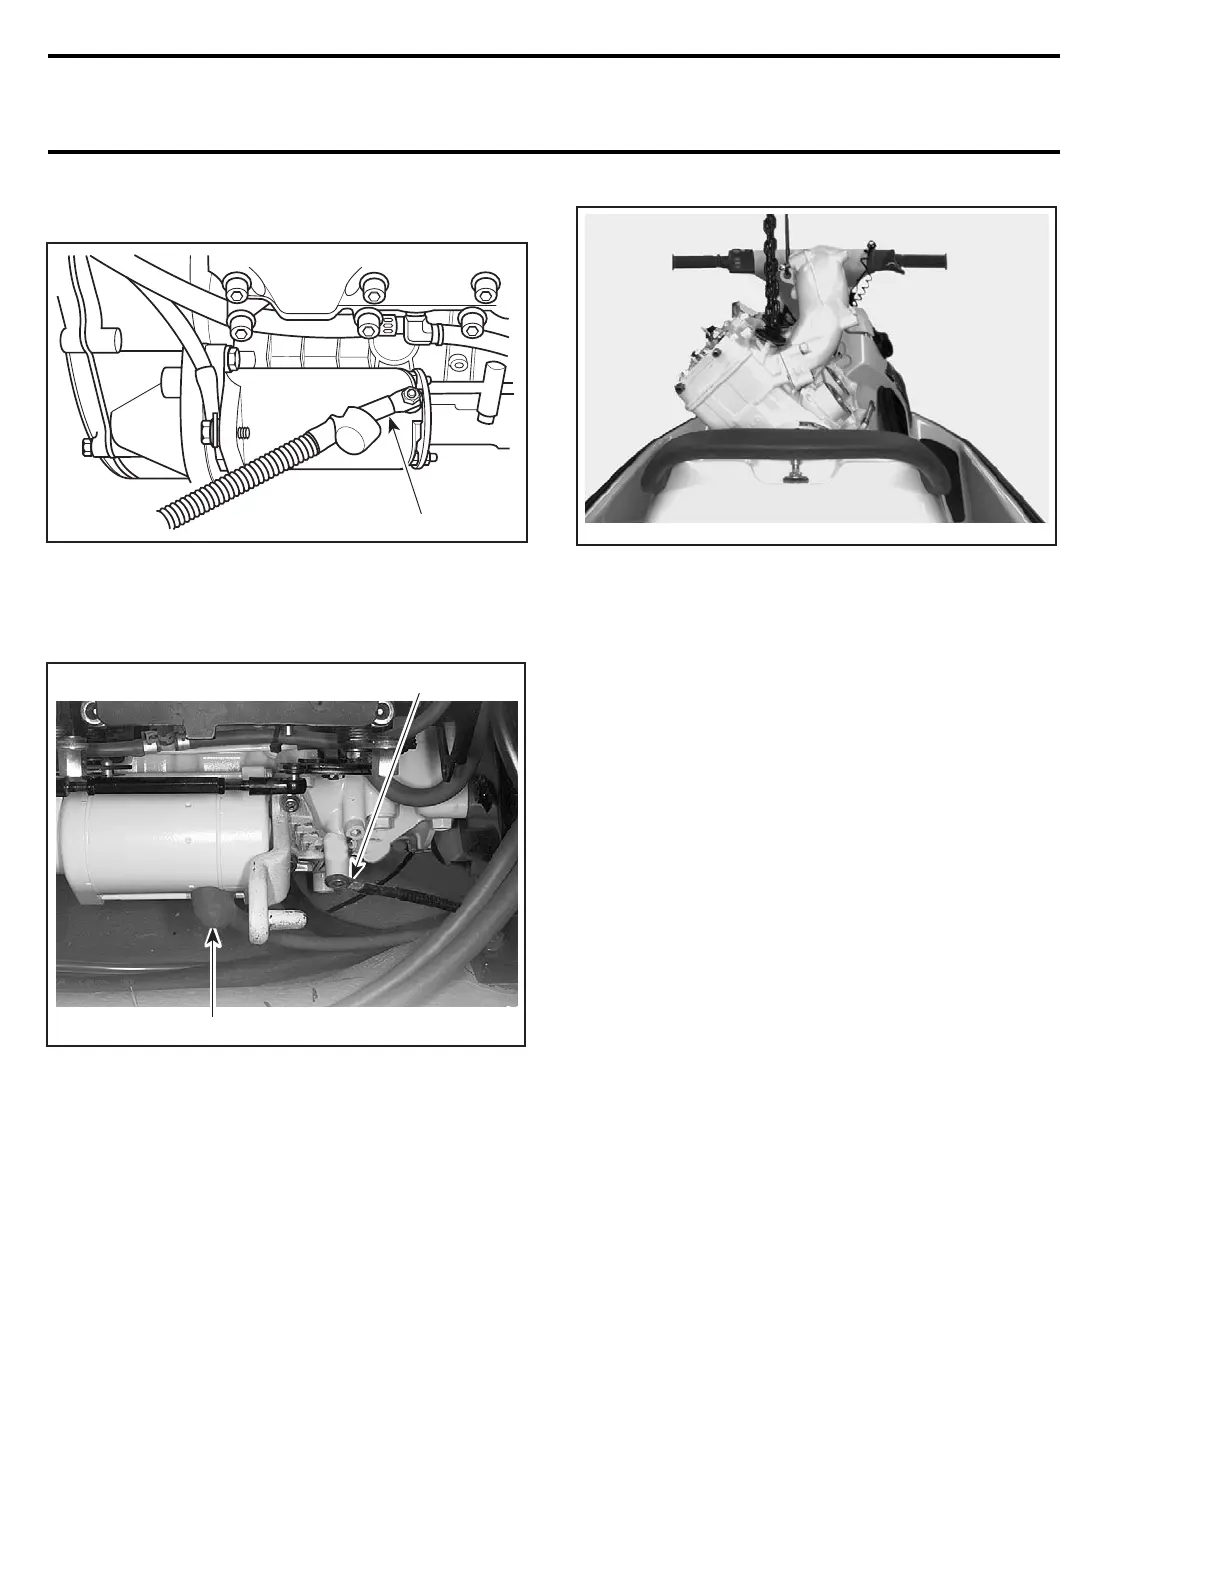
Disconnect BLACK negative cable from engine
crankcase.
F06H35A
2
1
1. Positive starter cable
2. Ground cable
Carry on engine lifting then tilt engine so that it can
be removed from the body opening.
CAUTION: Be careful not to scratch body or to
hit any component.
F01D7RA
TYPICAL
CLEANING
Wipe off any spillage in bilge. Clean with a bilge
cleaner.
Clean external parts of engine.
INSTALLATION
Installation of engine in watercraft is essentially
the reverse of removal procedures. However pay
particular attention to the following.
Rubber Mount, Shim and Screw
Check tightness and condition of rubber mounts.
If they have been removed, apply Loctite 243
(blue) on screw threads. Torque screws to
25 N•m(18lbf•ft).
CAUTION: Strict adherence to this torque is
important to avoid damaging threads of alu-
minum insert in bilge.
Engine Support
717 Engines
Torque front and rear engine supports as shown in
the following illustration.
76 smr2004-Complete Line Up

 Loading...


