ECDIS-E User Guide Charts
65934012 4-53
Creating Geo Shapes
Geo shapes include a number of geometric objects such as arcs, circles,
lines, squares etc. that may be created.
To create a geo shape and specify its parameters, do the following:
1. With Geo Shapes selected in the Type drop down list, select the
type of geo shape from the Symbol/Description drop down list.
2. Click the Manually Create button, a window prompts to specify a
latitude/longitude (LAT/LON) position for the chart object.
3. Click in the LAT/LON fields, a drop down location keypad appears
from where you can select the object position in a number of ways
described below:
a. Query - Select an existing chart object on the display for the
object position
b. Offset - Select a range and bearing value from the current
cursor position for the object position.
c. From Chart - Move the cursor to the location on the display
and click at the desired position.
d. Ownship - Select to position the object at the current location
of ownship.
e. Enter a manual LAT/LON location using the numerical keypad.
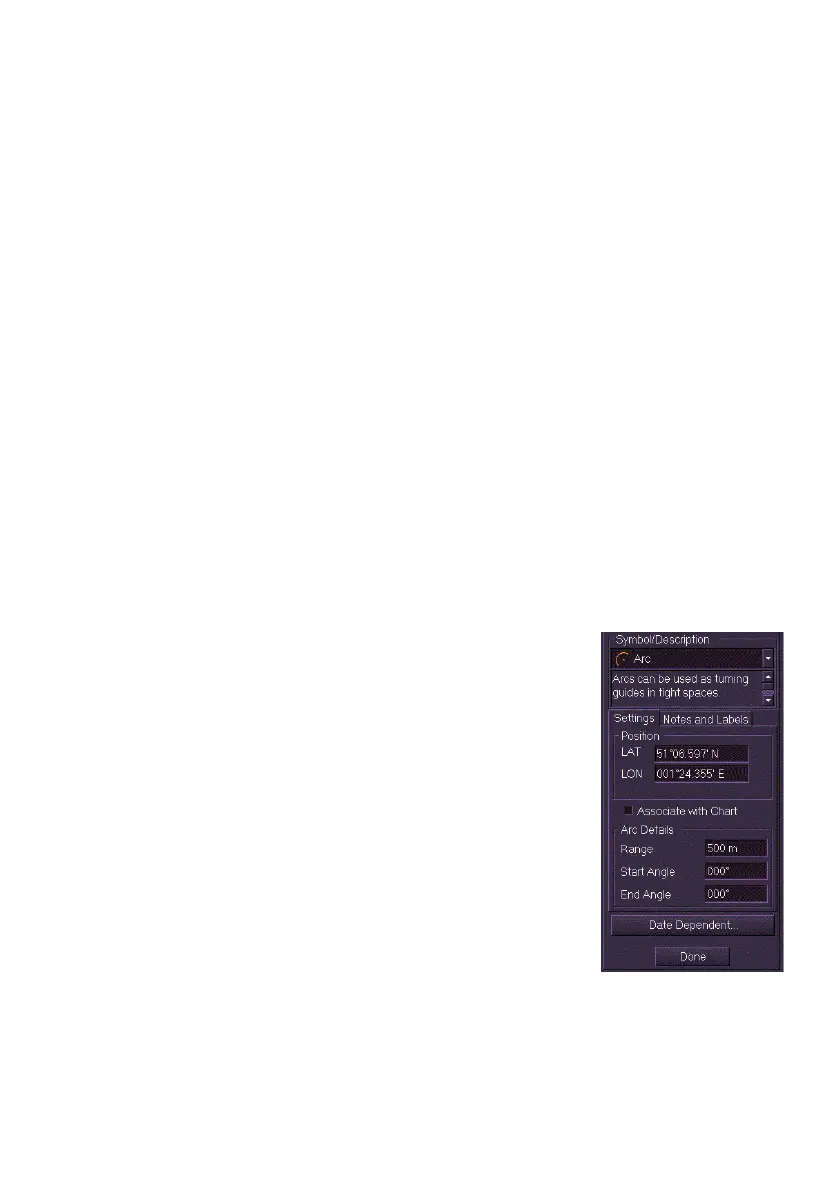
4. When the object position is defined the object
appears on the display and the Settings tab
displays the shape’s LAT/LON position and
default parameters. If the shape is a line or
polygon click at the first point position, click in
the display to generate other line or polygon
points.
5. To move the shape to another position left
click in the LAT/LON position fields and edit
the co-ordinates using the screen keypad
6. To change the shape details (Rotation, Range,
Start/End angle, Radius, Segment type etc.)
enter data in the Settings tab.
 Loading...